Installation
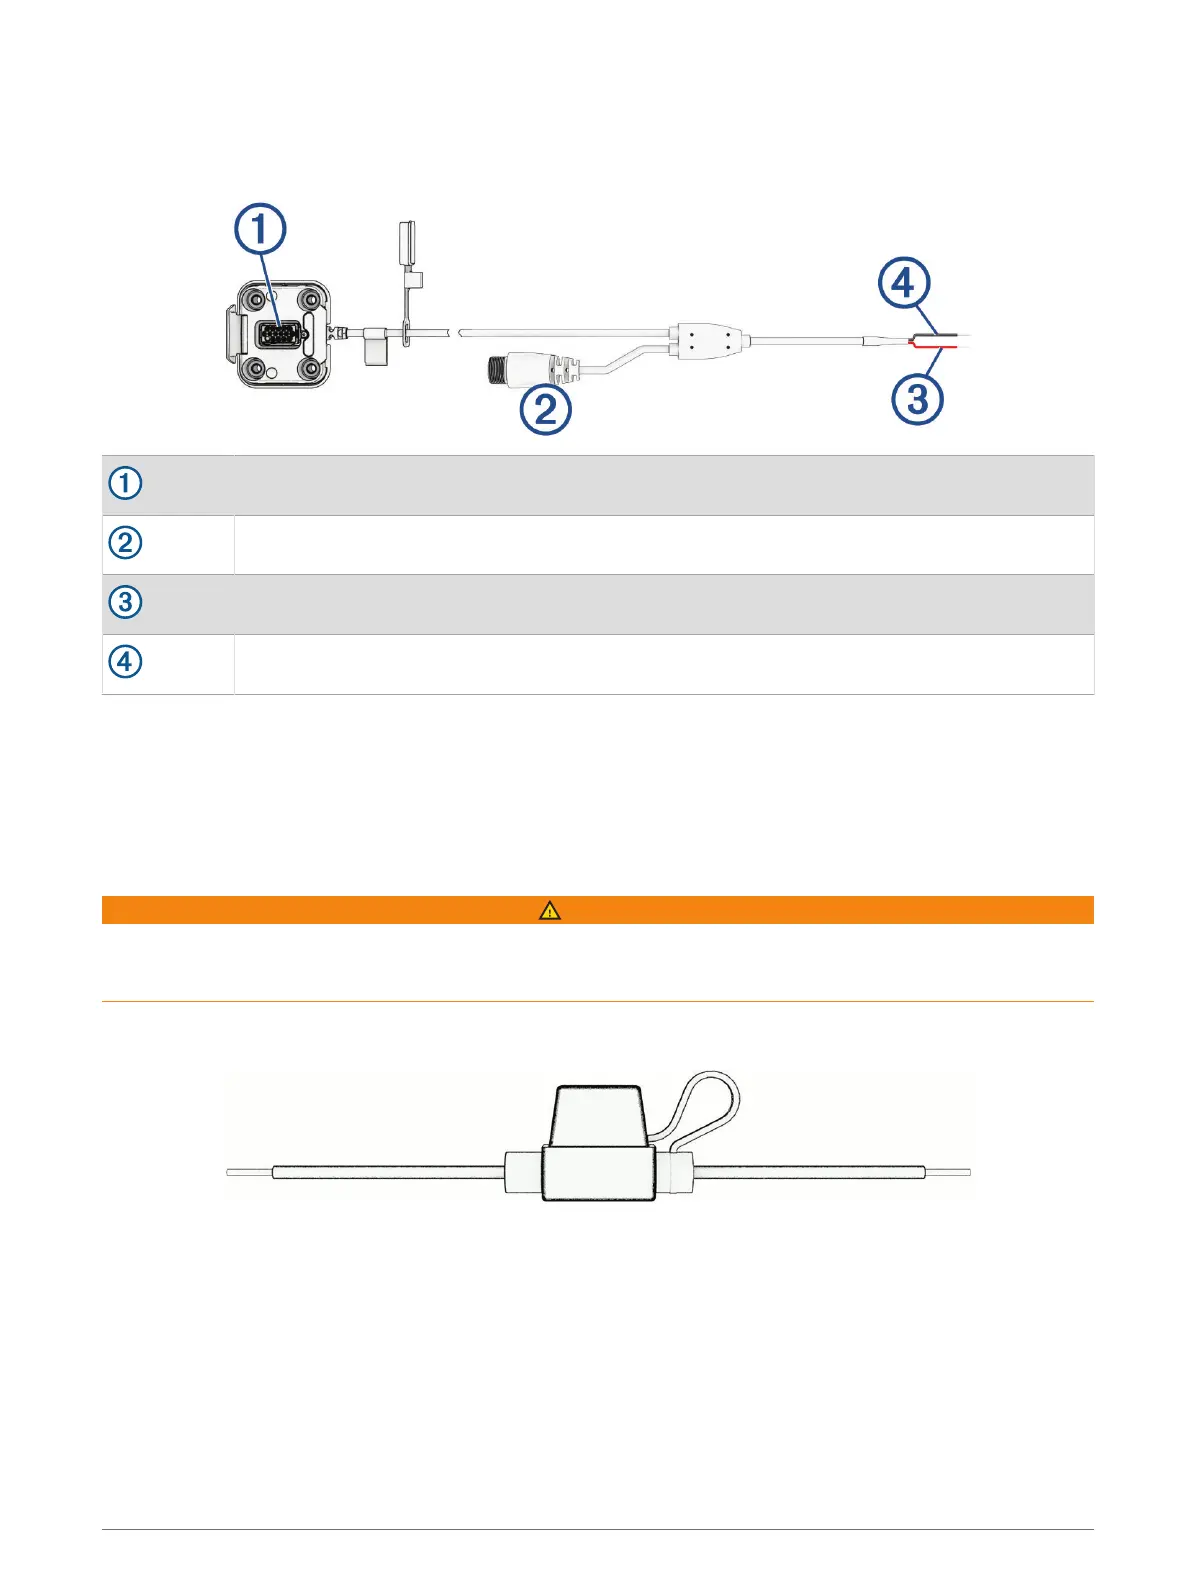
Powered Mount Overview
Mount connector
Accessory connector
12to18 Vdc system power (red)
System ground (black)
Additional parts are included with the device to cover different installation and wiring options.
Crimp Style Ring Terminals: Connect the power supply wires directly to the battery terminal.
Cable Ties: Secure cables to the roll cage or handlebar.
In-line Fuse Cable and Splice Connector: Protect the navigation device from excessive electrical current (In-line
Fuse Cable, page2).
In-line Fuse Cable
WARNING
Garmin
®
strongly recommends having an experienced installer with the proper knowledge of electrical systems
install the in-line fuse cable. Incorrectly wiring the power cable or the in-line fuse cable can result in damage to
the vehicle or the battery and can cause bodily injury.
In many cases, you must install the included in-line fuse cable on the device power cable to protect the Tread 2
navigator from excessive electrical current.
• You must install the included in-line fuse cable if you are connecting the power cable directly to the vehicle
battery.
• If you are connecting the power cable to an accessory power source or bus bar that already has a suitable
fuse or a protective circuit, installing the included in-line fuse is not necessary.
• When installing the fuse cable, you should connect it to the red system power wire using the included splice
connector.
2 Getting Started