GE MEDICAL SYSTEMS
D
IRECTION 2300000, REVISION 2 LOGIQ™5 SERVICE MANUAL
Chapter 8 Replacement Procedures 8-147
8-8-3-4 Removal Procedure (cont’d)
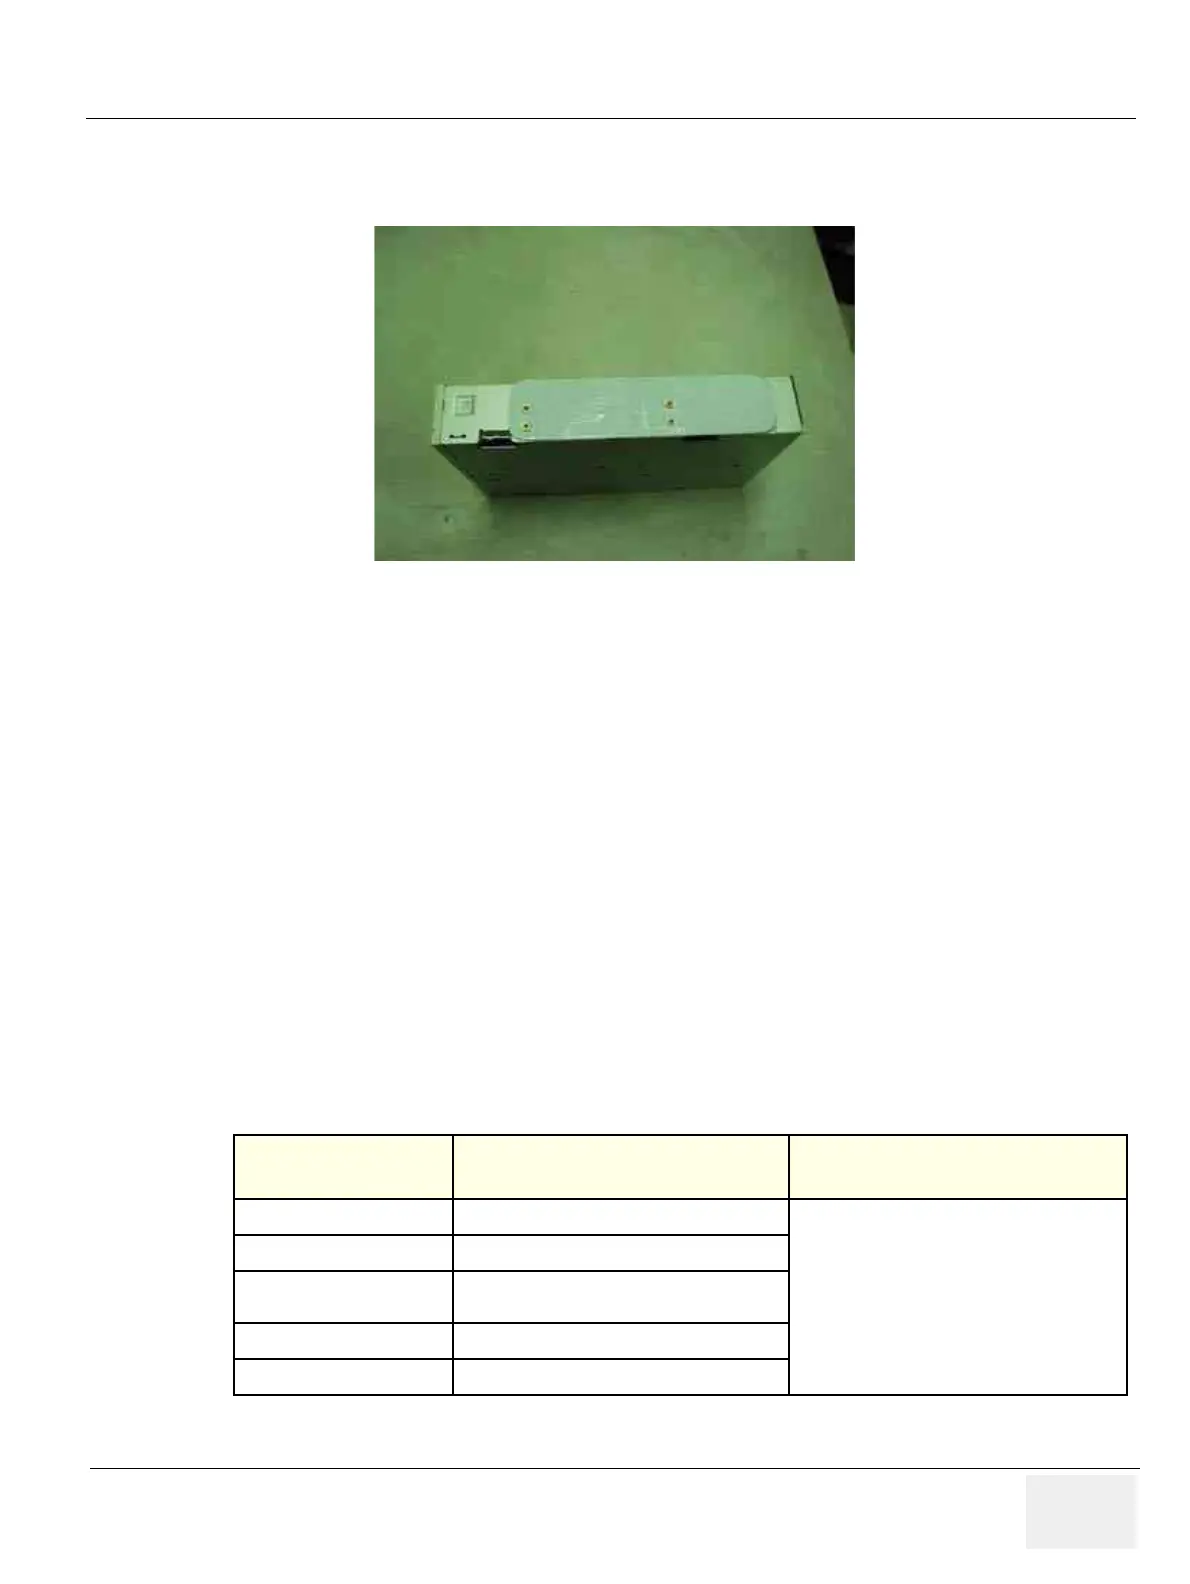
10.)Move the CDRW guide braket to new FRU.
11.)Mode Jumper : Hard disk and CDRW should be set as Master drive. Confirm the mode setting
jumper in hard disk and CDRW.
12.)Enter BIOS set up Mode.(Password : Jupiter)
13.)Change the Diskette configuration of the Advanced Menu Screen in the BIOS set up menu as
follows.
- Change the Diskette Controller to [Enable]
- Change the FLOPPYA to [Disabled]
- Change the Diskette Write Protect [Disabled]
14.)Press "F10 - SAVE AND EXIT" to save the BIOS set up.
15.)Check if CD R/W is properly installed in the Maintenance Mode. (Check the CR R/W is recognized
by the system in the MS windows navigator)
16.)Press and hold the Power Button for 20 sec. to execute manual system shut down.
17.)Enter BIOS Set up mode again.
18.)Reset the Diskette Controller to [Disable] in the Advanced Menu screen.
19.)Press "F10 - SAVE AND EXIT" to save the BIOS set up.
20.)Perform the following functional tests. If all are successful, include the debrief script provided below.
8-8-3-5 Mounting Procedure
Install the new parts in the reverse order of removal.
Figure 8-173 CDRW Guide bracket
Table 8-49 Functional Tests
Service Manual
Section
Functional Test / Diagnostic Test Debrief Script
Section 4-3-1
Power On/Boot Up
“Service Manual, Direction
2300000, Rev 1+, Section 8-8-3. Equipment
passed all required tests and is ready for use. “
Section 4-3-2
Power Off / Shutdown
Section 4-9-13
SMPS, HDD, ODD Assy function check
procedure
Section 4-3-4
System B/M-Mode Checks
Section 4-3-5
System CFM and PWD Checks
1
3
4
2
1
3
4
2
 Loading...


