
W
wrightjohnAug 3, 2025
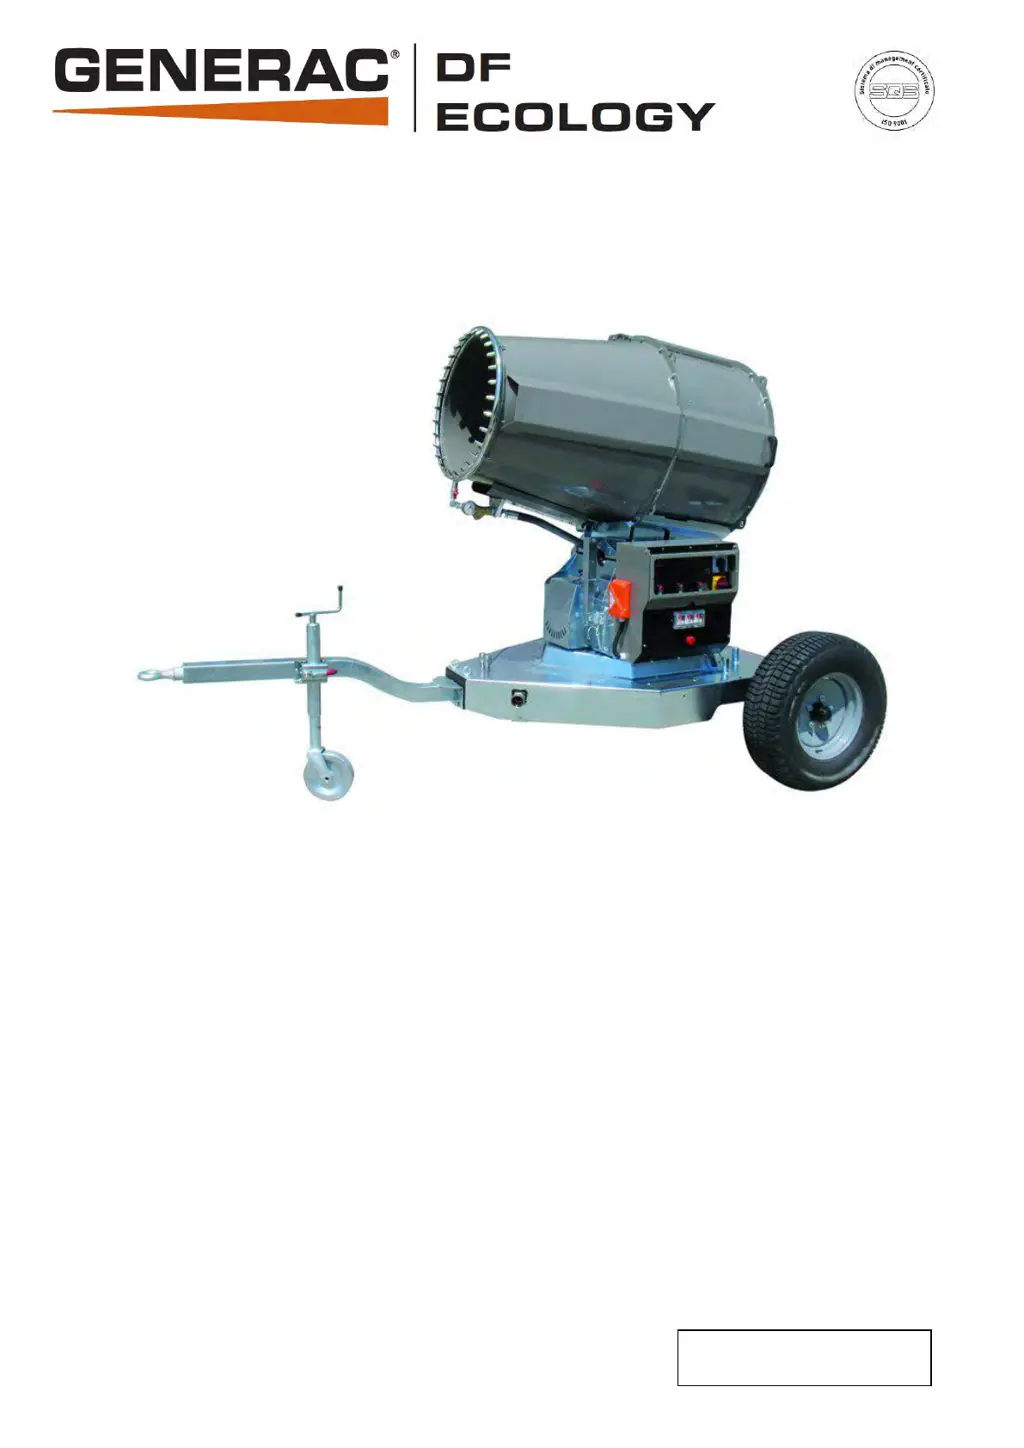
What to do if water does not flow from Generac Power Systems DF Ecology DUST FIGHTER 7500?
- BbarbarawatersAug 3, 2025
If water isn't flowing from your Generac Power Systems Respiratory Product, first, ensure that the cocks placed before the nozzles are open. If that doesn't solve the issue, disconnect the hose and push the button to drain any water already in the system. As a last resort, remove the filters and allow all water to flow out.