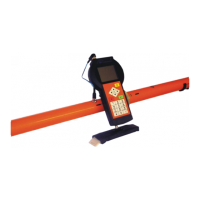
Manual measurement
The measurement is organized in a grid of fixed points on the measured
locality. Usually the grid consists of several parallel lines covering the locality
according to the requested square resolution. This way represents the classical way
of survey with the use of the measuring tape. Thus the most accurate readings on
precisely positioned points can be obtained.
Operator goes along individual lines, starts the measurement on a certain
spot, waits till it is finished and checks measured values. Then stores results into
the file and continues to the next point.
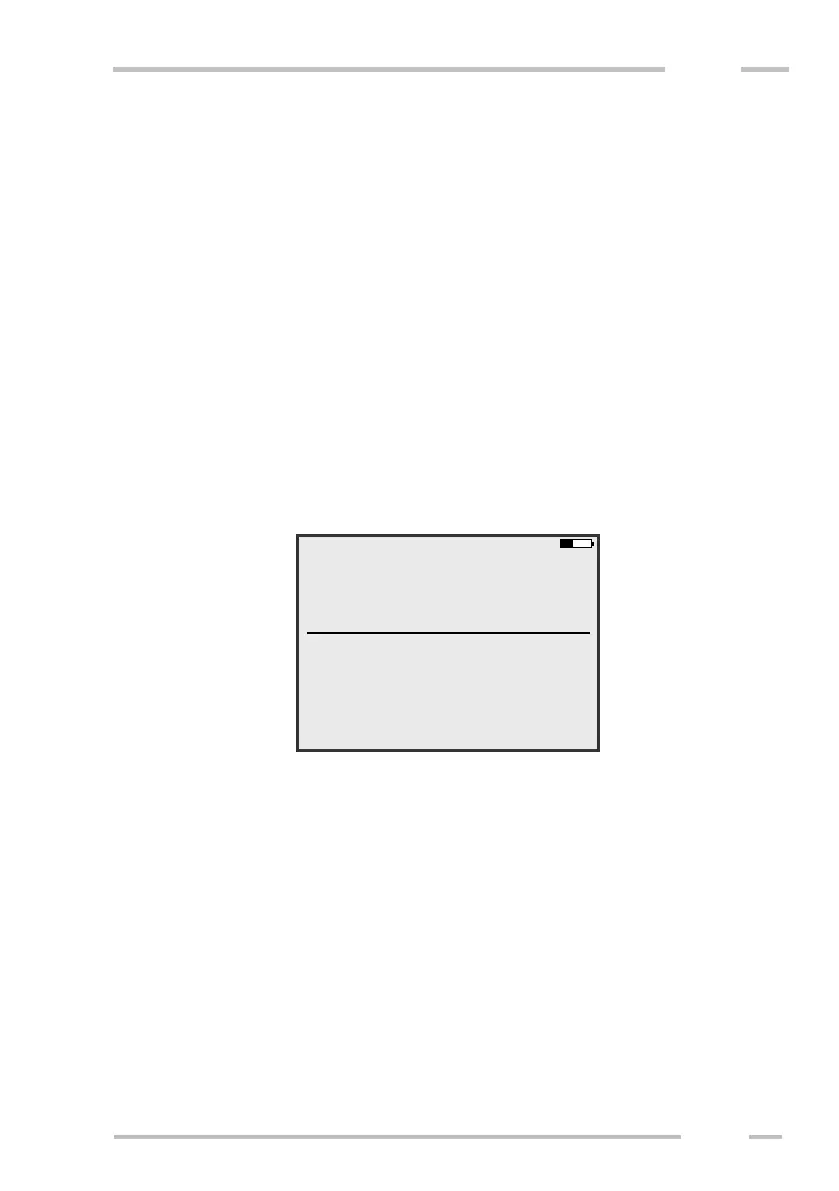
Starting measurement
Choose “Manual measurement” from the main menu. Following screen is
shown.
Enter file name (obligatory), locality name and note (optional). Choose the
calibration (Depth/Cal). Set the measurement time (Meas. time) and measurement
error limit (Meas. error). If you measure using CMD-Explorer / MiniExplorer, you
are also asked to set the “Main view”, which determines the receiver shown in
screens “1” and “2” during measurement.
If you measure using CMD-Duo, you will be also able to change coil
separation if needed.