271
Programming examples - Winged models
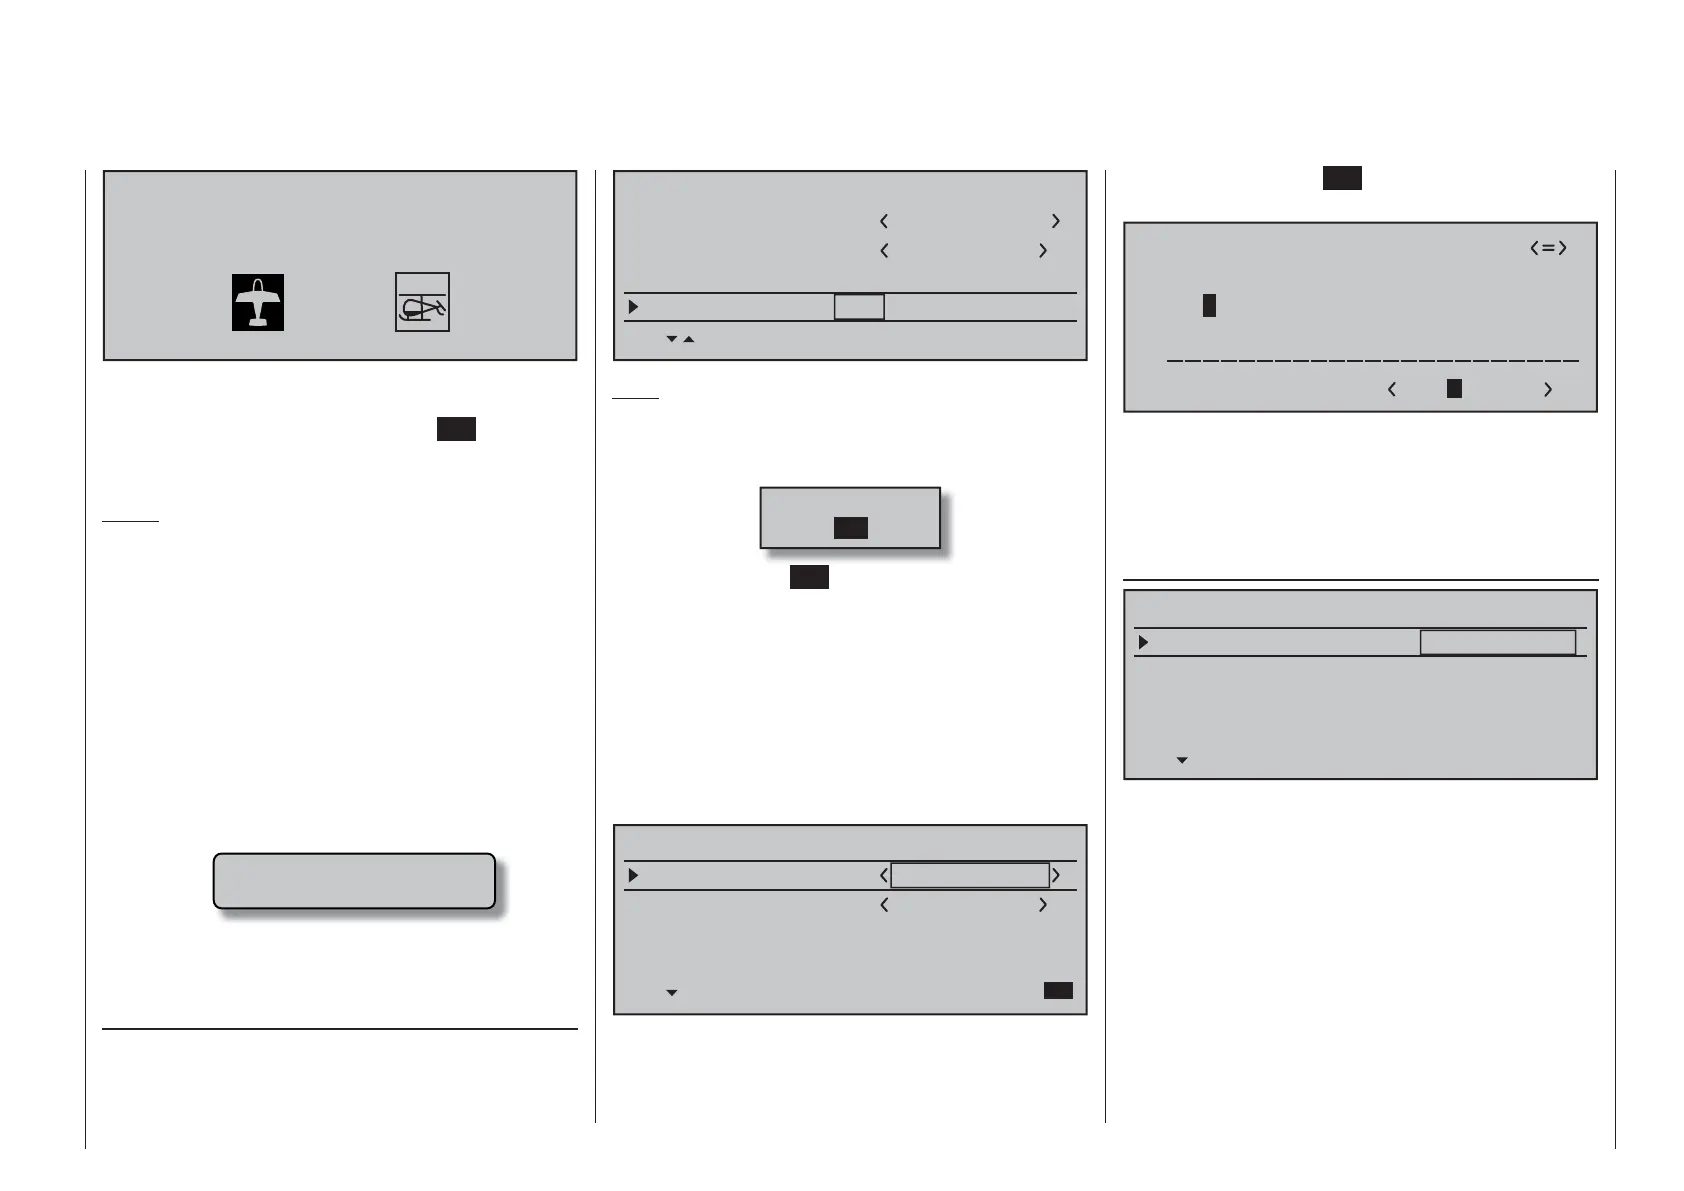
Select model type ( free model memory )
Since the objective is to work with a winged model
in this section, the symbol for a winged model is to
be confi rmed with a tap on the center
SET key of
the right touch pad. The display switches back to the
base screen.
Notes:
Of course, you can also use the predefi ned default •
"winged model" supplied with the receiver as
model memory 01 for the programming of your
fi rst model.
Once the "Select model type" option has been •
opened, the process can no longer be canceled!
Even if you switch off the transmitter, this selection
must be made! After a selection has been made,
the selected model memory can only be made
"free" again by subsequent erasing.
If battery voltage is too low, the model switchover •
cannot be made due to reasons of safety. An
appropriate message will appear in the screen:
not possible now
voltage too low
Once this fi rst hurdle has been taken, the binding of
the receiver built into the model to this model memory
can be done in the menu …
»Basic settings, model« (page 76 … 83)
. To this end, switch to the line "Module".
Model name
Stick mode
1
n/a
BASIC SETTINGS, MODEL
Info
n/a
n/a
Module
n/a
HoTT
SEL BD1 BD2 BD3 BD4
Note:
After confi rmation of the model selection in the base
screen, if you confi rm the message appearing in the
screen for a few seconds …
BIND. N/A
OK
… with a tap on the SET key of the right touch pad,
this line is accessed automatically.
In this line the binding process between model
memory and receiver is initiated, as described in
detail on page 77. Otherwise, you cannot address the
receiver.
Afterward, use the c selection key of the left or right
four-way pad to move up to the fi rst line and begin
with the actual model programming in the "Model
name" line.
Model name
Stick mode
1
n/a
BASIC SETTINGS,MODEL
Info
n/a
n/a
Module
bind
HoTT
The "Model name" can now be entered here and,
on the next line, an informative note about the model
can be entered if necessary in the same manner, by a
brief tap on the center SET key of the right touch pad
to switch to the character table.
!"#$%&’()
Model name
Graub
@ACDEFGHIJKLMNOPQRSTUVWXYZ[¥]^_
?+,–./0123456789:;¾
¢ÇüéâäàåçêëèïîìÄÅÉæÆôöòûùÖÜ
`abcdefghijklmnopqrstuvwxyz{|}~
The pre-sets for "Stick mode", "Modulation" and
"DSC Output" are adopted from data stored in the
»General basic settings« menu and these should
be reviewed and changed as necessary.
In the menu …
Model type
Tail type
Motor on C1
Normal
None
Aileron/camber flaps
1 AIL
M O D E L L T Y PE
Brake Offset Input 1+100%
SEL
… the principle arrangement of the servos in
the model is selected and communicated to the
transmitter. The following selections are available:
"Motor at C1"
"none"•
Trimming works independently of the joystick
position and the "Brake settings" sub-menu of the
»Wing mixers« menu, beginning page 160", is
available without limitation.
The "Throttle too high" warning message, see
page 30 and/or 94, and the "Motor stop" option
are deactivated.

 Loading...


