Operating Manual
41
POWER CLAMP
English
Quality Wins.
© 2021/09 Haimer POWER CLAMP
Operation
5.3.4 Adjusting the coil
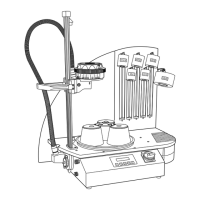
5.3.4.1 Manually adjustable coil VS 32 H
The coil is simply adjusted by turning the rotary disk (23)
to match the chuck and the tool. The tool Ø is shown on
the position No.
a) Parameters selected:
• Rotate the coil to the position shown on the display.
b) Automatic function
Set the coil to the clamping diameter of the chuck (see
the display or the markings on the coil)
In some cases a number of special points need
to be noted:
Clamping Ø 3 – 5 mm:
Small tools are usually very short and thus are not easy
for access. Use an insert ring of Ø 3 – 5 mm for easier
handling.
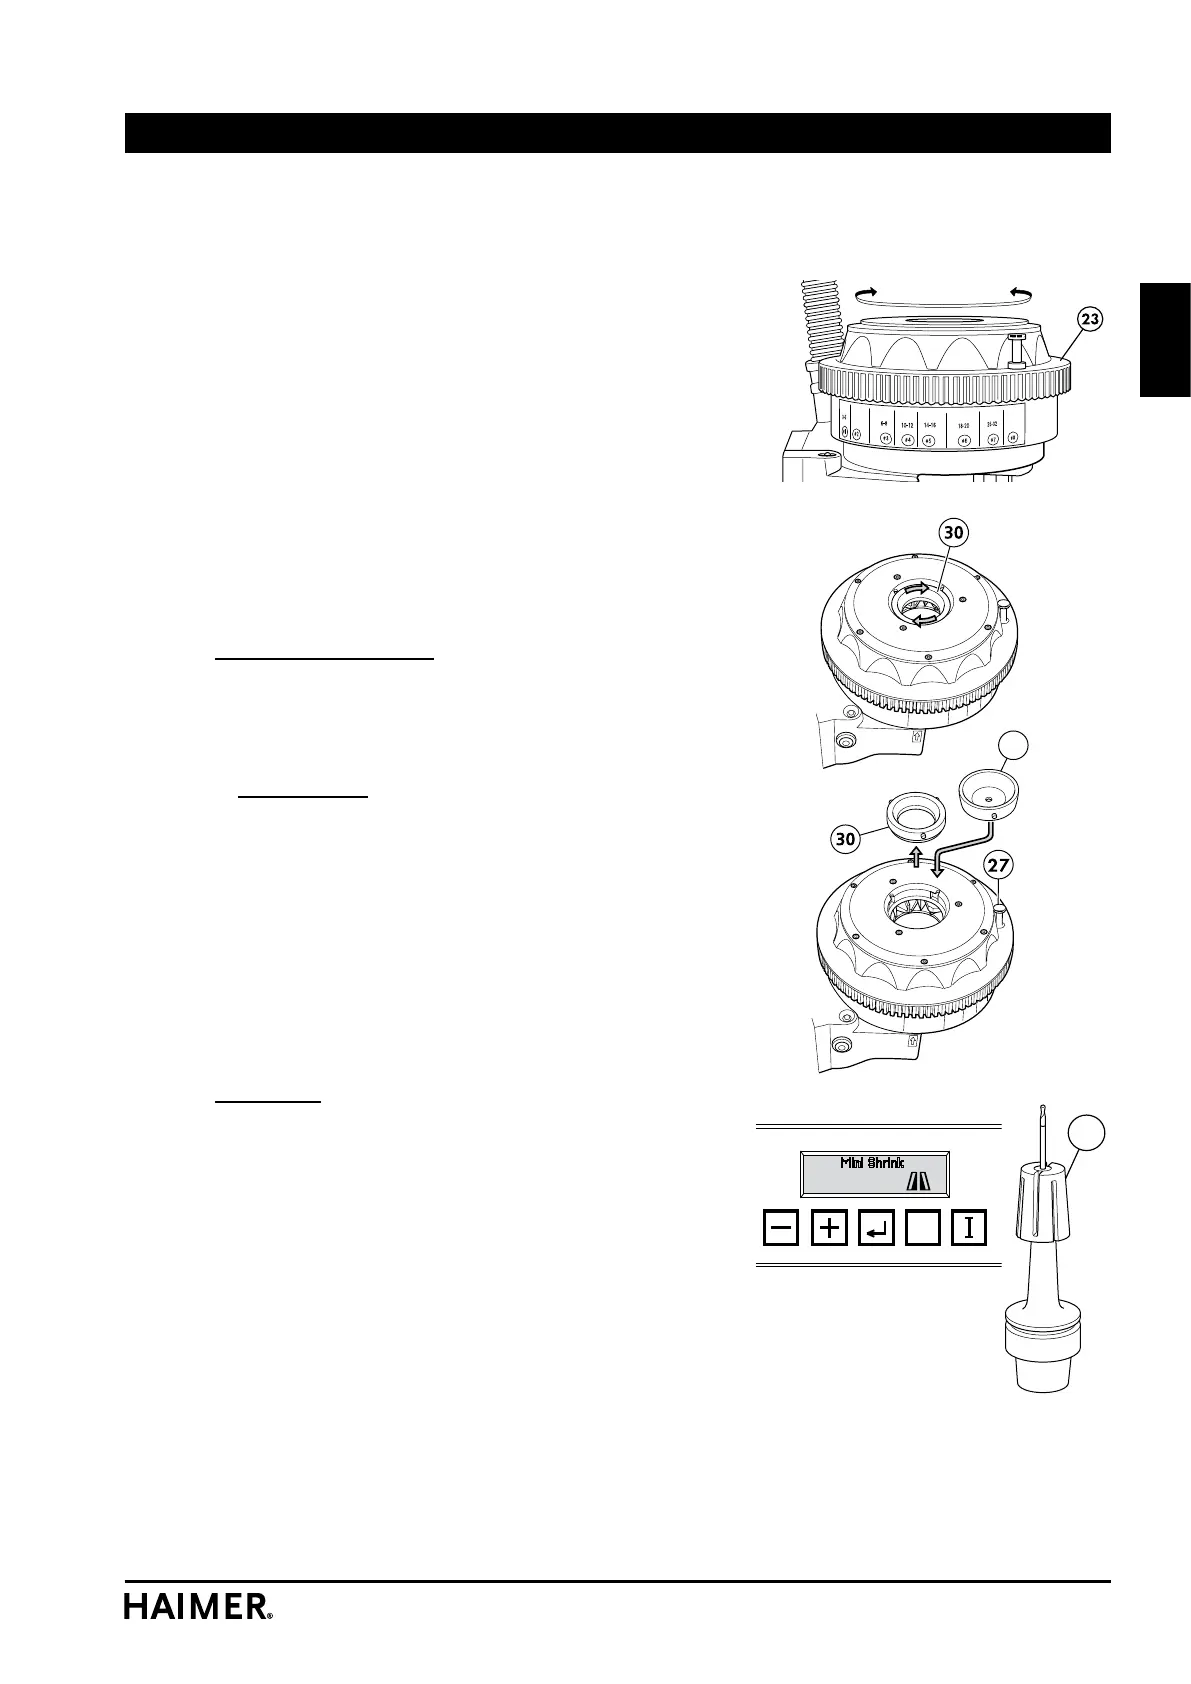
Coil VS 32 H:
• Set the coil to Ø 3 – 5 mm.
• Unlock the ferrite ring (30) by turning it anticlock-
wise.
• Remove the ferrite ring (30).
• Pull the locking pin (27) of the coil.
• Set the aperture to the largest Ø.
• Adjust the insert ring (55).
• Lock the insert ring (55) by turning it clockwise.
Mini Shrink
An additional shrink fit and cooling sleeve (56) is required
for Mini Shrink chucks.
• Rotate the coil into the position shown.
•
For clamping diameters of 6 mm and greater the locking
pin (27) mist be released subsequently and the aperture
opened wide enough to allow the tool to pass through
the aperture (leaving a gap of approx. 1 – 2 mm).
55
ESC
Mini Shrink
Ø 3-4
Position # 1
56