DS-7600 Series NVR User’s Manual
16
Aim the remote control at the IR receiver located at the front of the unit to test operation. If there is no
response:
1. Using the mouse, go into Menu > System Configuration > General > More Settings.
2. Check and remember NVR ID#. The default ID# is 255. This ID# is valid for all IR controls.
3. Press the DEV button on the remote.
4. Enter the NVR ID# from step 2.
5. Press the ENTER button on the remote control.
If there is still no response from the remote, please check the following:
1. Batteries are installed correctly and the polarities of the batteries are not reversed.
2. Batteries are fresh and not out of charge.
3. IR receiver is not obstructed.
4. No fluorescent lamp is used nearby.
Using a USB Mouse
A regular 3-button (Left/Right/Scroll-wheel) USB mouse can also be used with this NVR. To use a USB
mouse:
1. Plug USB mouse into one of the USB ports on the front panel of the NVR.
2. The mouse should automatically be detected. If in a rare case that the mouse is not detected,
please refer to the recommended device list from your provider.
The buttons on the mouse corresponds to:
1. Left Button:
• Single-Click: Select a component of a menu, such as a button or an input field. This is
similar to pressing the ENTER button on the remote controls.
• Double-Click: Switch between single screen and multi-screen mode in Preview/ Playback
mode.
• Click and Drag: Clicking and dragging the Left mouse button can be used to control the
pan/tilt of a PTZ camera as well as to vary the position of digital zoom area and camera OSD.
It can also be used to set the alarm areas.
2. Right Button:
• Single-Click: Shows pop-up menu in preview interface. Exit to return to the previous menu.
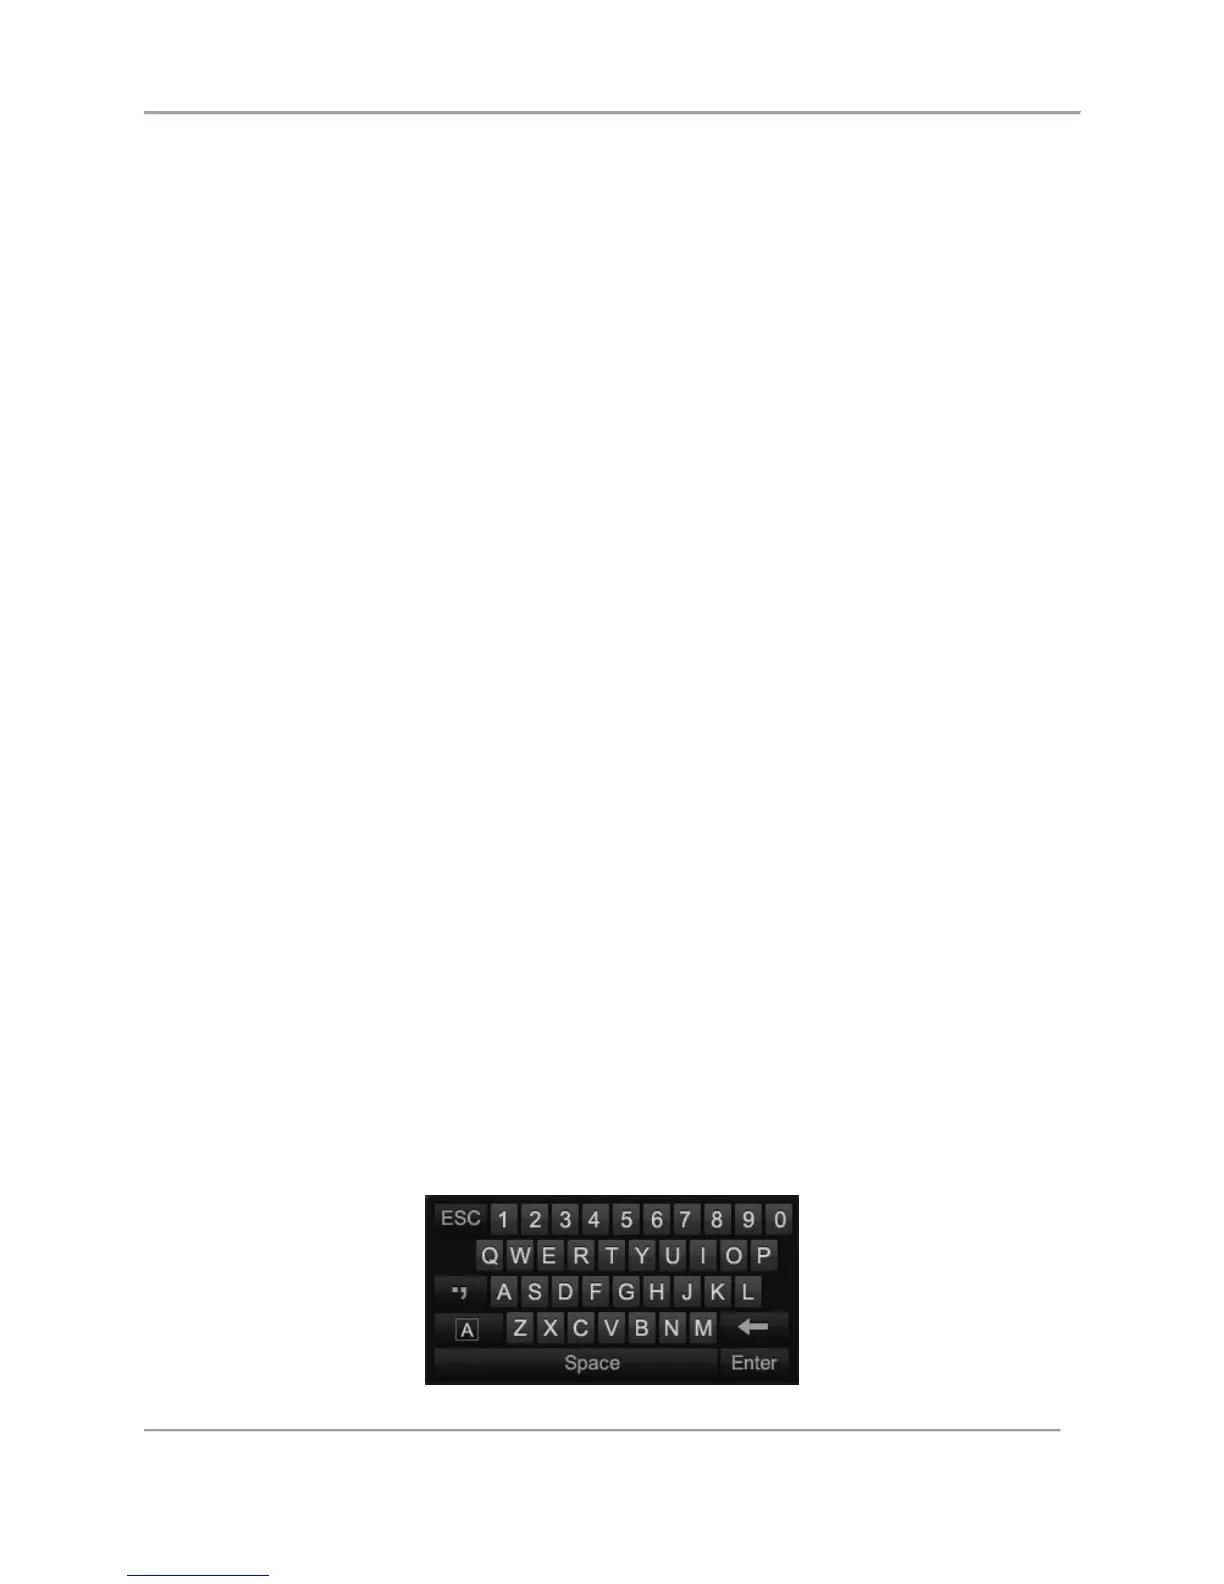
Using the Soft Keyboard
When a mouse is used to perform task on the NVR, clicking on a text input field will bring up the Soft
Keyboard, shown in Figure 6.
Figure 6 Soft Keyboard
 Loading...