2
6
5
3
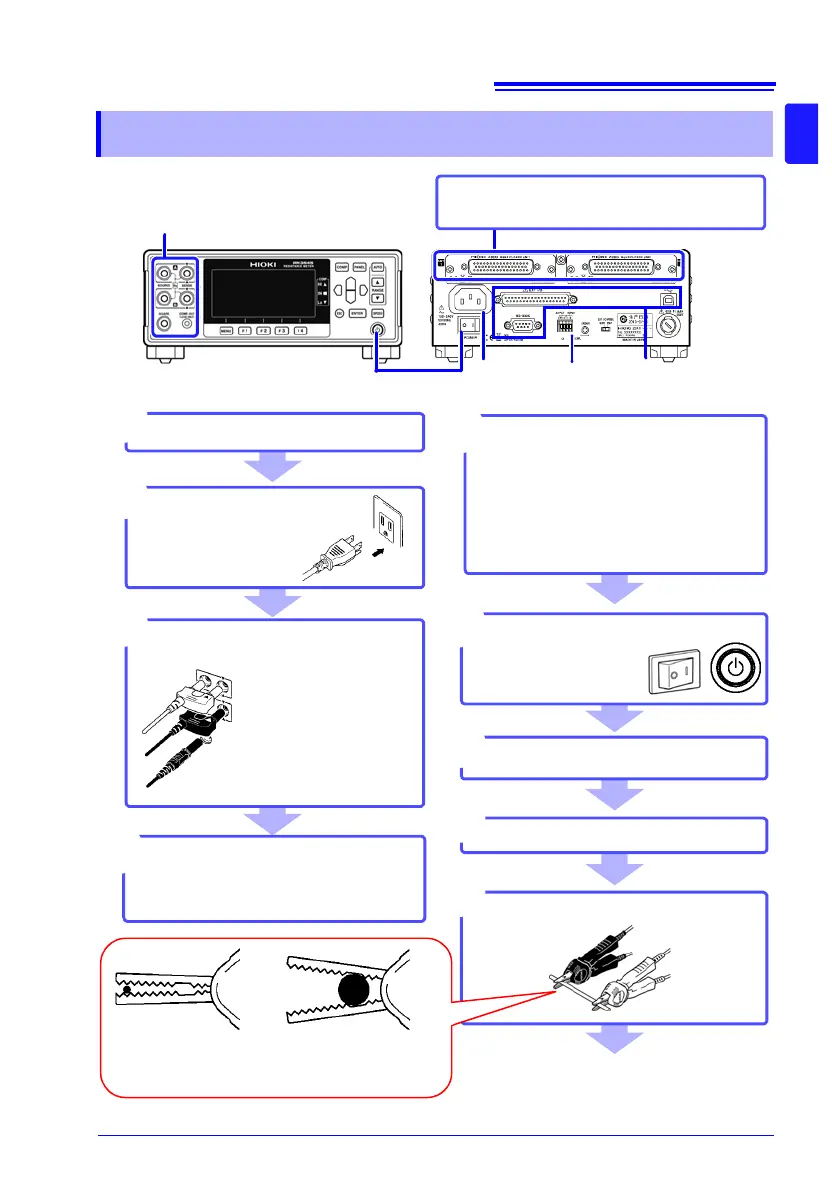
Install the Multiplexer Unit
(RM3545-02; as necessary)
4
Install this instrument (p. 6)
1
Rear Panel
Front Panel
Turn on the instru-
ment and cancel
the standby state
(p.43)
6
When finished measuring, turn the
power off (p.43).
Connect the temperature sensor
or infrared thermometer (p.37)
(When using the temperature correc-
tion function or T)
4
2
3
Make instrument settings
*1
7
Connect measurement leads (p.36)
Check the measurement target
(p.48)
8
Connect to the test sample (p.51)
9
Connect the power
cord (p.35)
Connect the external interface
(as needed)
5
• Using the printer (p.237)
• Using the USB, RS-232C or GP-IB
interface (p. 219)
• Using the EXT I/O (p. 175)
• Using D/A Output (p. 173)
Rear Front
(Connect connectors
to the Multiplexer
Unit as necessary.)
When clipping a small-gauge
wire
(Clip with the tip of the alligator
clips.)
When clipping a large-gauge
wire
(Clip with the back of the alligator
clips, where there are no teeth.)