Appendix 14 Checking Measurement Faults
A32
The instrument monitors the connection status of SOURCE A, SOURCE B, SENSE A, and
SENSE B. If you experience an unexpected measurement fault, check the following.
If the above resistance values are too high, check the following:
• Is the probe dirty or worn?
• Is the probe’s contact voltage too low?
• Is a power relay being used to switch the wiring (in particular, the sense wiring)?
Use of power relay contacts without applying current will cause the contact resistance to
increase gradually over time.
• Is the wiring too small?
Particularly if using a 1 A measurement current, keep the round-trip wiring resistance
within 1.5 .
See: p.57
• Is there a break in a measurement lead?
Switch the lead with another lead or jiggle the wiring and check the resistance value.
Appendix 14 Checking Measurement Faults
1 Disconnect the measurement lead plugs from the instrument while keeping the
probes in contact with the measurement target.
2 Check the resistance between SOURCE A and SENSE A with a tester or other
instrument. See (1) below.
Check the resistance between SOURCE B and SENSE B with a tester or other
instrument. See (2) below.
If good contact has been established, the resistance should be 1 or less.
3 Check the resistance between SOURCE A and SOURCE B with a tester or other
instrument. See (3) below.
If good contact has been established, the resistance should be the sum of the
measurement target resistance value and the wiring resistance.
SOURCE A
Red
Black
SENSE A
SENSE B
SOURCE B
Unplug
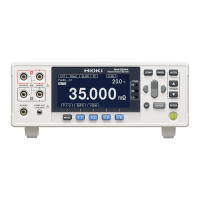
RM3545
(1)
Red
Black
Check resistance value.
(2)Check resistance value.
(3)
Red
Black
Check resistance value.
 Loading...