66 User Manual Compact Crane C10
7.8 Removing/installing ballast
WARNING!
Removal support is only intended for removal of the ballast. For
horizontal transport of the ballast, use two-way chain sling and
attach to outrigger pad holders on top of ballast.
WARNING!
Store removal support after installing ballast
WARNING!
Never stand within the slewing range of the ballast. During
extension, never stand within sliding range of the ballast (risk of
crushing).
WARNING!
Be careful not to damage the machine while removing the ballast.
7.8.1 Removing ballast
Preparation
Make sure the machine is supported on the outriggers in a square configuration, with the tracks just above
the ground and no load on the hook.
Make sure there is enough room for the extended boom on one side, preferably the right side, so the ballast
is removed on the left side (because the sensors are on the right side).
Make sure the tracks are retracted.
Make sure the boom is horizontal.
Make sure the ballast is placed in a safe spot, not on walking or driving paths and not within the working
range of the compact crane, other machines or workers.
Step-for-step
First perform the daily inspection!
Ensure that no hazardous situations can develop!
Start the engine and activate the transmitter as described in the section DRIVING.
Set the outriggers at 45°.
Place a pallet next to the machine.
Place the boom perpendicular to the machine with ballast to left of the machine
and above the pallet.
Set the boom horizontally.
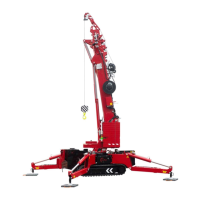
Remove the mounting bracket (see figure 79).
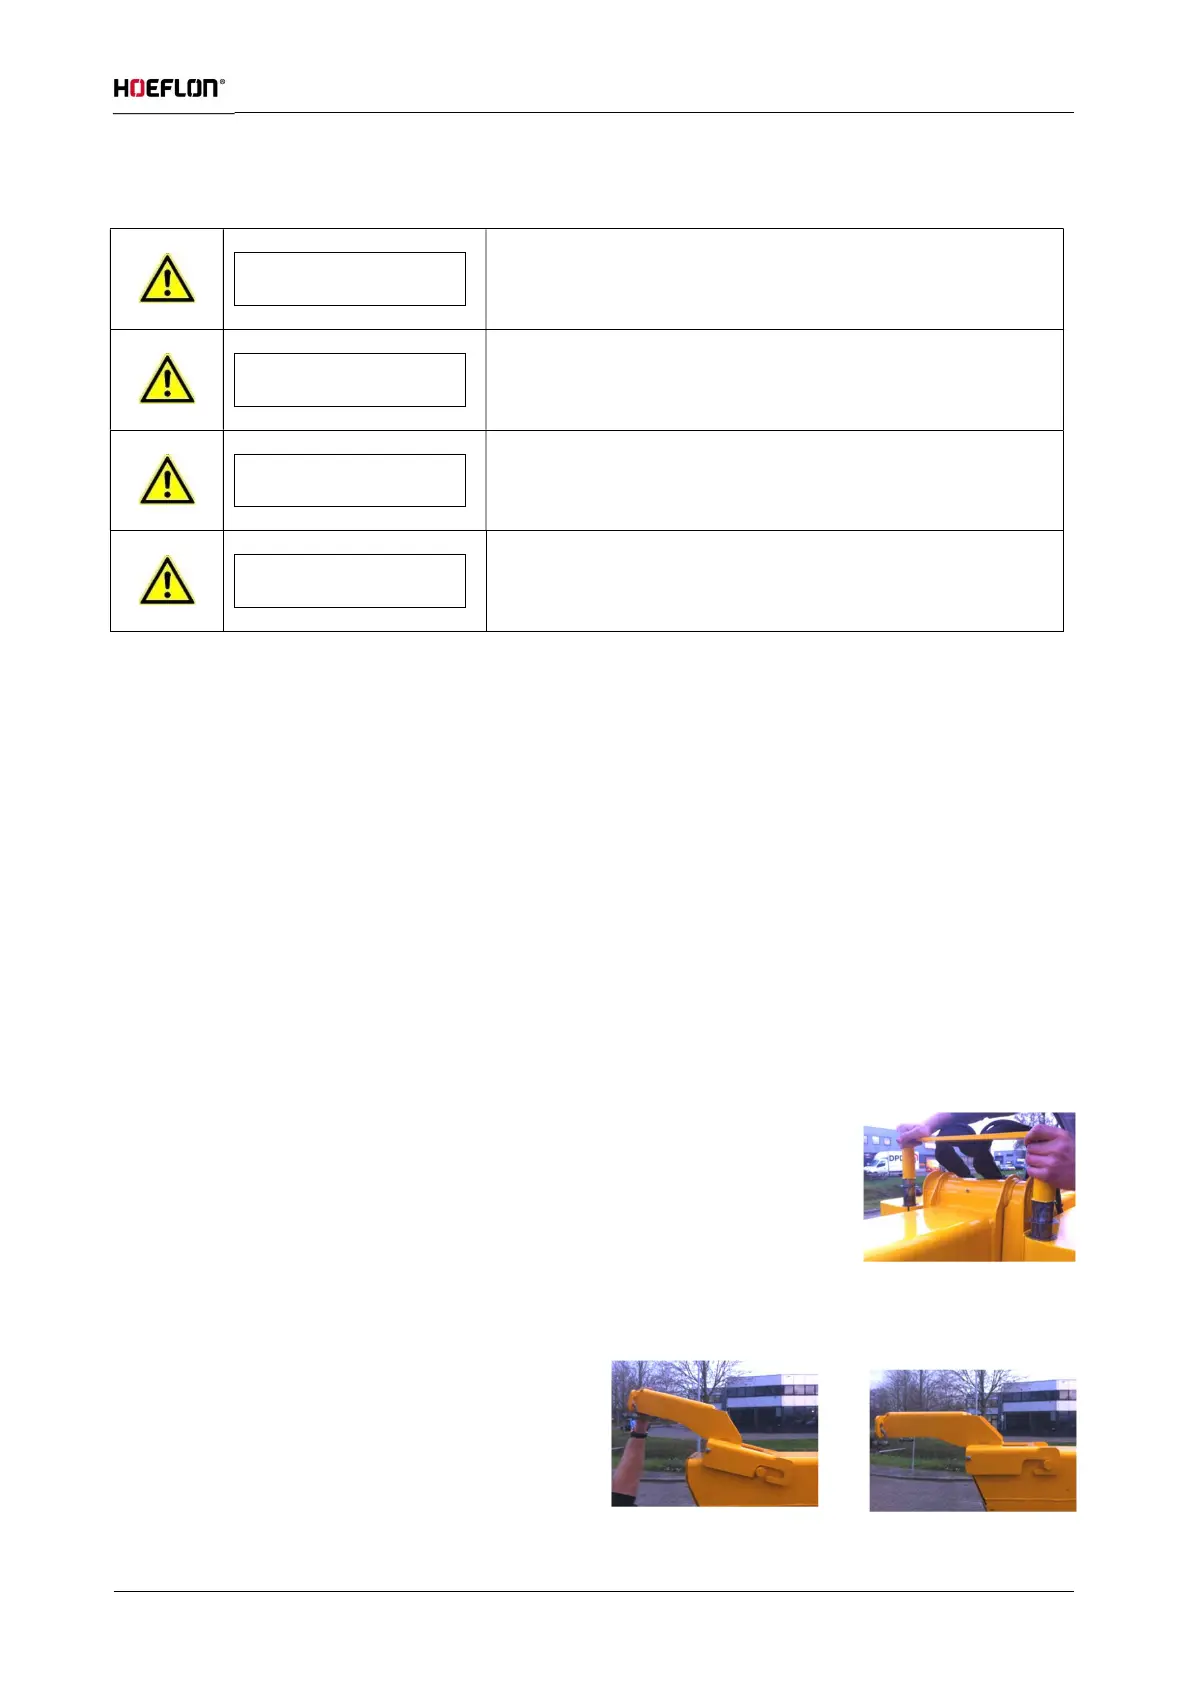
Mount the ballast support on the boom (see figures 80 and 81).
Figure: 79
Figure: 80
Figure: 81