OPERATION
4.16
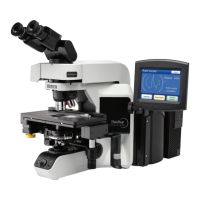
ThinPrep
®
Integrated Imager Operator’s Manual
Auto Scan
CAUTION:
Auto Scan must be completed if any electronic marks have been made.
If electronic marks were made during review of the 22 fields of interest, a review of the entire cell
spot is required. If no marks were made, a scan of the entire cell spot is available but not required.
The Auto Scan feature presents the entire cell spot in a defined path at 10X objective. During Auto
Scan the operator may:
• focus as necessary
• pause and resume stage motion
• manually switch to a different objective
• move about the cell spot using the stage control knobs
• advance to the next location by using the
Next
button function on the review control or the
button on the touch screen
• return to the previous location by using the
Previous
function on the review control or the
button on the touch screen (in Automatic or Semiautomatic mode)
• add and remove electronic marks by using the
Mark
function on the review control or the
button on the touch screen
Note:
Preferences for scan mode must be set up ahead of time, in the user preference menu (i.e.,
scan type, speed, overlap, etc.). Refer to “User Preferences” on
page 3.32.
To begin, at the Auto Locate Complete screen, press the
Continue
button.
Figure 4-17 Auto Scan Screen (Automatic scan type shown)
Depending on the type of scan mode that is chosen, the stage motion is user-initiated or self-driven.
Use the scroll wheel on the review control or buttons on the touch screen to pause and resume stage
motion as desired. For all modes, changing the objective will pause the scan. The scan cannot con
-
tinue until the 10X objective is in position. Electronic marks may be added, removed or left as is.
During scanning
During scan pause