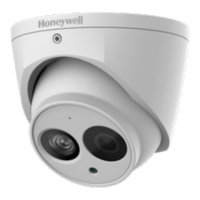
Performance Series Indoor Day/Night H.264 IP Camera User Guide
Document 800-09312V2 Rev A 23
08/2012
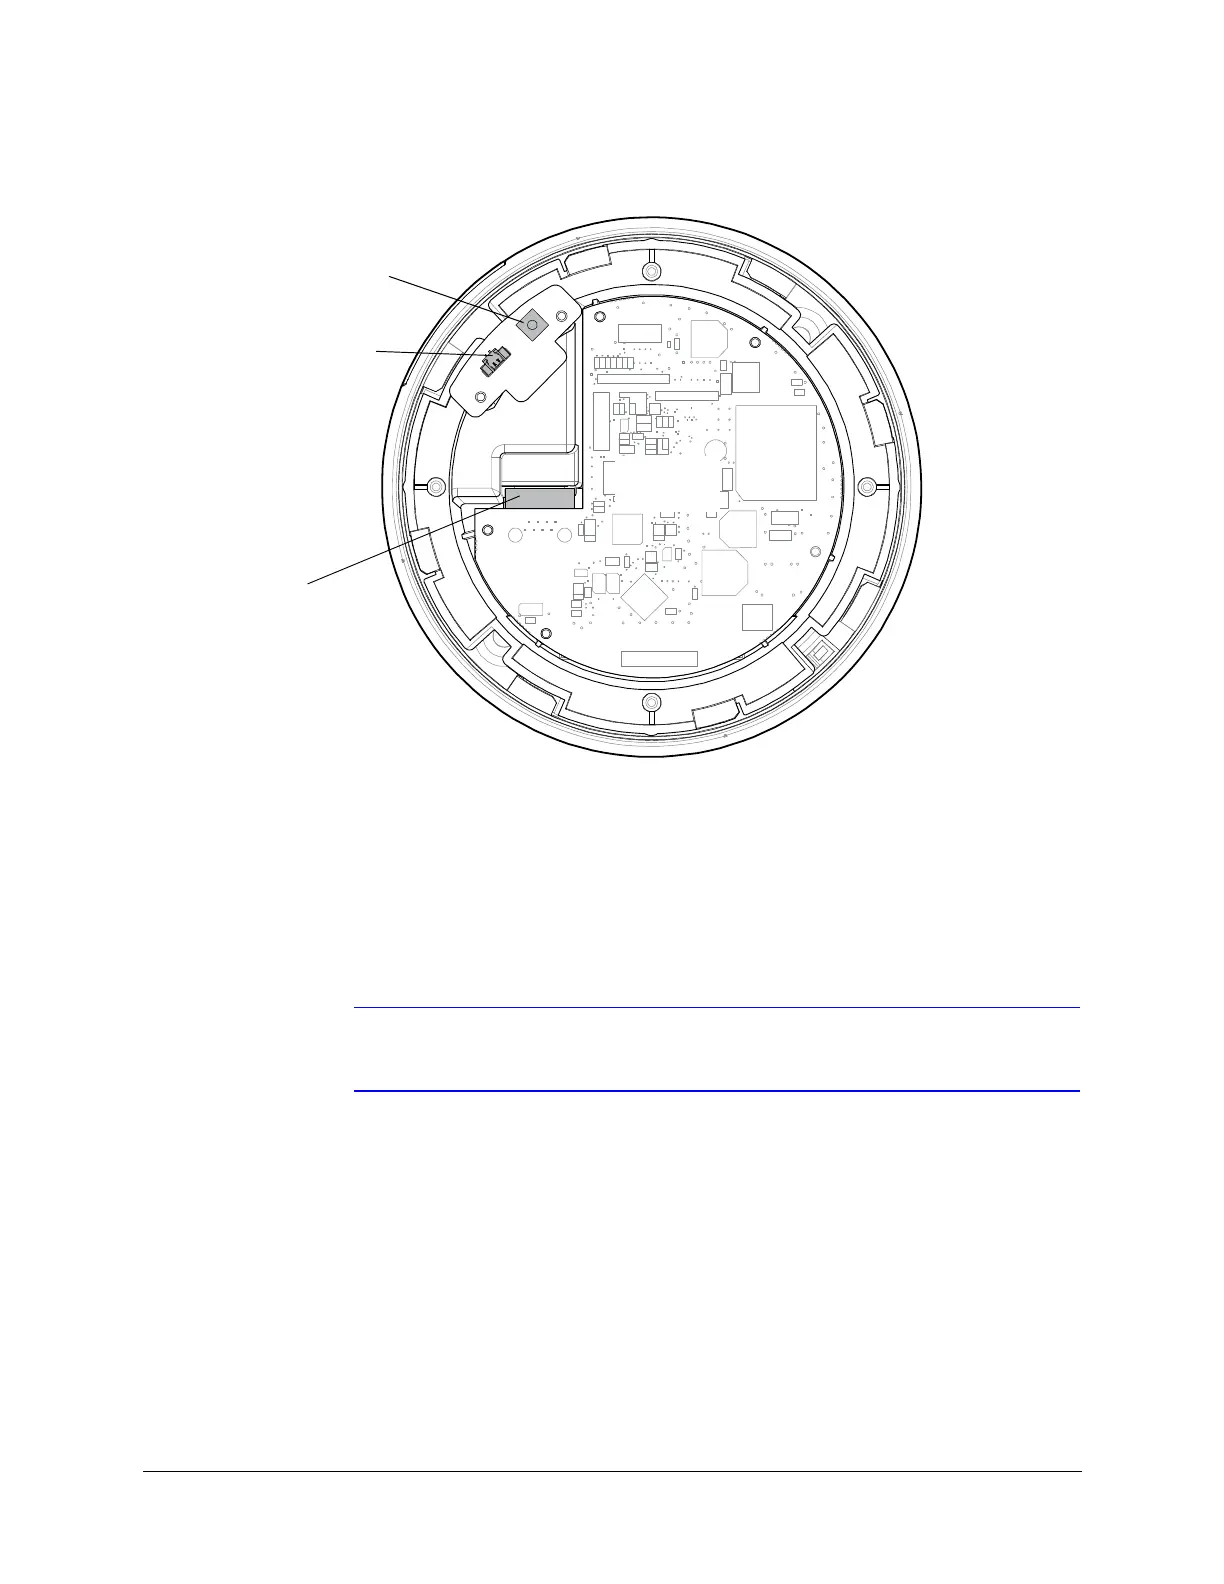
Figure 2-4 Wiring Connection Shown on Board
Connecting to a Video Monitor
The local video out (see Figure 2-4) is available as a test output and should be used as
needed during installation to position, aim, and focus the camera. Use the provided BNC
connector to connect the video from the camera to the video input connector on your video
monitor.
Note Please wait approximately 60 seconds after connecting to a power source for
video to appear on the local video output.
Connecting to a Network with an RJ-45 Ethernet Connector
The main video connection for your IP camera will be made through your Ethernet network
connection. Connect the Ethernet connector on your camera to your network using an
Ethernet (10Base-T, 100Base-TX) cable.
Local video out connector
(for aim and focus)
RJ45 Ethernet Connector (see
Connecting to a Network with an
RJ-45 Ethernet Connector on
page 23 for more information).
Factory reset button
Inside view
of camera
 Loading...