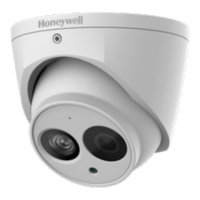
Performance Series Indoor Day/Night H.264 IP Camera User Guide
Document 800-09312V2 Rev A 25
08/2012
Note Please wait approximately 60 seconds after connecting to a power source for
video to appear on the local video output.
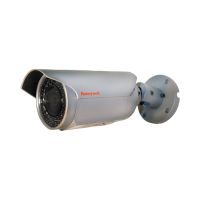
2. Connect the supplied BNC video cable to the local video out connector to view the
video signal on a standard monitor (see Figure 2-5 below to connect a local video
monitor).
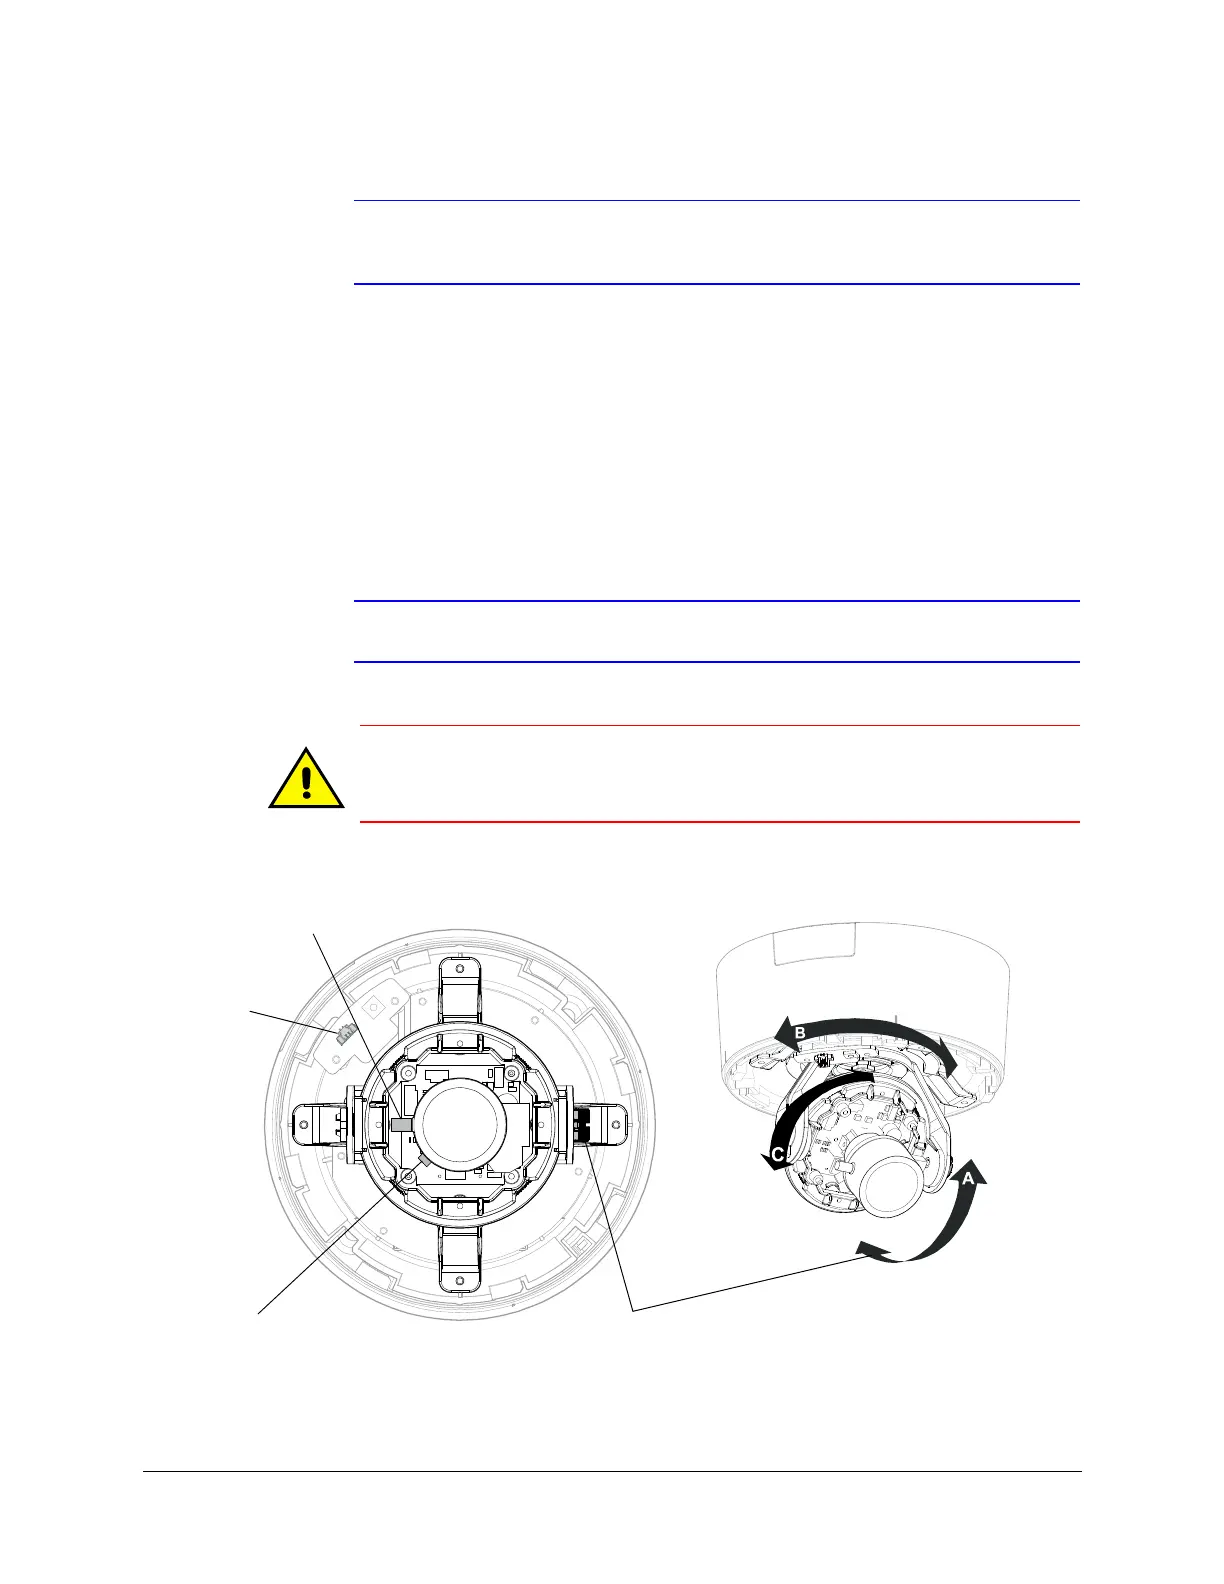
3. Loosen the thumbscrew that locks the gimbal assembly in place (see Figure 2-5) to
adjust the tilt rotation.
4. Adjust the gimbal assembly to the desired view. Orient as shown in Figure 2-5 to
maintain the correct picture orientation.
5. Re-tighten the thumbscrew to lock the gimbal assembly in place.
6. Disconnect the BNC video cable.
Note Figure 2-5 illustrates the ways in which you can adjust your camera.
Caution Adjust the camera field of view only by moving the gimbal. Do not
move the camera lens to adjust the camera field of view as this might
result in irreparable damage.
Figure 2-5 Gimbal Adjustment
Angle viewTop view
Set focus
(top)
Loosen thumbscrew to
adjust tilt rotation (A)
Set focal length
(bottom)
Legend
A = Tilt rotation
B = Horizontal rotation
C = Pan rotation
Local
video
output
 Loading...