NOTE: If the paper has jammed, it is recommended that you reinsert the printheads and initiate the
realignment procedure by pressing
, then , then Image-quality maintenance > Align printheads.
CAUTION: Do not use transparent or semi-transparent paper to align the printheads.
Reinsert printheads procedure
1.
If the realignment process is running and the wrong paper is loaded, press on the front panel.
CAUTION: Do not print if the realignment process has been canceled. You can restart the alignment by
pressing
, then , then Image-quality maintenance > Align printheads.
2
. Load the paper you wish to use, see Paper handling on page 32. You can use a roll that is at least 610
mm (24 in) wide or a cut sheet that is A2 landscape or larger.
CAUTION: Do not use transparent or semi-transparent paper to align the printheads.
3. Remove and re-insert all the printheads, see Remove a printhead on page 105 and Insert a printhead
on page 108. This starts the printhead alignment procedure.
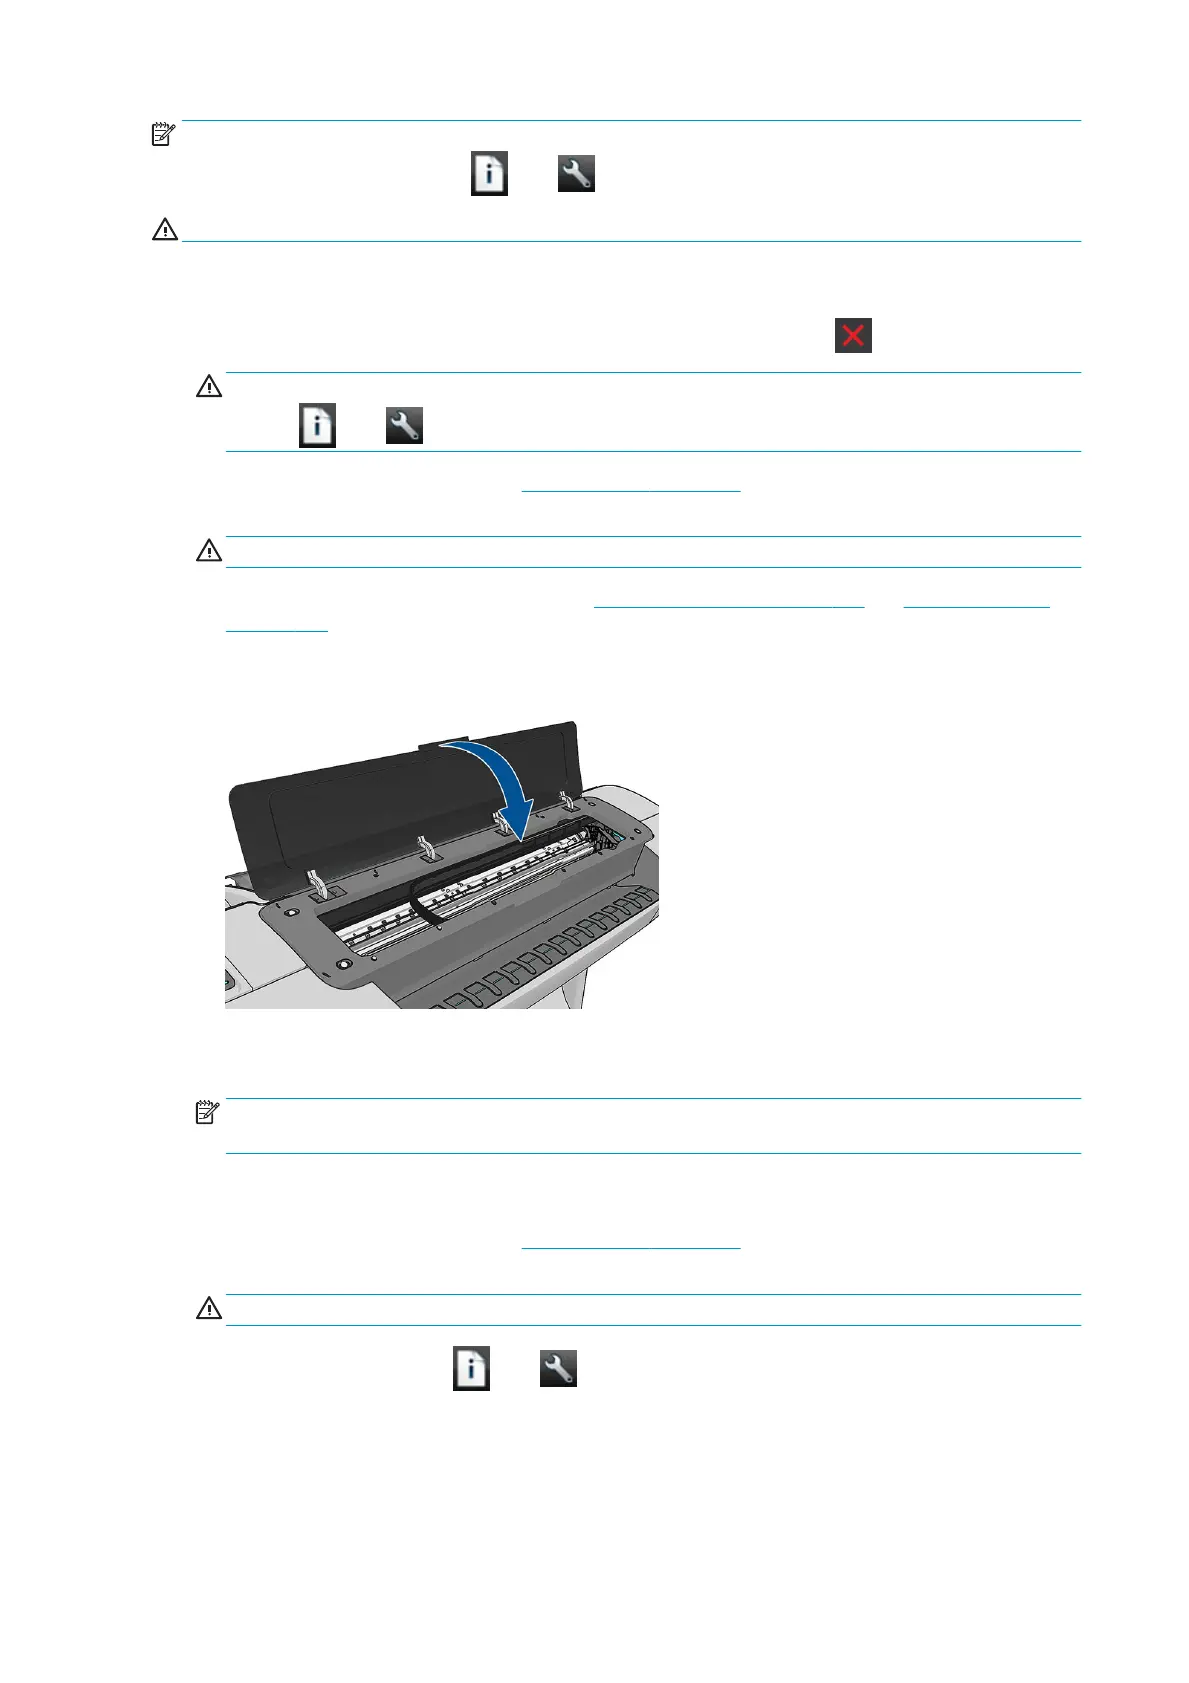
4. Ensure the window is closed, as a strong light source near the printer during printhead realignment can
aect alignment.
5. The process takes about six minutes. Wait until the front-panel display shows the process complete
before using the printer.
NOTE: The printer prints a calibration image. Do not worry about the image. The front-panel display
shows any errors in the process.
Image-quality maintenance menu procedure
1. Load the paper you wish to use, see Paper handling on page 32. You can use a roll or cut sheet, however,
it must be A3 landscape or larger (420 by 297 mm).
CAUTION: Do not use transparent or semi-transparent paper to align the printheads.
2.
From the front panel, press , then , then Image-quality maintenance > Align printheads. The
printer checks to see if it has enough paper to run the realignment.
154 Chapter 18 Troubleshooting ink cartridge and printhead issues ENWW
 Loading...