23
Chapter 1: Installing the Emulation Probe
Connecting the Emulation Probe to a LAN
The link-level address (LLA) is printed on a label above the LAN
connectors on the emulation probe. This address is configured in each
emulation probe shipped from the factory and cannot be changed.
IP Address of Emulation Probe __________________________
Hostname of Emulation Probe __________________________
Gateway Address __________________________
Link-Level Address of Emulation Probe __________________________
To configure LAN parameters using the built-in
terminal interface
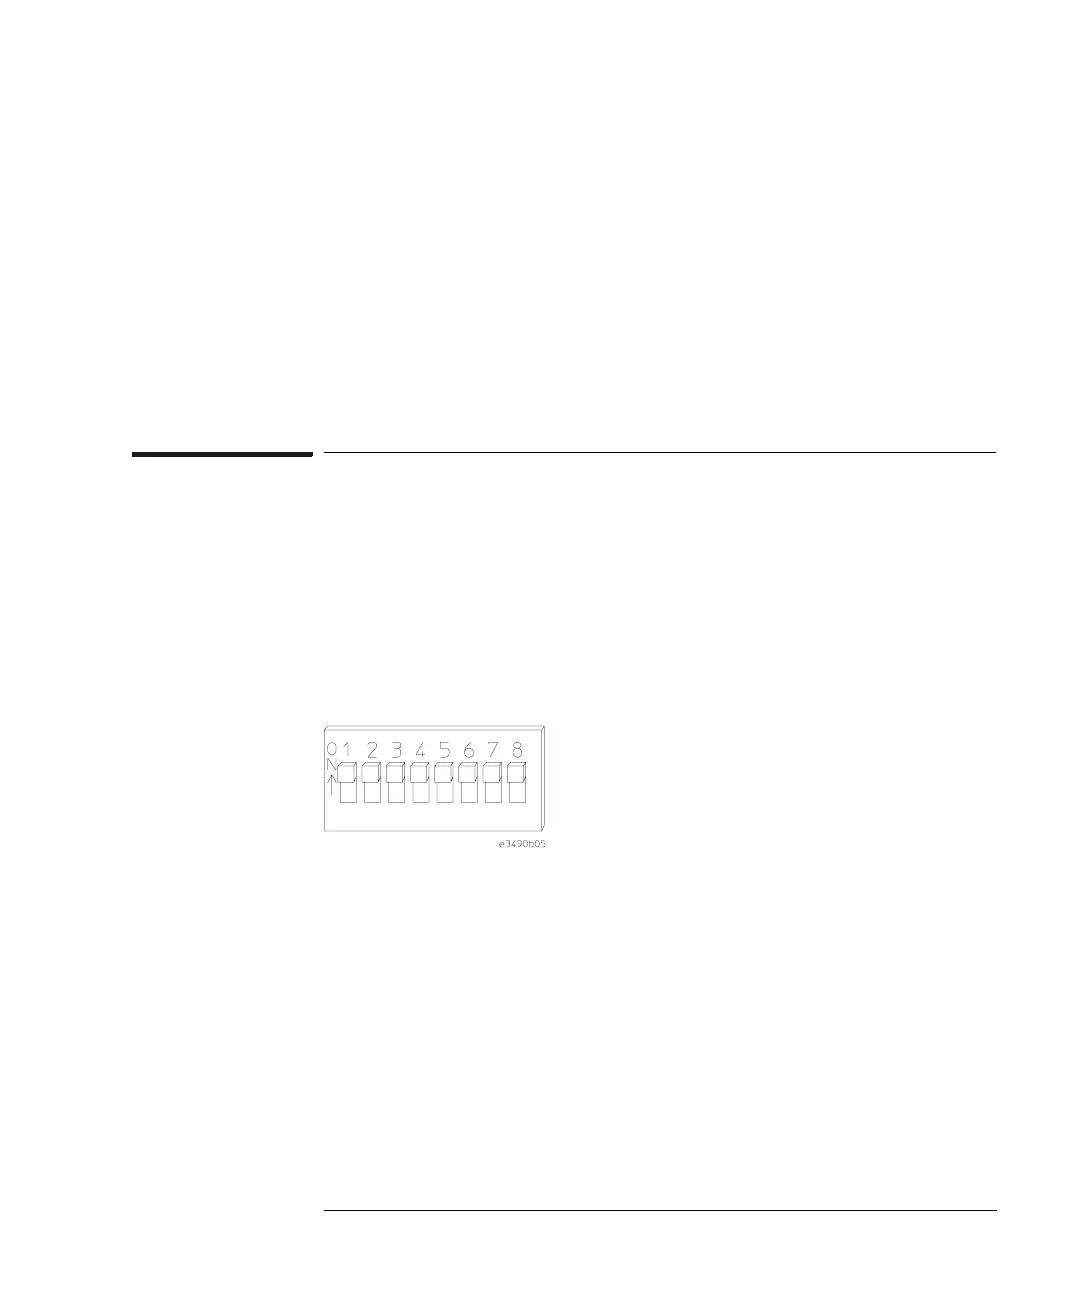
1 Set configuration switches S1 through S4 to ON, and set the
other switches as appropriate for your serial interface.
Switch setting definitions are printed on the bottom of the emulation
probe. If you will use a baud rate of 9600 baud, set the switches like
this:
2 Connect an ASCII terminal (or terminal emulator) to the
emulation probe’s RS-232 port with a 9-pin RS-232 cable.
Complete instructions for setting up a serial connection can be found in
“Connecting a Terminal to the Emulation Probe’s Serial Port” on
page 34.
3 Plug in the emulation probe’s power cord. Press the terminal’s
Enter (that is, carriage return) key a couple times. You should
see a prompt such as “p>”, “?>”, or “R>”.
At this point, you are communicating with the emulation probe’s built-