EasyManuals Logo

HP Notebook Series Reference Guide

HP Notebook Series
102 pages
To Next Page IconTo Next Page
To Previous Page IconTo Previous Page
Page #28 background imageLoading...
Page #28 background image
2–10 Reference Guide
Basic Operation
Using CDs or DVDs
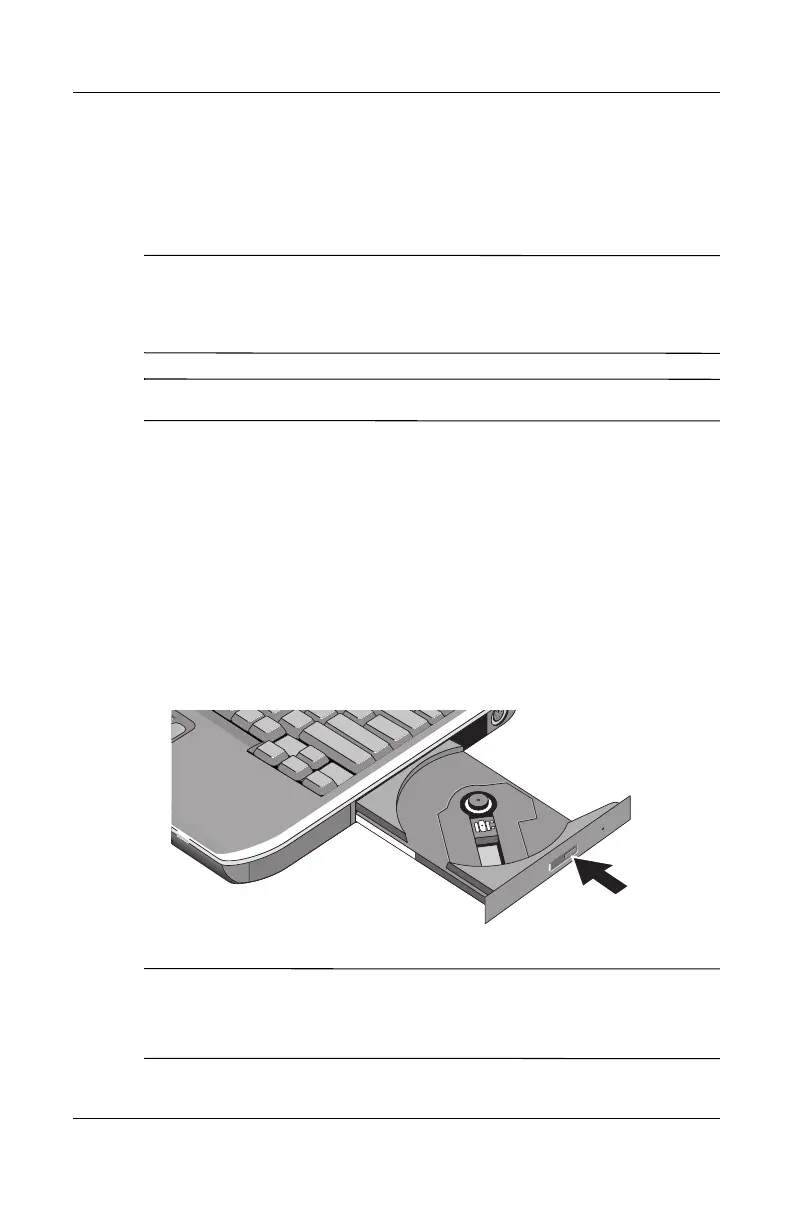
To Insert or Remove a CD or DVD
Ä
CAUTION: Do not remove a CD or DVD while the notebook is reading
it, or the notebook could stop responding and you could lose data. To
avoid damage to the disk or drive, be sure to press the CD or DVD firmly
onto the spindle.
The location of the CD or DVD drive varies by model.
1. Press the button on the face of the CD or DVD drive. If you
are using this drive for the first time, be sure to remove the
cardboard packing insert if present.
2. Press the CD or DVD gently but firmly onto the spindle (label
facing up).
-or-
Remove the CD or DVD.
3. Slide the tray back into the module to close it.
If your notebook loses power, you can manually open the drive to
remove a CD. Insert a straightened paper clip into the recessed
hole on the front of the drive to open it.

Table of Contents

Other manuals for HP Notebook Series

Questions and Answers:

Question and Answer IconNeed help?

Do you have a question about the HP Notebook Series and is the answer not in the manual?

HP Notebook Series Specifications

General IconGeneral
CategoryLaptop
SeriesNotebook Series
ProcessorVaries by model (e.g., Intel Core i3/i5/i7, AMD Ryzen)
RAMVaries by model (e.g., 4GB, 8GB, 16GB)
StorageVaries by model (e.g., 256GB SSD, 1TB HDD)
Display14-inch to 17.3-inch HD or FHD (varies by model)
Operating SystemWindows 10 or Windows 11 (varies by model)
GraphicsIntegrated Intel or AMD Graphics or Discrete NVIDIA or AMD Graphics (varies by model)
BatteryVaries by model
WeightVaries by model

Related product manuals