IMPORTANT: When removing a DIMM bale, do not remove the following options when installed on the DIMM
bale:
• M.2 enablement option (left DIMM bale)
• HPE Smart Storage Battery (right DIMM bale)
IMPORTANT: When removing the right DIMM bale, use the blue pull tab to disconnect the HPE Smart Storage
Battery cable from the system board.
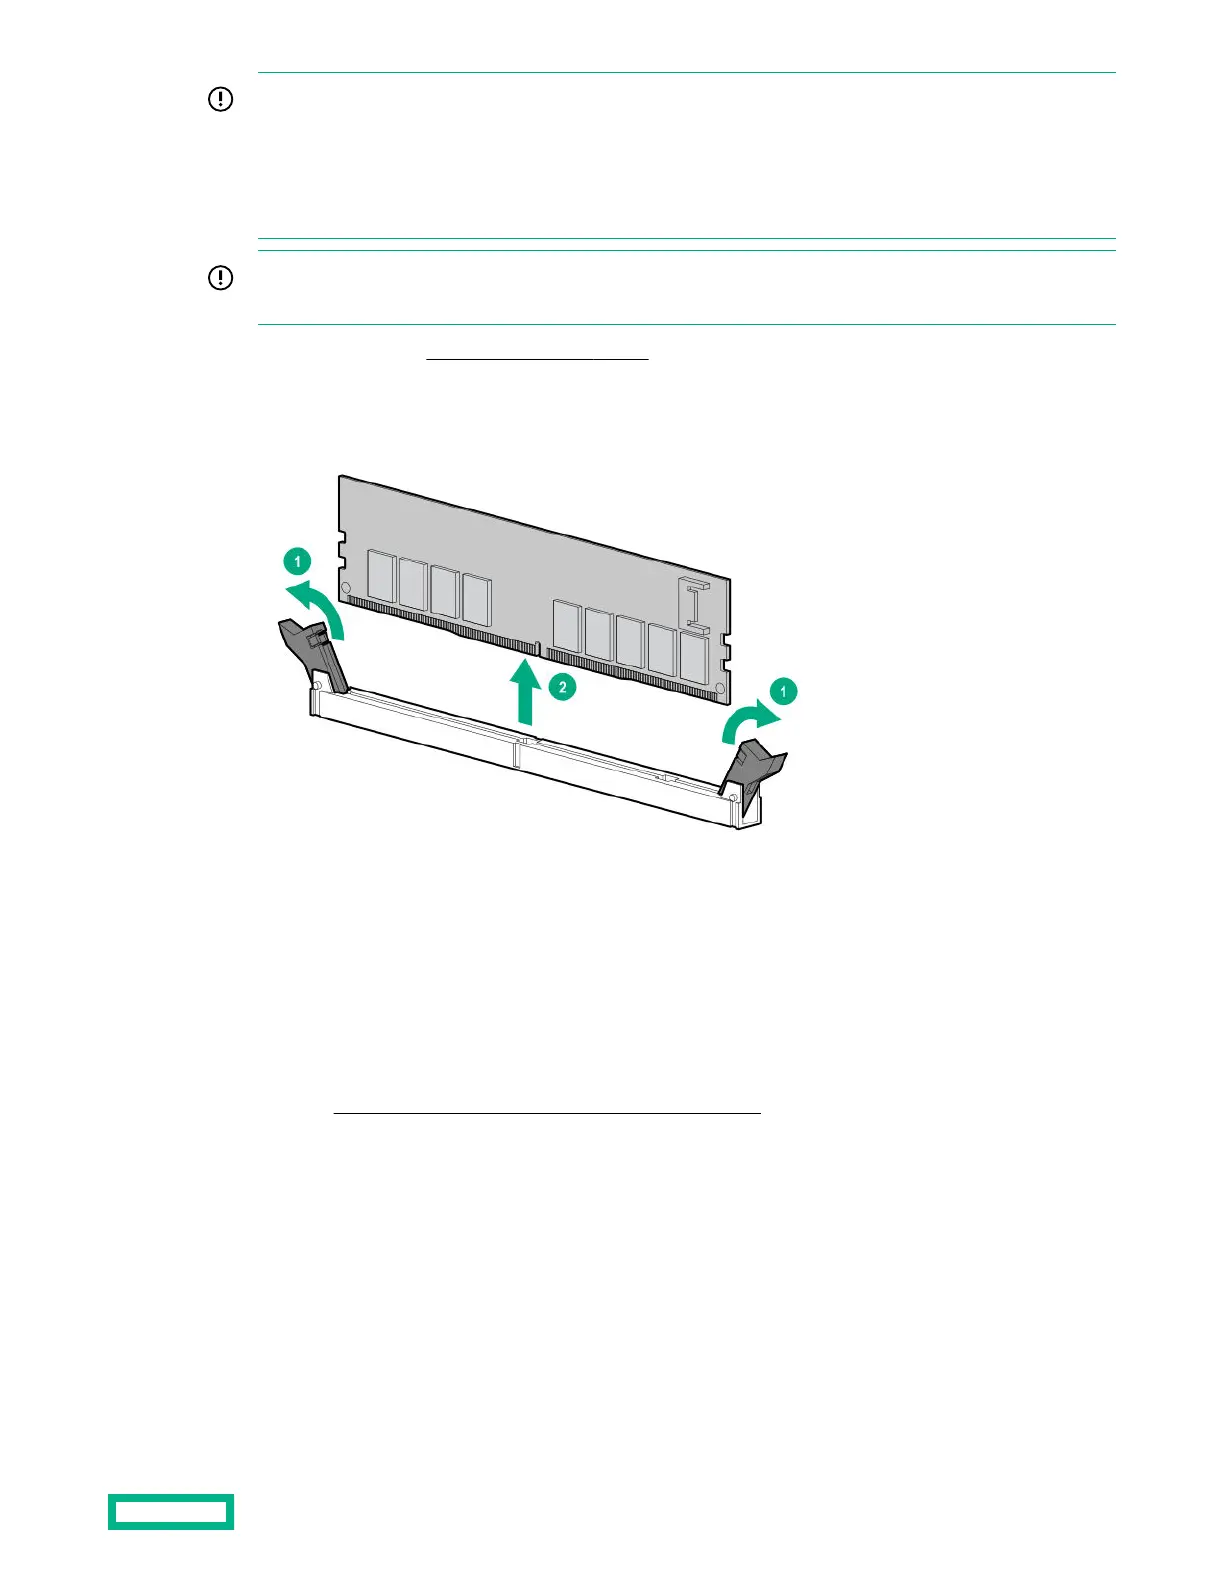
6. Remove both DIMM bales (Removing the DIMM bales).
7. Observe the NVDIMM LEDs. Do not remove an NVDIMM when any NVDIMM LED in the system is illuminated.
8. Remove the NVDIMM-N.
To replace the component, reverse the removal procedure.
NVDIMM-processor compatibility
HPE 16GB NVDIMMs are only supported in servers with first-generation Intel Xeon Scalable processors installed.
DIMM and NVDIMM population information
For specific DIMM and NVDIMM population information, see the DIMM population guidelines on the Hewlett Packard
Enterprise website (http://www.hpe.com/docs/memory-population-rules).
NVDIMM sanitization
Media sanitization is defined by NIST SP800-88 Guidelines for Media Sanitization (Rev 1, Dec 2014) as "a general term
referring to the actions taken to render data written on media unrecoverable by both ordinary and extraordinary means."
The specification defines the following levels:
Removal and replacement procedures
51
 Loading...