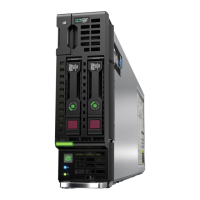
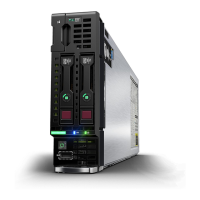
Install the server blade
Removing and replacing the front panel/drive cage assembly
Prerequisites
A Torx T-15 screwdriver is required to perform this procedure.
Procedure
1. Power down the server blade.
2. Remove the server blade.
3. Place the server blade on a flat, level work surface.
4. Remove the access panel.
5. Remove all drives and drive blanks (
Removing and replacing the drive bay options).
6. Remove the mezzanine assembly (
Removing the mezzanine assembly).
7.
Do one of the following:
• Remove the storage controller or the NVMe pass-through board (Removing a storage controller or NVMe
pass-through board).
• Remove the direct connect SATA cable (Removing and replacing the direct connect SATA cable).
8.
Remove the internal USB drive, if installed.
To locate the internal USB connector, see
System board components.
IMPORTANT: When removing a DIMM
bale, do not remove the following options when installed on the
DIMM bale:
• M.2 enablement option (left DIMM bale)
• HPE Smart Storage Battery (right DIMM bale)
IMPORTANT: When removing the right DIMM bale, use the blue pull tab to disconnect the HPE Smart
Storage Battery cable from the system board.
9.
Remove both DIMM bales (Removing the DIMM bales).
CAUTION: Always remove the storage controller or NVMe pass-through board or direct connect SATA cable
before removing the front panel/drive cage assembly.
10. Remove the front panel/drive cage assembly.
Removal and replacement procedures
70
 Loading...
