Chapter 3 • Installing the HN7000S remote terminal
36
1037076-0001 Revision C
Testing the connection
between the computer
and remote terminal
.
If you do not have a HughesNet Activation Software CD, follow
these steps to test the connection between the computer and
remote terminal:
1. Connect the power supply’s AC power cord to the power
strip, surge protector, or other power source.
2. Restart the computer.
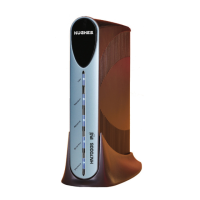
3. Observe the HN7000S remote terminal’s front panel LEDs
(
Figure 31).
The Power LED is solidly illuminated to indicate that the
remote terminal is on.
The LAN LED comes on within 30 seconds to indicate that
the remote terminal is detecting LAN activity.
4. The Power LED starts blinking to indicate that it is operating
with factory-installed software. The remote terminal
downloads the most current software version during the
registration process. The Power LED is solidly illuminated
after the remote terminal is registered for service.
Note: If you have a HughesNet Activation Software CD, this
process is performed automatically. You do not have to perform
the steps in this section. Skip this section and proceed to
Chapter 4
– Completing the upgrade.
Note: If the LEDs do not appear as described above, make
sure you are using the correct power supply. If the correct
power supply is in place, contact Customer Care for
assistance.
 Loading...