5-17: Machine Maintenance Machine Maintenance: 5-16
VACUUM SYSTEM MAINTENANCE
The vacuum pump in this machine is commonly referred to as a “rotary positive
displacement blower” or “blower” for short. The performance and life of the truckmount is
greatly dependent on the care and proper maintenance it receives. The manual for the
blower has been included. Review the manual for a better understanding of this piece of
machinery.
To protect the blower from overloading and damaging itself, there is a vacuum relief
system installed on the vacuum tank. When the vacuum tank inlet is completely
sealed off a maximum of 12” Hg will be attained.
Solid objects entering the blower will cause serious damage to the internal
components of the blower. Extreme caution should be used when the truckmount is
being run for test purposes with the inlet to the blower open to the atmosphere.
Foam passing through the blower can lead to serious problems with the truckmount.
It is important to keep the vacuum tank free of foam. The tank is protected from
overowing by a oat kill switch; however, this switch is not activated by foam.
Daily
At the end of each day the internal components of the blower need to be lubricated. This
helps to prevent rust deposits and prolongs the life of the truckmount.
To lubricate the blower:
1. Allow the unit to run for a few minutes with the vacuum hose disconnected in order
to remove moisture from the blower.
2. Cap off the inlet(s) to the vacuum tank.
3. Spray a HydraMaster-recommended spray lubricant into the “BLOWER LUBE
PORT” for about 5 to 7 seconds while the unit is running.
4. Uncap the inlet(s) and run the unit for another minute to allow the blower to cool
down.
Periodically
Change the oil in both ends of the blower after the initial 100 hours of use. The oil is to be
changed each 500 hours of use thereafter.
DESCALING PROCEDURE (REQUIRED)
Scale deposits on the interior of the heating system can cause a noticeable loss in
heating performance. Deposits of this kind result from hard water. The frequency with
which descaling procedures are required will vary. If the area has particularly hard water,
you may have to descale often.
To descale the system, add an appropriate descaler chemical to the water box. Circulate
it through the system. Let it stand. Flush and repeat as necessary. Clean all screens and
strainers, and check them frequently following descaling.
If using TM DeScaler™ through the ow meter, make sure to run clean water
through the ow meter after this procedure.
To descale using the recirculation kit (P/N 000-078-058), start with an empty water box.
Fill a third of the water box with TM DeScaler™. Follow the recommendations on the TM
DeScaler™ label for proportions. Verify that the oat is not lying horizontal, but oats
below.
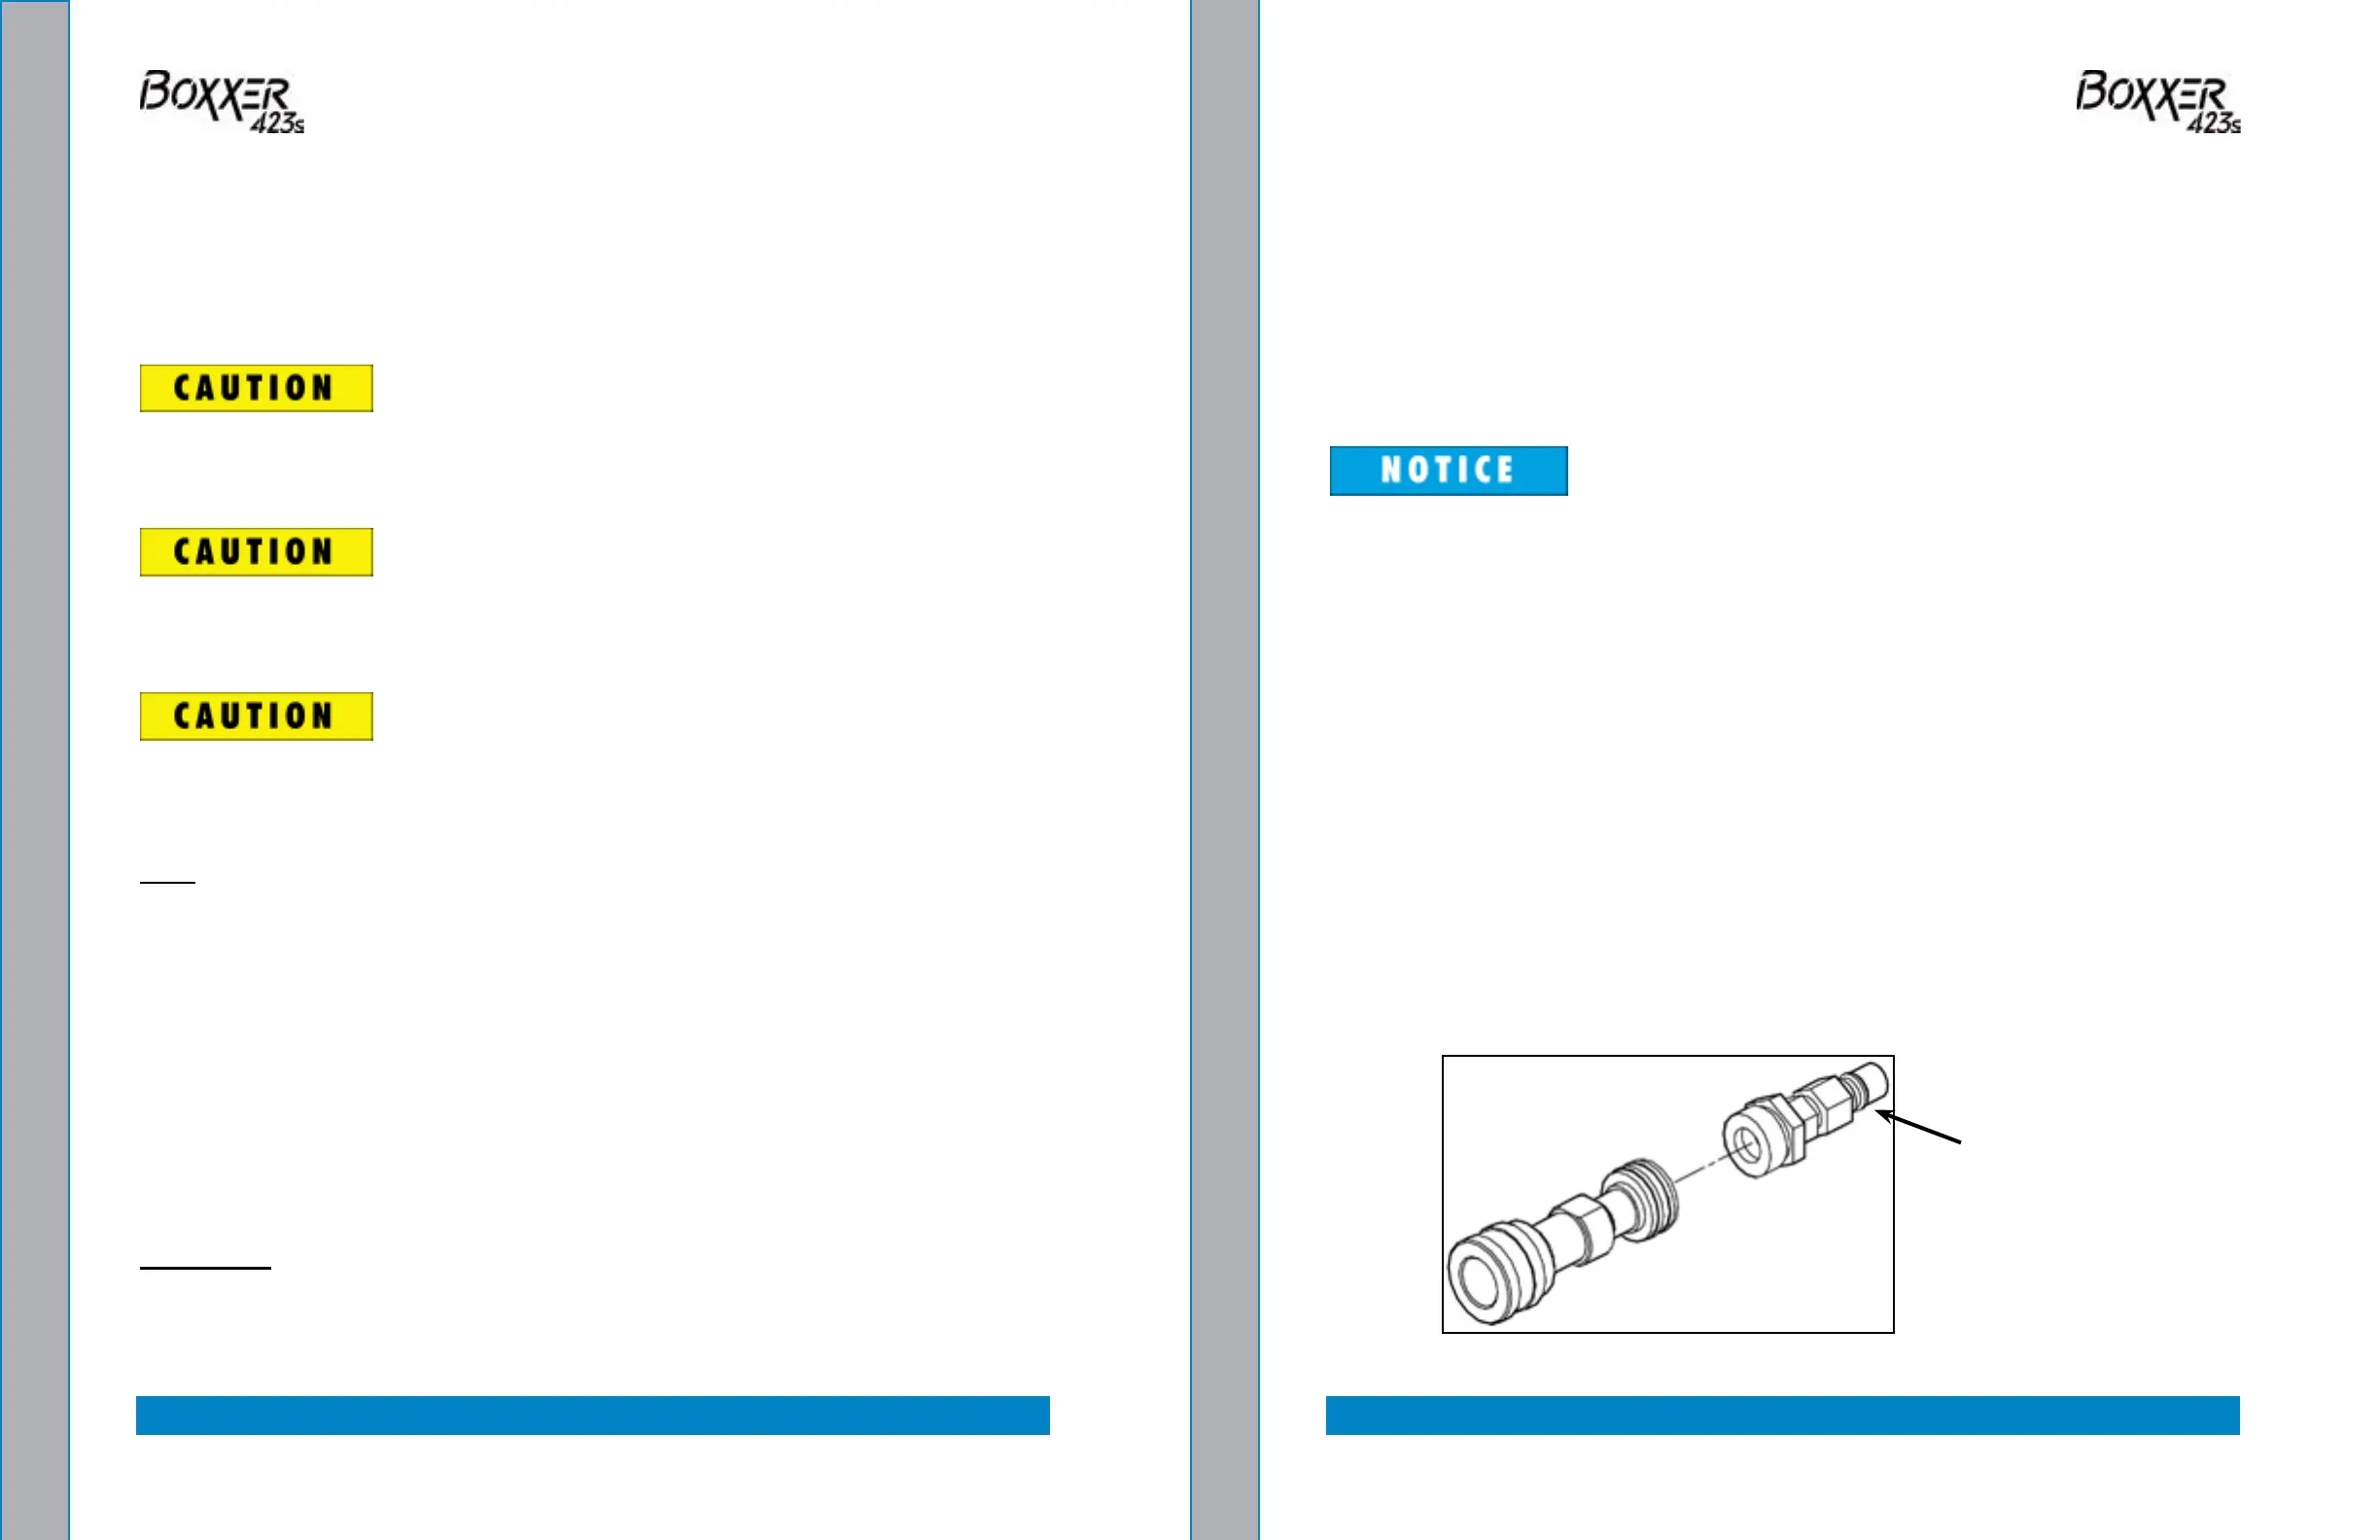
Attach the recirculation tting provided in the kit to the garden hose quick connect (see
Figure 5-19) and this combination to the front of the truckmount.
Attach one section of the solution hose to the outgoing solution tting on the front of the
truckmount and the other end to the garden hose and recirculation tting combination
that is attached to the front of the truckmount. Additional hoses may be attached inline if
descaling of hoses is needed.
Start the truckmount and allow it to run for 3 to 5 minutes. Do not leave the TM DeScaler™
solution in the system. Flush the system with clean water and turn the truckmount
“OFF.”
Figure 5-19. Recirculation Fitting
000-078-058