I/O Rack Removal and Replacement Procedures
This section provides procedures for removing and replacing components in the I/O
rack.
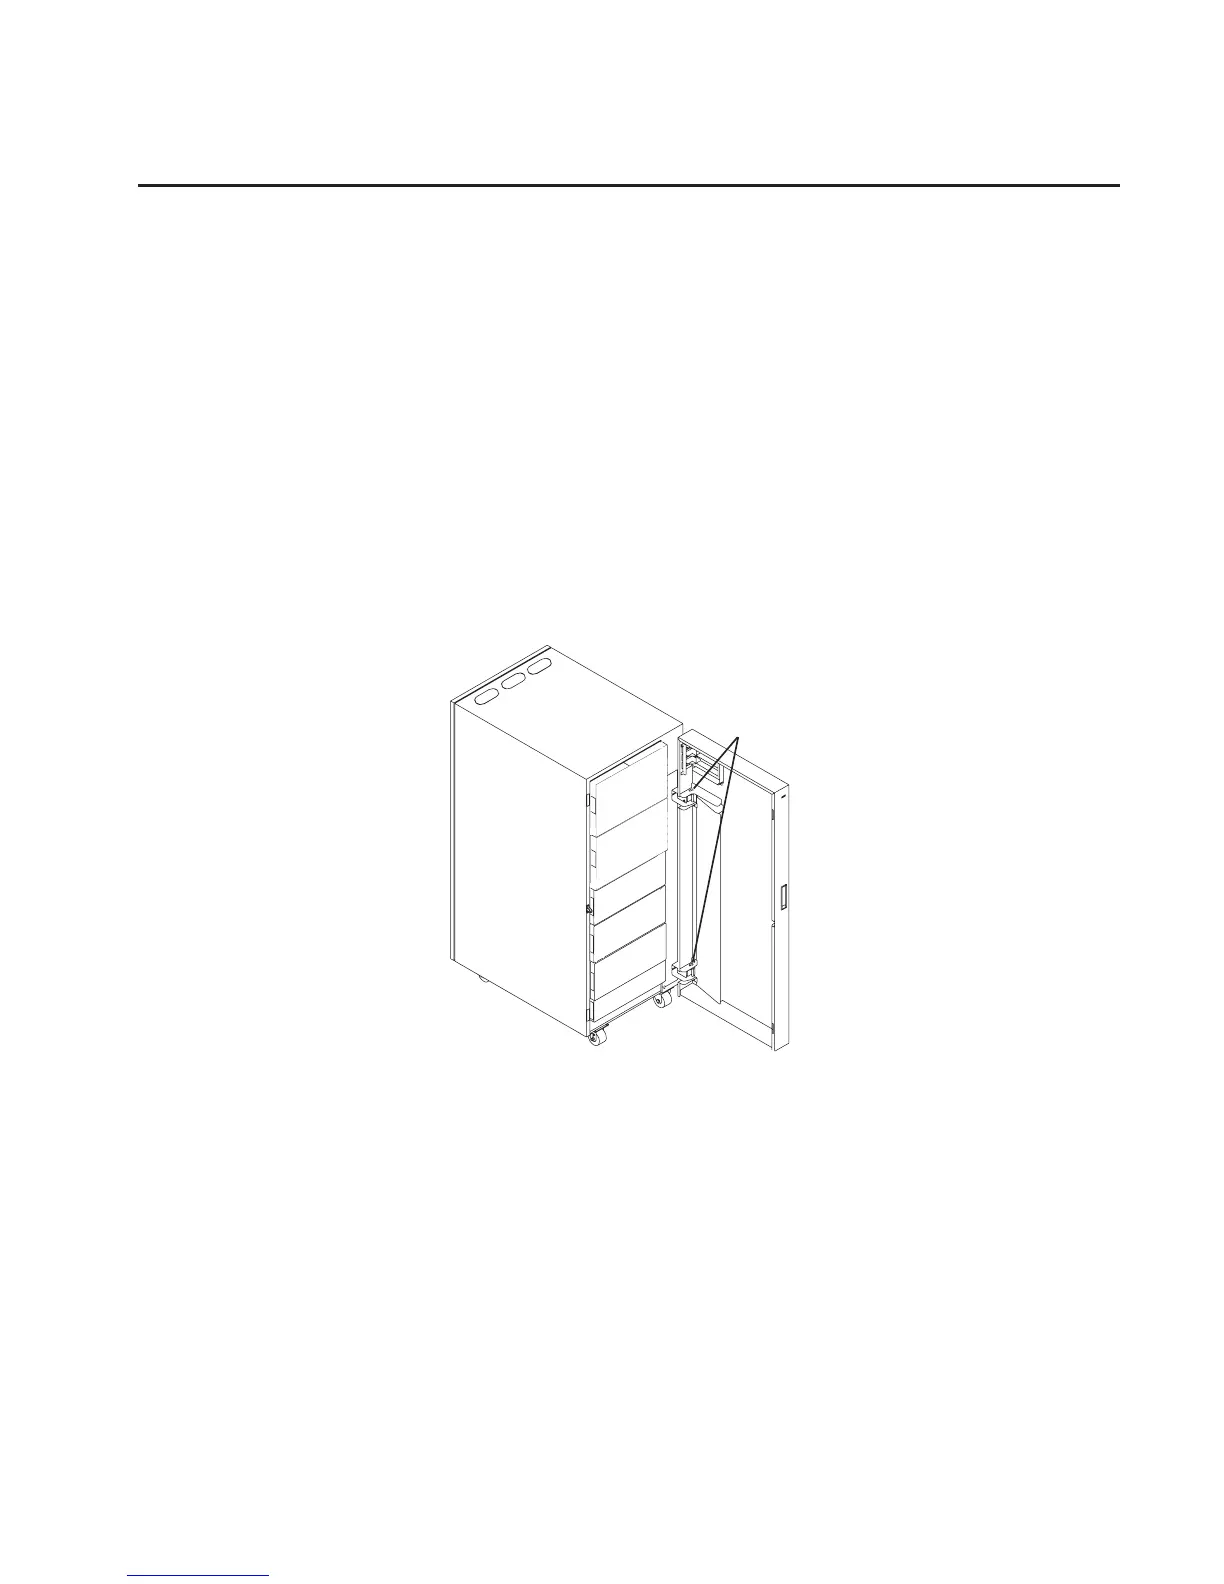
Front Door
Before performing these procedures, read “Safety Notices” on page xiii.
Removal
1. Open the front door.
2. Remove the C-clip from the bottom of the hinge pins.
3. Remove the pins from the door hinges and lift the front door off the hinges.
4. If required, the hinge assemblies can be removed for better access to the sides of
some drawers.
Replacement
Replace in reverse order.
Installing a 10 EIA-Unit I/O Drawer into an I/O rack
Before performing these procedures, read “Safety Notices” on page xiii.
The procedure for installing a 10 EIA-unit I/O drawer begins with installing rails in the
rack, installing the anti-tilt rails in the rack, and then mounting the I/O drawer on the
rails. Continue below to install a 10 EIA-unit I/O drawer in an I/O rack.
Hinge Pins
Chapter 9. Removal and Replacement Procedures 507
 Loading...


