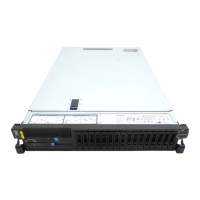
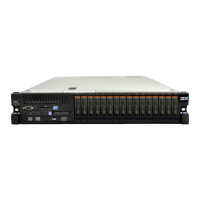
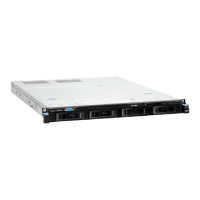
CD/DVD-ROM
drive
5. Slide the drive-retention clip from the side of the drive. Save the clip to use
when you install the replacement drive.
6. If you are instructed to return the CD/DVD drive, follow all packaging
instructions, and use any packaging materials for shipping that are supplied to
you.
Replacing a CD/DVD drive
The following notes describe the type of drives that the server supports and other
information that you must consider when you install a CD/DVD drive. For a list
of supported drives, see http://www.ibm.com/servers/eserver/serverproven/
compat/us/.
v Locate the documentation that comes with the drive and follow those
instructions in addition to the instructions in this chapter.
v Make sure that you have all the cables and other equipment that are specified in
the documentation that comes with the drive.
v The server supports one optional ultra-slim SATA CD-RW/DVD-ROM optical
drive.
If you need to replace a CD/DVD drive, complete the following steps:
1. Read the safety information that begins on page “Safety” on page vii and
“Installation guidelines” on page 33.
2. Touch the static-protective package that contains the new optical drive to any
unpainted metal surface on the server; then, remove the drive from the package
and place it on a static-protective surface.
Note: If you are installing a drive that contains a laser, observe the following
safety precaution.
Statement 3
218 System x3750 M4 Types 8722 and 8733: Installation and Service Guide

 Loading...


