CD/DVD-ROM
drive
5. Reconnect the power cord and any cables that you removed.
6. Replace the server cover and slide the serve back into the rack.
7. Turn on the peripheral devices and the server.
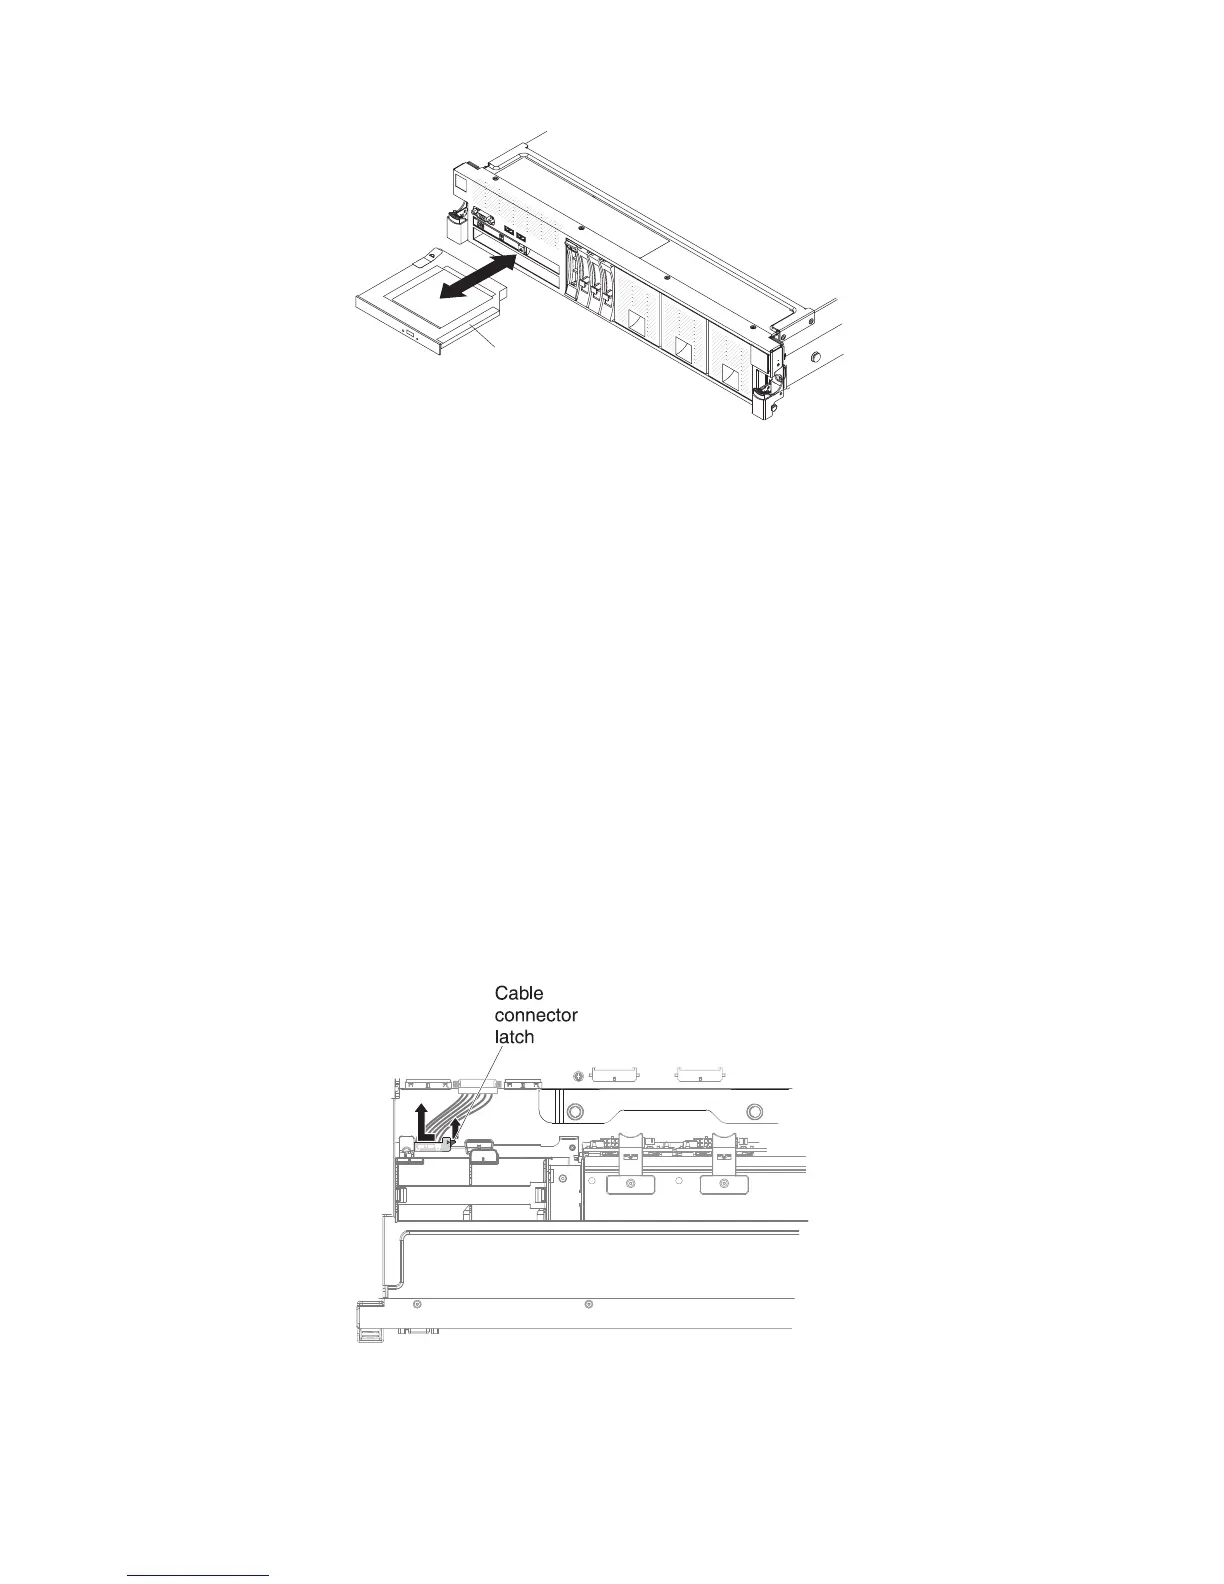
Removing the CD/DVD cable
To remove the CD/DVD cable, complete the following steps:
1. Read the safety information that begins on page “Safety” on page vii and
“Installation guidelines” on page 33.
2. Turn off the server (see “Turning off the server” on page 21) and all attached
peripheral devices. Disconnect all power cords; then, disconnect all external
cables as necessary to replace the device.
3. Remove the top cover (see “Removing the server top cover” on page 206).
4. Remove the fan cage assembly (see “Removing the fan cage assembly” on page
245).
5. Slide the CD/DVD out of the server (see “Removing a CD/DVD drive” on
page 217).
6. Facing the front of the server, grasp the cable connector latch (right of the cable
connector) and pull it up toward the rear of the server; then, slide the cable
connector to the left to disconnect it from the optical drive connector on the
rear of the optical drive cage.
7. Disconnect the other end of the cable from the optical drive connector on the
system board.
220 System x3750 M4 Types 8722 and 8733: Installation and Service Guide

 Loading...


