1 - 18
Transpector XPR 3+ Operating Manual
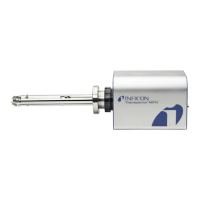
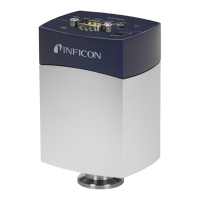
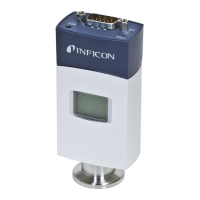
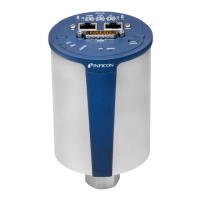
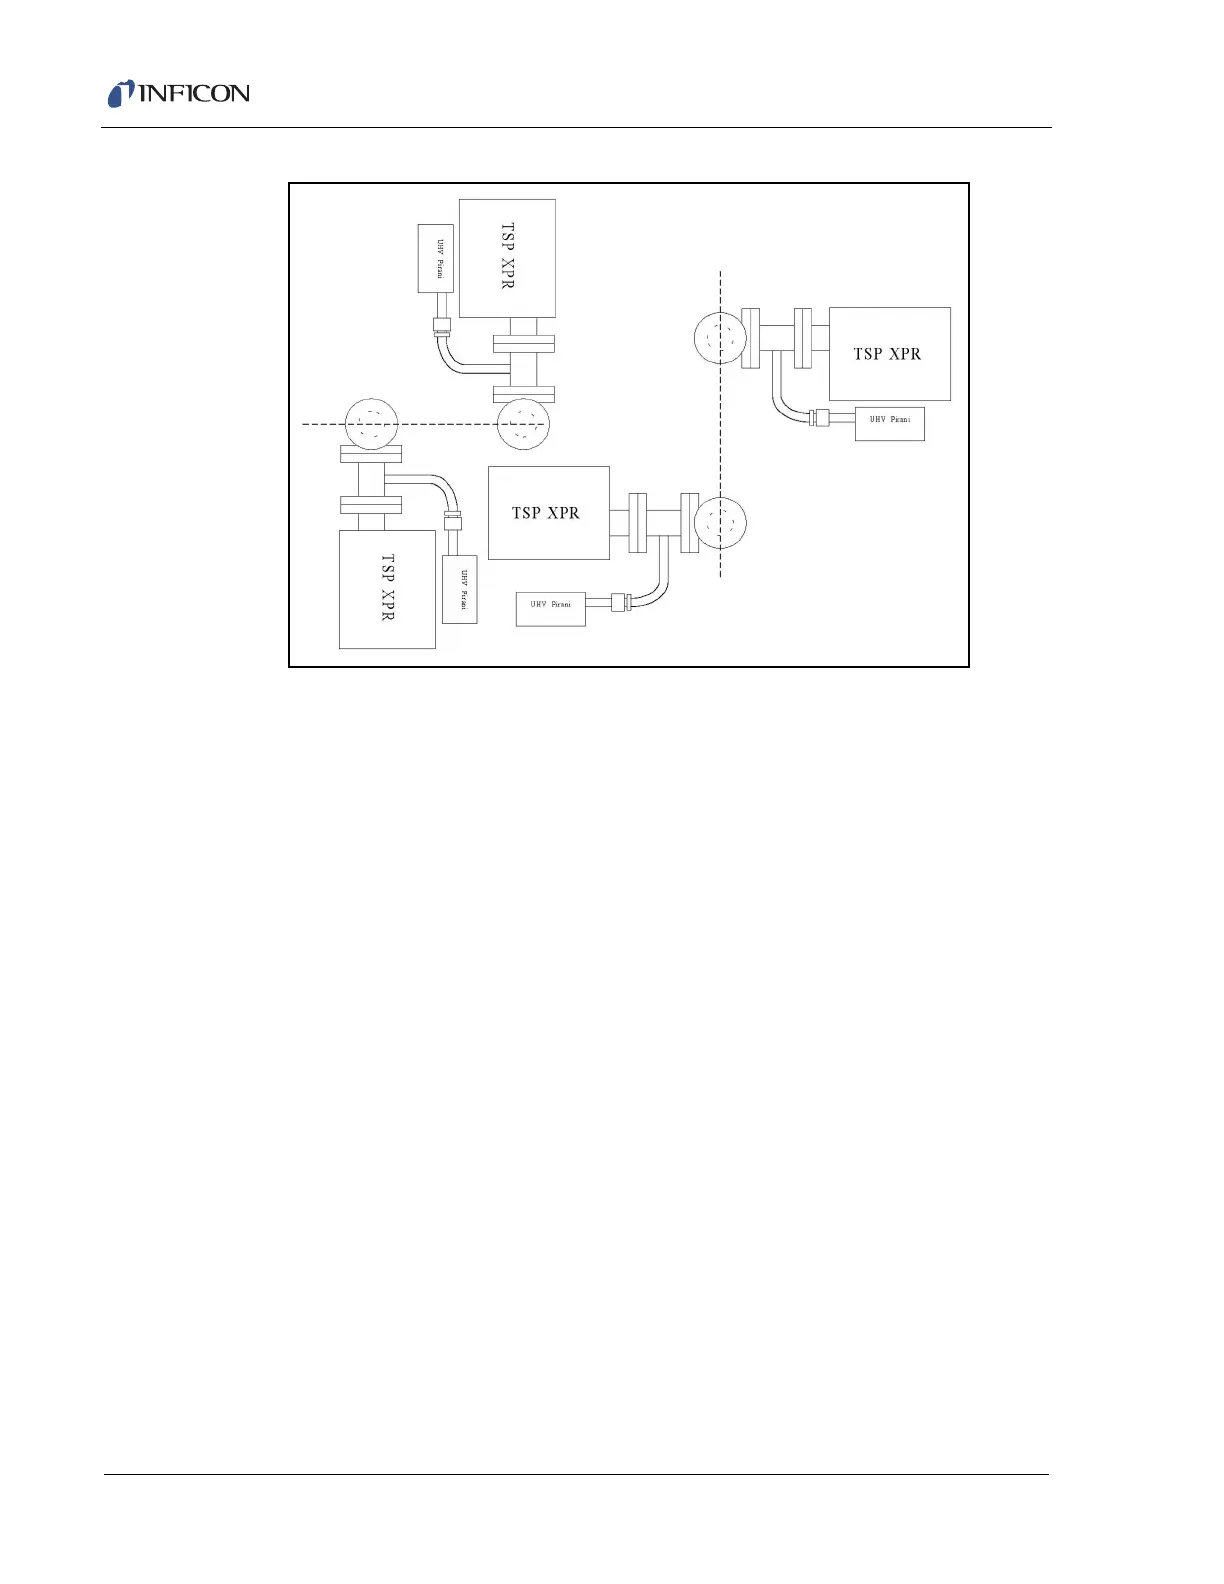
Figure 1-17 Orientations for mounting an Transpector XPR 3+ on a tool
2 Attach the Interlock Weldment Assembly to the 1½ in. Right Angle Valve with a
Cu gasket using ¼-28 x 1¼ in. 12 pt SS silver plated bolts, with the nut plates
on the Valve side. Tighten the bolts finger tight.
3 Check for orientation and alignment: the Pirani gauge tube should be oriented
so that the VCR fitting is facing away from the valve.
4 Tighten all the bolts evenly and gradually in a star pattern until the flange faces
come into contact.
1.16.4 Mounting the Pirani Gauge
The Pirani gauge is UHV compatible with a SS body, ceramic electrical
feed-through and a 8-VCR female mounting flange.
1 Connect the Pirani gauge flange to the port on the Interlock Weldment
Assembly using a Ni-8-VCR -2 silver plated Ni gasket.
2 Adjust the orientation of the Pirani gauge and tighten the gland finger tight. Use
a 1-1/16 in. open end wrench for the female nut and a 15/16 in. open end for
the male nut.
NOTE: For Ni gaskets, tighten an additional 1/8 turn (45 degrees) beyond finger
tight with the wrenches to seal the Pirani gauge fitting. Rotation of the
Pirani gauge can be inhibited by rotating the male nut and keeping the
female nut wrench fixed.