1 - 24
Transpector XPR 3+ Operating Manual
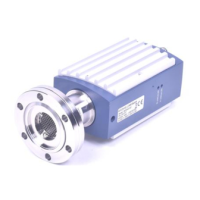
1.16.9 Connecting the 24 V(dc) Power Supply
1 Connect the +24 V (dc) power supply cable to the 24V connector on the
Transpector XPR 3+ electronics module by sliding back the latch, installing the
cable, and then releasing the latch.
NOTE: The latch locks the connector to the electronics module, and must be
slid back to detach the cable from the Transpector XPR 3+ electronics
module.
2 Plug the AC line cord into the mating IEC320 connector on the power supply
module.
NOTE: The AC Line Input for the +24 V(dc) Power Supply must be rated:
90-260 V(ac), 40 W maximum, 47-63 Hz.
3 Plug the AC line cord into an appropriate AC outlet.
4 Verify that the green power indicator on the Transpector XPR 3+ back panel is
illuminated. If the green indicator is not illuminated, check the power
connections.
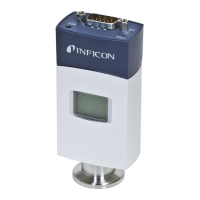
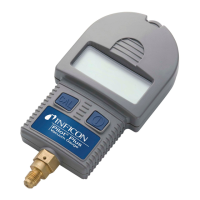
1.16.10 Connecting the Pirani Interlock Cable
The Pirani gauge is fully powered by the Transpector XPR 3+ Auxilliary I/O
connection. Install the RJ-45 connection of the interlock cable into the gauge and
connect the 15-pin D-Sub connection to the Auxilliary I/O port of
Transpector XPR 3+. See Figure 1-21.
Figure 1-21 Assembled interlock