LP500 Series Service Manual 53
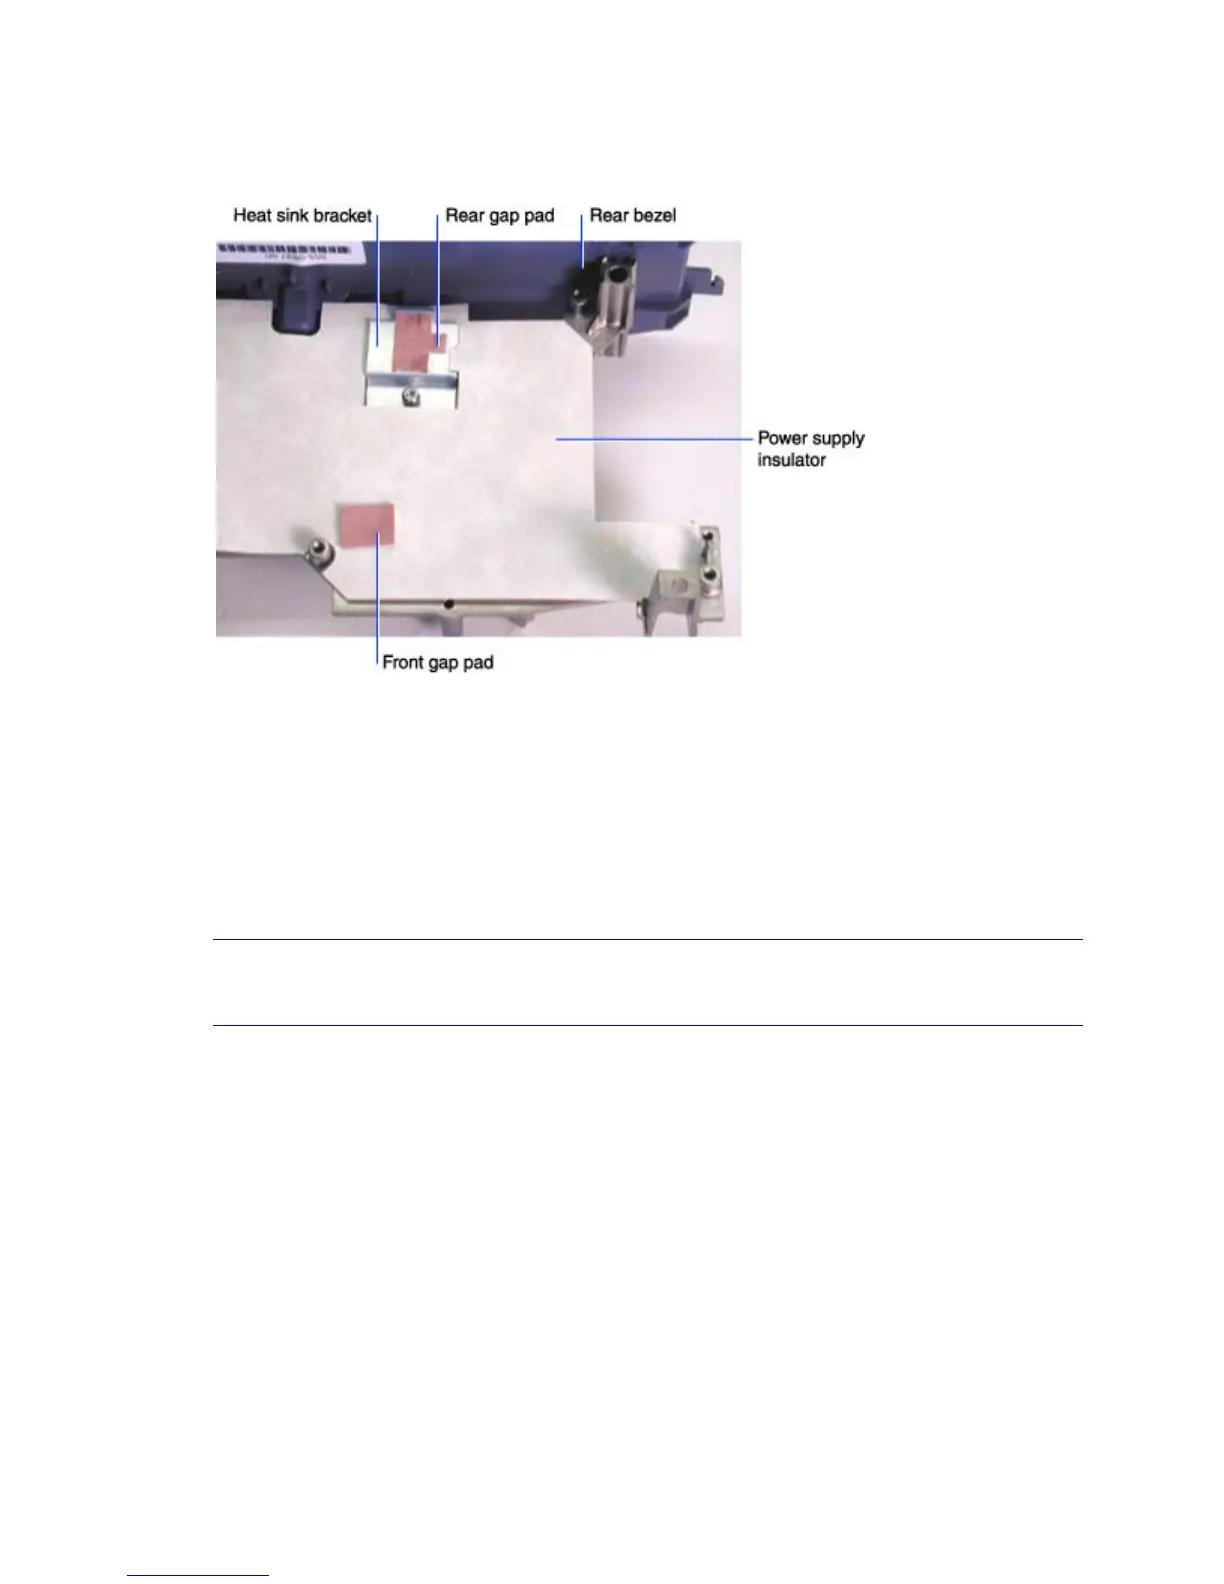
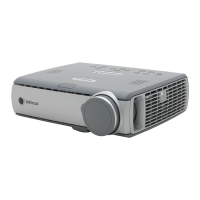
Once you remove the power supply, the parts pictured below remain attached to the chassis.
The paper power supply insulator (329-0268-xx), the front gap pad (329-0302-xx), the rear
gap pad (329-0301), and the heat sink bracket (330-0742-xx) are all replaceable parts. These
parts ensure that power supply components do not short out or overheat during projector
operation.
All parts must be in place before the power supply is fastened to the chassis. For removal and
replacement instructions, see rear bezel on page 43.
NOTE The gap pads may stick to the bottom of the power supply when you remove it. Make sure
you replace a gap pad if it comes off of the chassis.
7 Do one of the following:
If you are replacing the power supply with a new one, follow the assembly notes below.
—Or—
Go to the part below that you need to replace.
Rear bezel (see page 43)
Chassis (see page 46)
Assembly Notes
♦ Make sure the two gap pads, the heat sink clip and the paper insulator are in place before you install
the power supply. See the illustration above for information.