Hot Swap Drive Cage Upgrade Install Instructions (optional)
Intel® Entry Server Chassis SC5299-E UP/DP/WS/BRP User Guide 77
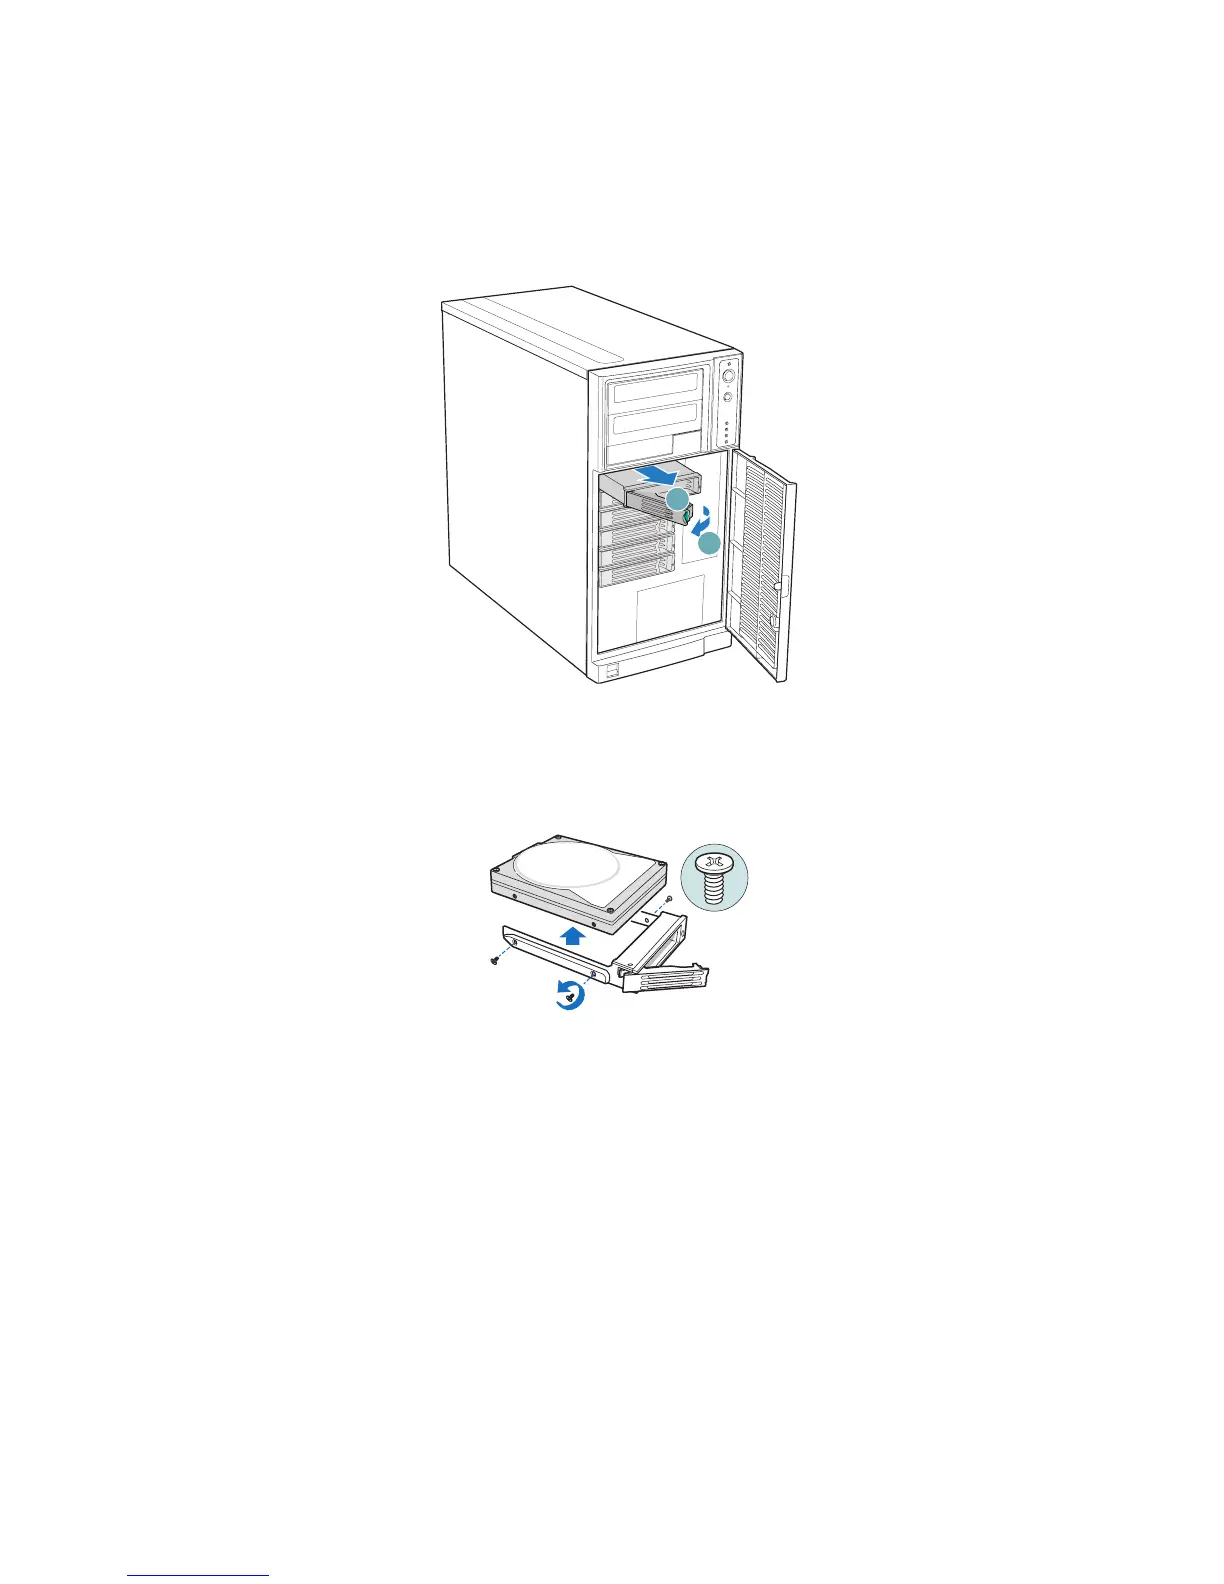
2. Press in on the green latch at the front of the drive carrier (see letter “A” in the
following figure). Pull out on the black lever (see letter “B”) to slide the drive carrier
from the hot swap drive cage.
Figure 97. Removing Drive Carrier from Hot Swap Drive Cage
3. Remove the four screws that attach the hard drive to the drive carrier. Lift the drive
from the carrier. Store the old drive in an anti-static bag.
Figure 98. Removing Hard Drive from Drive Carrier
AF000312
A
B
TP01714
 Loading...