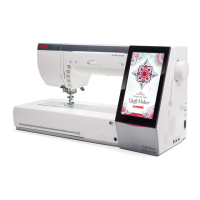
131
Ruler Work
(1)
(5)
(4)
Place the quilting template on the edge of the ruler work
foot.
Sew while guiding the fabric and ruler together along the
edge of the ruler foot.
Guide the foot along the quilting template (optional) to
create straight, curved or repetitious patterns depending
on the shape of the ruler.
Drop the feed dogs (refer to page 34).
Attach the ruler work foot (QR) when “Ruler Work” is
displayed as shown.
Use the straight stitch needle plate for better results (refer
to page 34).
Refer to page 31 for how to attach the ruler work foot.
Place the fabric under the ruler foot.
Adjust the presser foot height to suite the quilt thickness.
For ordinary and bulky quilts, select “Medium”.
For atter quilts, select “Light”.
(1) Medium
(2) Light
CAUTION:
Do not lower the needle while the foot is raised,
otherwise the needle clamp may hit the foot and
cause injury or breakage.
NOTE:
• A ruler (quilting template) for ruler work sewing is
required.
• Use the ruler (quilting template) for high shank or
long arm quilting machines (4.5 mm - 6.35 mm
thickness).
• When you use the A.S.R. function, printing, marks or
tape on the upper side of ruler can cause stitching
length problems. Place printing, marks or tape on
the lower side of the ruler.
•
Opaque or colored rulers can cause stitching length
problem. Use a transparent ruler.
• The purple tip needle is recommended to prevent
skipped stitches.
Press the setting bar to expand the manual setting
window.
You can nely adjust the presser foot height by pressing
the “+” or “–” key on the manual setting window.
(3) Setting bar
(4) “+” key
(5) “–” key
Attach the A.S.R. foot and press A.S.R. key to use A.S.R.
function (refer to pages 128-130).
Use the A.S.R. ruler work foot ASR-QR for ruler work.
(2)
(3)
 Loading...