Downloading system prints to a laptop
About this task:
Downloading system histories to a file is another useful method to capture system operating
conditions. The following instructions are used to establish communication between the OptiView
Control Panel and a laptop computer.
1. Connect the laptop computer to the OptiView
™
as described below.
Laptop (RS-232 Serial Port) OptiView (Com 1)
PIN Description Connector Terminal
2 RX to J2 4 (TXD1)
4 DTR to J2 2 (DSR1)
5 GND to J2 9 GND
2. On OptiView
™
Printer Screen, select PC. This will allow faster data download than the
printer selections. On SetpointsSetupComms screen, ensure the printer settings match the
port settings listed in Enter the port settings as follows:.
3. Setup HyperTerminal
a. Go to START menu
b. Select All Programs
c. Select Accessories
d. Select Communications
e. Select HyperTerminal
f. In the box displayed, it requires a name and icon for the connection. Select a name that is
descriptive and select an icon. Select OK.
g. In the box labeled Connect, select the com port that will connect to the YMC
2
unit. This
port is usually labeled Com 1. Click OK.
h. Enter the port settings as follows:
- Bits per second: 57600
- Data bits: 8
- Parity: None
- Stop Bits: 1
- Flow control: None
4. Set HyperTerminal to capture a file.
a. Select Transfer from toolbar.
b. Select Capture Text from the drop down menu.
c. A Capture Text Filebox will be displayed. Verify location and file name.
d. Select Start.
5. Press the Print Screen key on the appropriate screen to be captured. The HyperTerminal will
display the printed information and the information will be recorded as a .txt file.
When the print file has been recorded, select Transfer from the toolbar and capture from the
drop down menu and select Stop. This will stop the transfer and allow access to the capture
file.
The following additional RS232 connections, are used to wire up serial devices for desktop
and laptop computers.
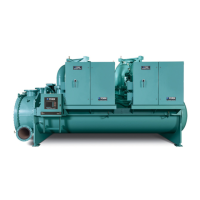
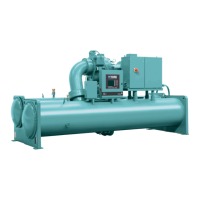
YMC
2
Mod B with OptiView
™
Control Center
174