General Operating Information 2
Keysight 2050/60 X-Series User’s Guide 51
Quick start example to set up a measurement in the Trace view
The following example guides you on how to set up a basic peak power measurement for
RF pulses via BenchVue.
It is assumed that the 2050/60 X-Series is already connected to a signal generator.
1 Set up the signal generator as follows:
– Pulse period: 500 s
– Pulse width: 100 s
– Amplitude: 5 dBm
– Frequency: 1 GHz
– Pulse: Enabled
2 Turn on the RF output of the signal generator. Launch the BenchVue Power Meter
application (refer to page 46).
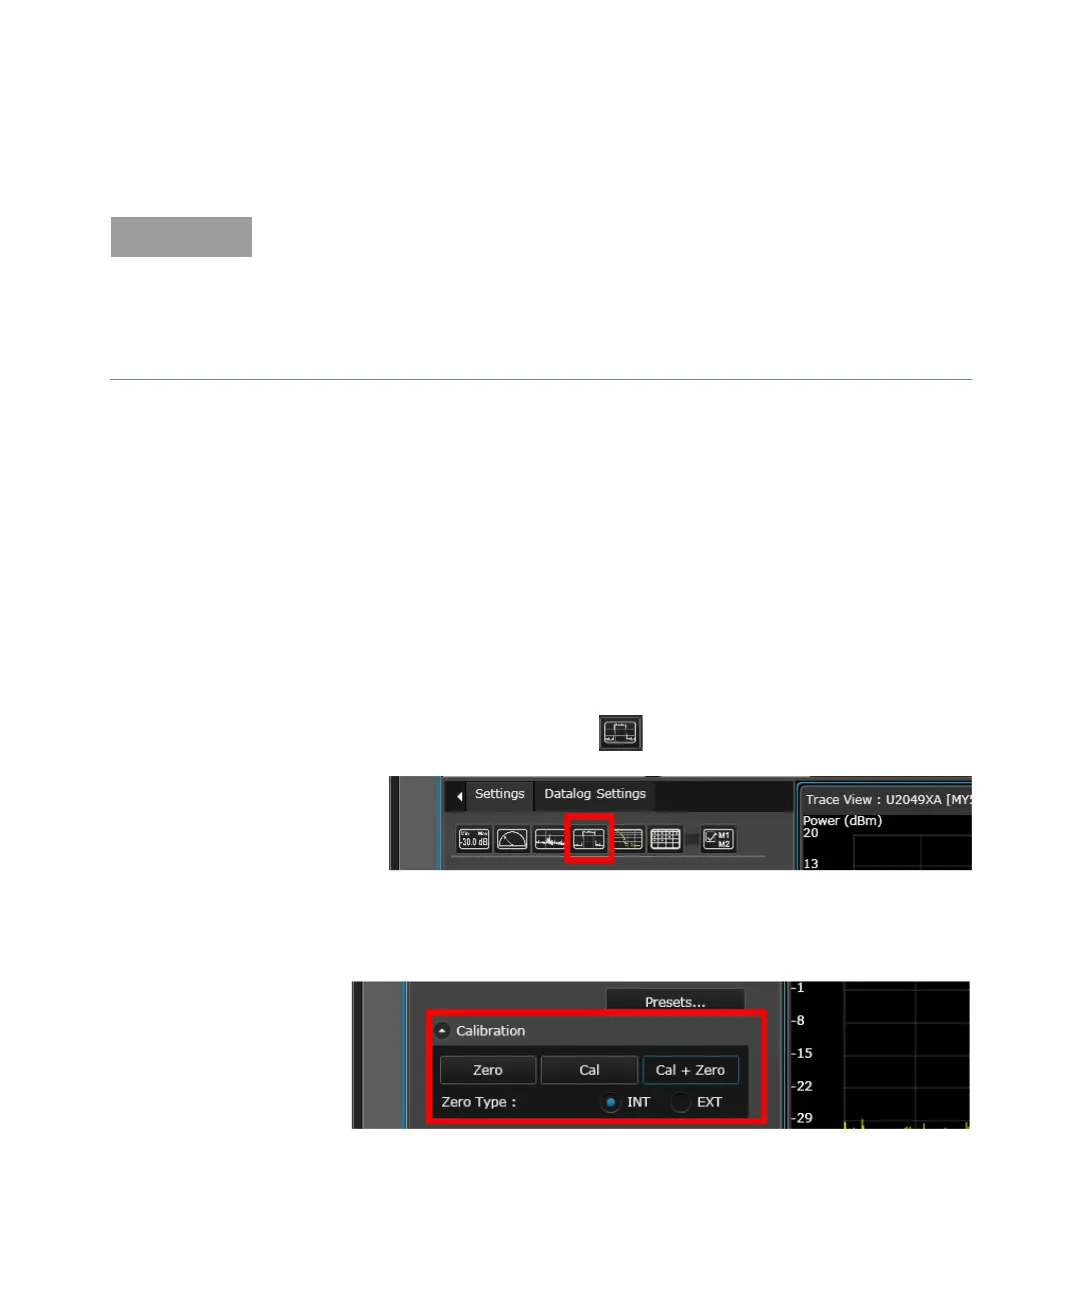
3 Create a Trace display view by clicking .
Figure 2-10 Creating a trace
4 Perform calibration and zeroing for an accurate measurement result.
Figure 2-11 Performing calibration and zeroing
The default power meter mode is Average only. It will change to the Normal mode when
the Trace view is selected. As the Normal mode provides a lower dynamic range, the
measurable power range will automatically narrow down.
To obtain a wider dynamic range for low power measurements (< –40 dBm), you will need
to set to the Average only mode. If the measurement is in the Trace view, a warning
message will appear as the Trace view is only applicable for the sensor's Normal mode.



 To Next Page