SECTION 3 - PARTS, ASSEMBLIES & HARDWARE
1-3-3
3-3
© 2018 Konami Gaming Inc. P/N 810352
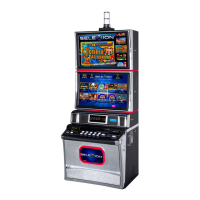
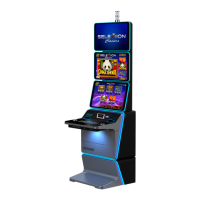
CONCERTO CRESCENT
(Original Instructions)
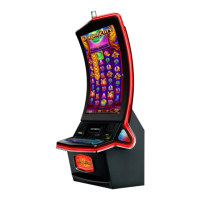
SWITCH WIRING
Each wire of the switch harnesses is marked to indicate
terminal position� Use the following illustration to ensure the
switch is connected correctly�
DOOR SWITCH WIRE LOCATIONS
LOCATION MARK
Terminal 2 COM
Terminal 4 N�C�
Terminal 6 N�O�
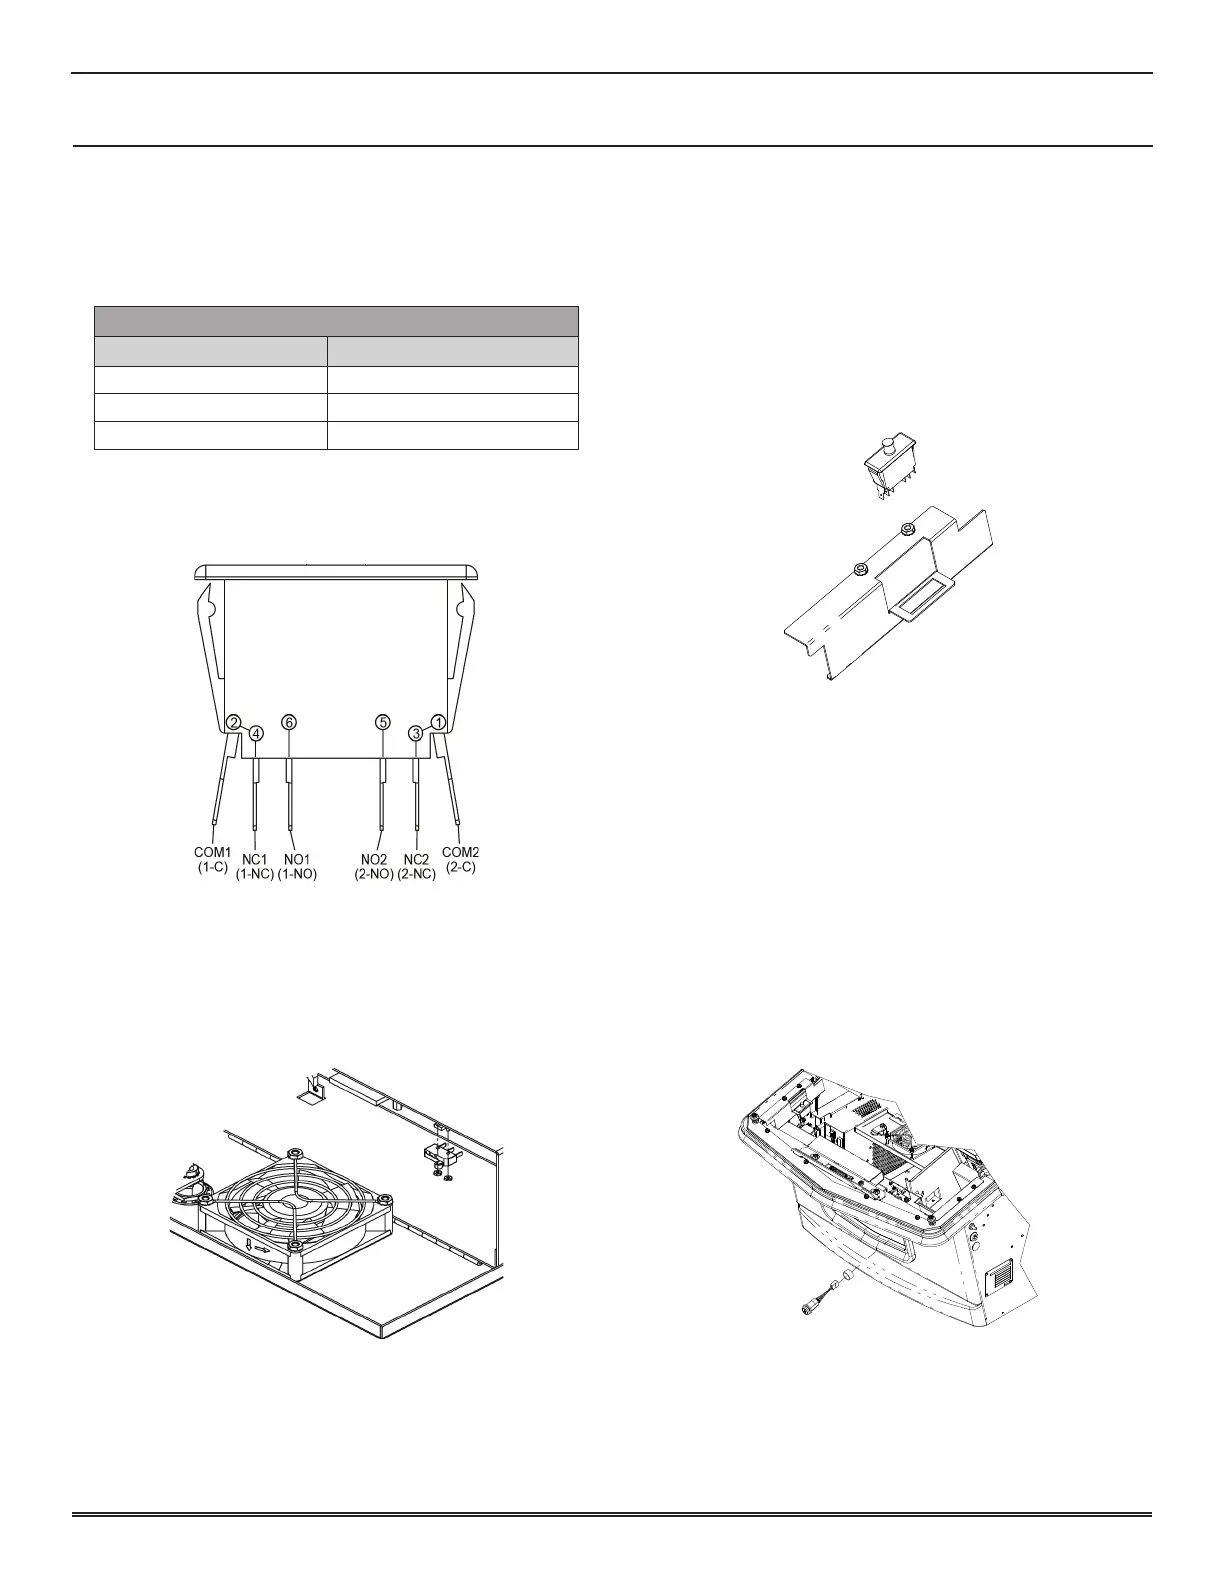
LOGIC UNIT SWITCH
reMoval
1� Disconnect harness from Switch�
2� Remove two #2-56 nuts from Switch Assembly�
3� Remove Switch�
installation
1� Install Switch on mounting studs and secure with two
#2-56 nuts�
2� Connect harness�
MAIN DECK DOOR SWITCH
reMoval
1� Unlock and open Main Deck Door�
2� Remove any components necessary to allow access to
Switch�
3� Note wire locations for installation and remove all wires
from Switch�
4� Grasp the two tabs on the Switch and push upward to
remove bracket�
installation
1� Push new Switch into mounting bracket until two tabs on
the Switch seat in place�
2� Connect wires to terminals�
3� Re-install removed components�
4� Close and lock Main Deck Door�
KEY SWITCH
reMoval
1� Turn off machine power�
2� Unlock and open Main Deck Door�
3� Disconnect wires from Switches�
4� Remove 3/4” nut and remove Switch from machine�
installation
1� Insert Switch into machine and install 3/4” nut�
2� Connect wires to terminals�
3� Turn on main power�
4� Close and lock Main Deck Door�