9
X’X
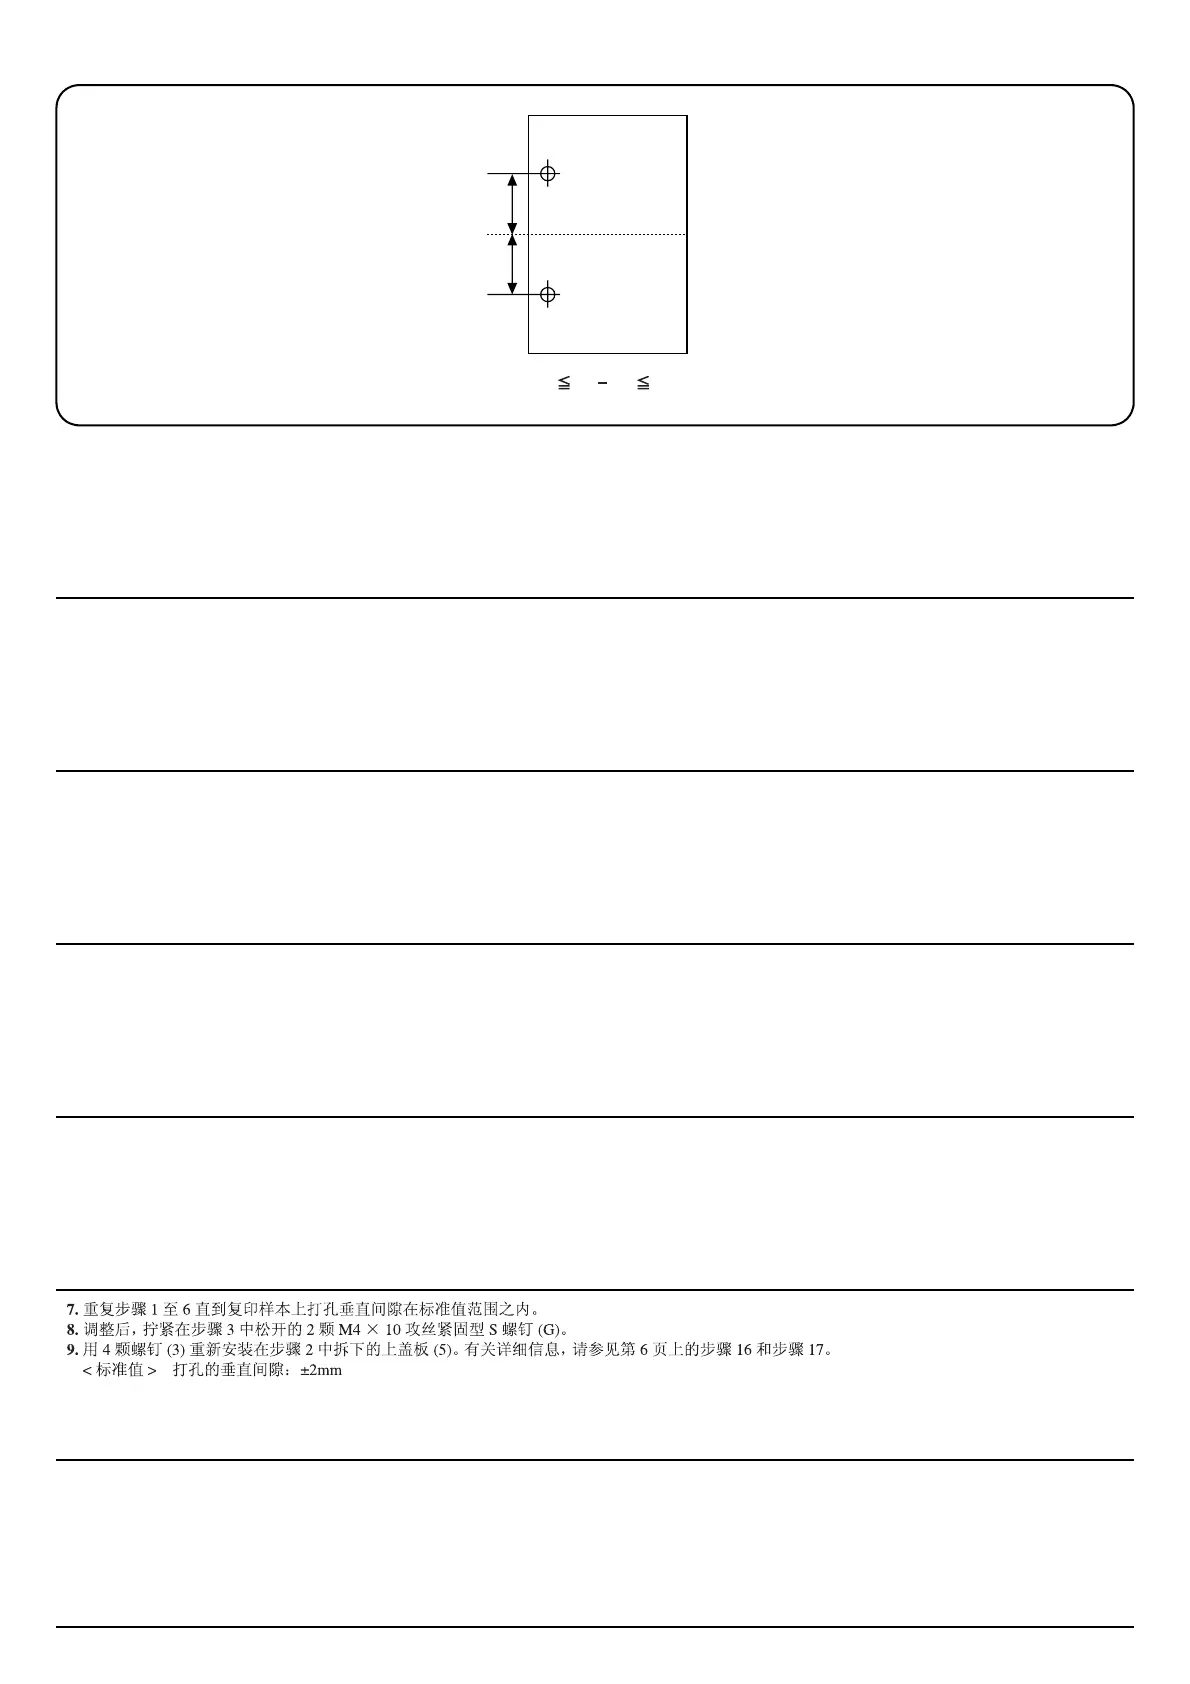
+2mm
-
2mm
X’
X
7. Repeat steps 1 to 6 until the vertical gap of the punch holes on the copy sample are within the reference value.
8. After adjustment, tighten two M4 × 10 tap Tight S screws (G) loosened in step 3.
9. Use four screws (3) to reinstall the top cover (5) which was removed in step 2. For details, see steps 16 and 17 on page 6.
<Reference value> Vertical gap of the punch holes: ±2 mm
7. Répéter les étapes 1 à 6 jusqu’à ce que l’espace vertical des perforations de l’échantillon de copie se trouve à l’intérieur de la valeur de référence.
8. Après l’ajustement, resserrer deux vis S taraudées M4 × 10 (G) desserrées à l’étape 3.
9. Utiliser quatre vis (3) pour réinstaller le capot supérieur (5) retiré à l’étape 2. Pour plus de détails, se reporter aux étapes 16 et 17 de la page 6.
<Valeur de référence> Espace vertical des perforations: ±2 mm
7. Repita los pasos 1 a 6 hasta que la separación vertical de los agujeros perforados en la muestra de la copia cumplan con el valor de referencia.
8. Después de hacer el ajuste, apriete dos tornillos de ajuste M4 × 10 (G) aflojados en el paso 3.
9. Utilice cuatro tornillos (3) para volver a instalar la cubierta superior (5) que fue quitada en el paso 2. Para conocer detalles, consulte los pasos 16 y 17
de la página 6.
<Valor de referencia> Separación vertical de los agujeros perforados: ±2 mm
7. Wiederholen Sie die Schritte 1 bis 6, bis der Vertikalabstand der Stanzlöcher auf der Testkopie innerhalb des Bezugswertes liegt.
8. Nach der Einstellung sind die beiden in Schritt 3 gelösten M4 × 10 Passstift-Verbundschrauben (G) wieder festzuziehen.
9. Benutzen Sie die vier Schrauben (3), um die obere Abdeckung (5) anzubringen, die in Schritt 2 entfernt wurde. Nähere Einzelheiten erfahren Sie in
den Schritten 16 und 17 auf Seite 6.
<Bezugswert> Vertikalabstand der Stanzlöcher: ±2 mm
7. Ripetere i passi da 1 a 6 finché la distanza verticale dei fori di perforazione nella copia campione non rientra nel valore di riferimento.
8. Dopo la regolazione, serrare le due viti con testa a croce S M4 × 10 (G) allentate nel passo 3.
9. Utilizzare quattro viti (3) per reinstallare il coperchio (5) rimosso nel passo 2. Per dettagli, vedere passi 16 e 17 a pagina 6.
<Valore di riferimento> Distanza verticale dei fori di perforazione: ±2 mm
7. コピーサンプルのパンチ穴のずれが基準値内になるまで手順 1 ~ 6 を繰り返す。
8. 調整終了後、手順 3 で緩めたビス M4 × 10 タップタイト S(G)2 本を締め付ける。
9. 手順 2 で外した天カバー(5) をビス (3)4 本で元通り取り付ける。詳細は 6 ページ手順 16、17 を参照のこと。
<基準値> パンチ穴のずれ:± 2mm
 Loading...