4-21
Troubleshooting > Troubleshooting When Printing Image
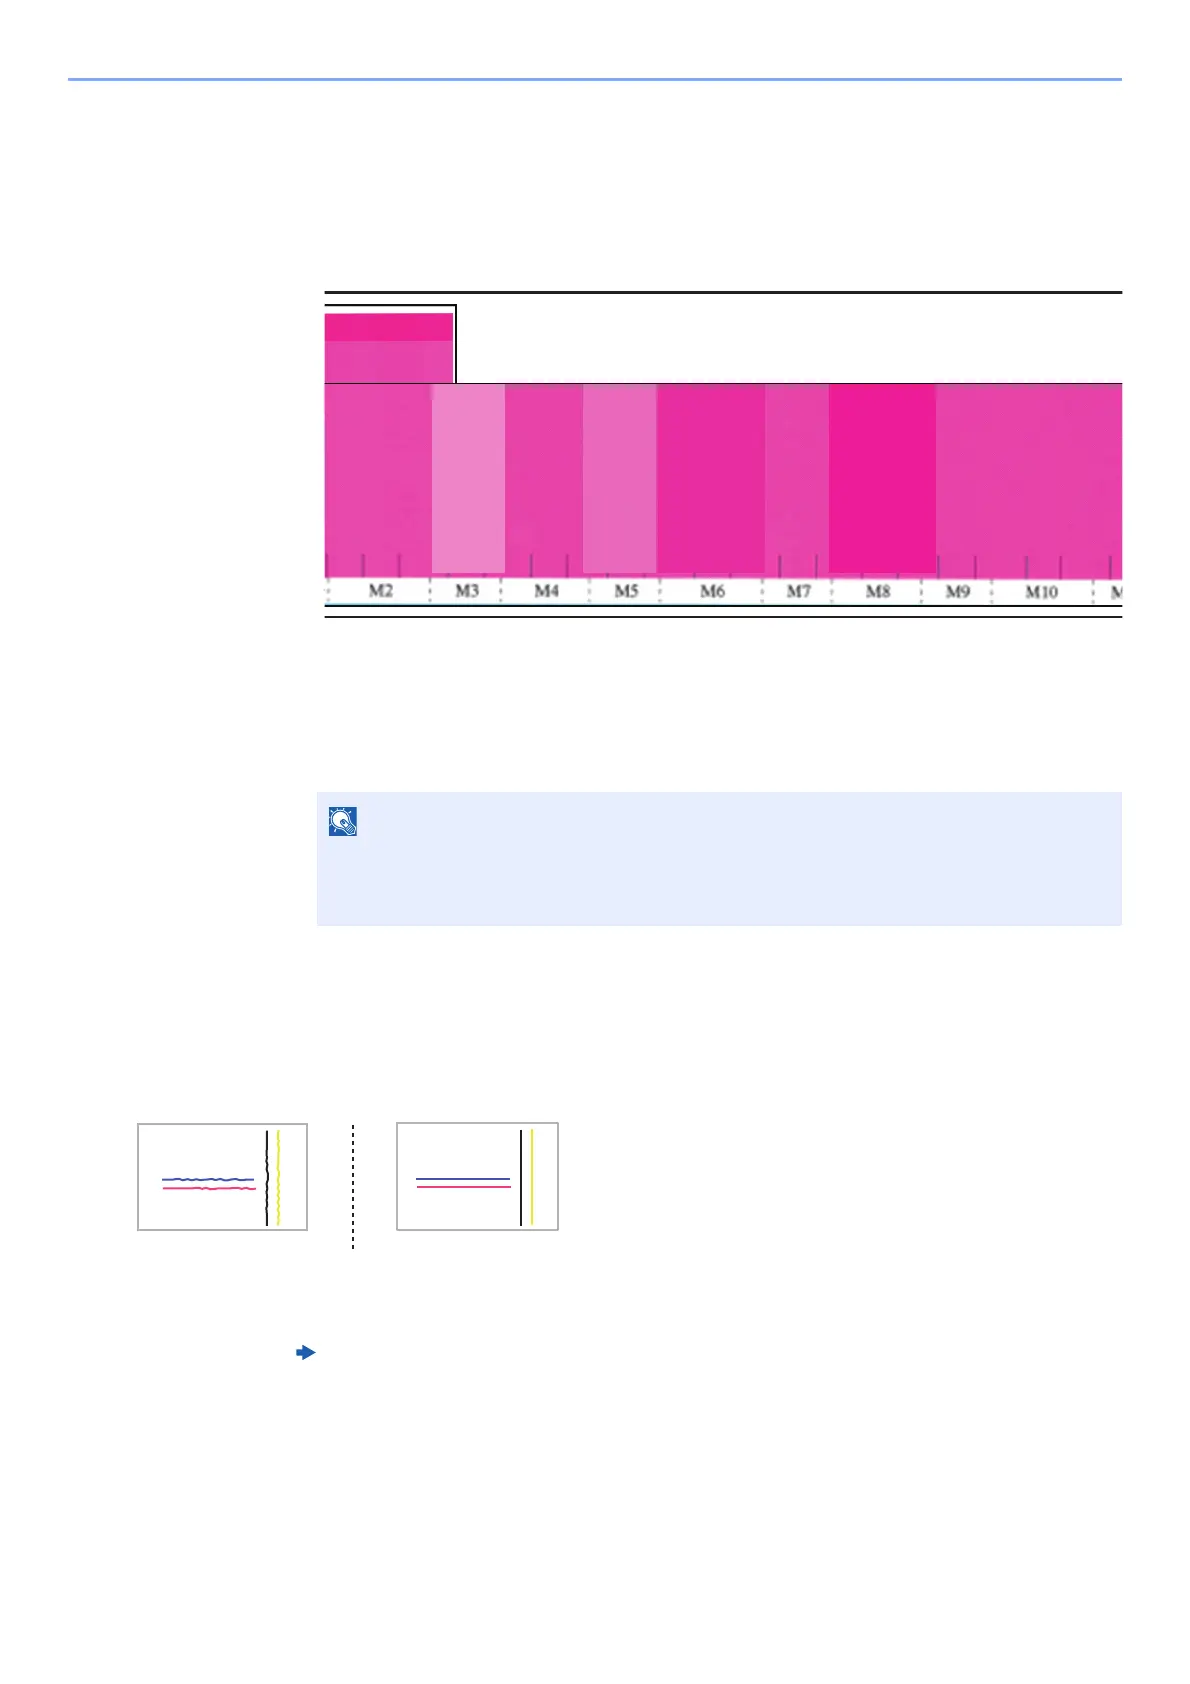
2 Check if there is uneven density in the main scanning direction of the chart.
Based on the seventh density (M7, K7, etc.), visually check the density to be uniform, and
determine the adjustment value.
In the magenta example below, M3 and M5 have low densities, you need to increase the
drive voltage. On the other hand, M8 is high in density, you need to lower the drive voltage.
3 Change the drive voltage coefficient for numbers with contrast differences > [Start] key.
Increasing the coefficient with [+] will increase the drive voltage and density.
Decreasing the coefficient with [-] will decrease the drive voltage and density.
4 Repeat steps until uneven density is resolved.
5 In case that no improvement is observed, contact our service representative.
Distorted line
1
Check media setting
Media Type and Media Weight (Chapter 15) in Operation Guide
In case that no improvement is observed, then go to next step.
2
Execute print head cleaning
Landing point is shifted because of high viscosity.
1 Load SRA3/Ledger size paper.
Check the head temperature when adjusting the voltage of print head, because the
viscosity of the ink changes with the head temperature and the print density also changes
with the increase of the discharge amount.
 Loading...