4-26
Troubleshooting > Troubleshooting When Printing Image
4 Select [Start].
After the pattern is scanned, the number of clogged nozzles of each color is displayed.
If there is even one clogged nozzle, go to the next step.
5 [Stop] key > select [01 Cleaning].
6 Select the color which has clogged nozzles > select [Strong] as the strength of cleaning >
[Start] key.
The head cleaning begins.
7 If the nozzle clog is not solved using head cleaning three times, change the strength of
cleaning to [Ex Strong] and execute cleaning three times.
8 In case that no improvement is observed, contact our service representative.
Faint at the leading edge
The ink in the nozzle that has not been discharged for a while has increased in viscosity due to evaporation of moisture,
etc., making it difficult to discharge.
1
Execute print head cleaning
Landing point is shifted because of high viscosity.
1 Load SRA3/Ledger size paper.
2 [Home] key > [...] > [Professional Settings] > [U744 Head Cleaning] > [02 Check]
A nozzle check pattern is printed.
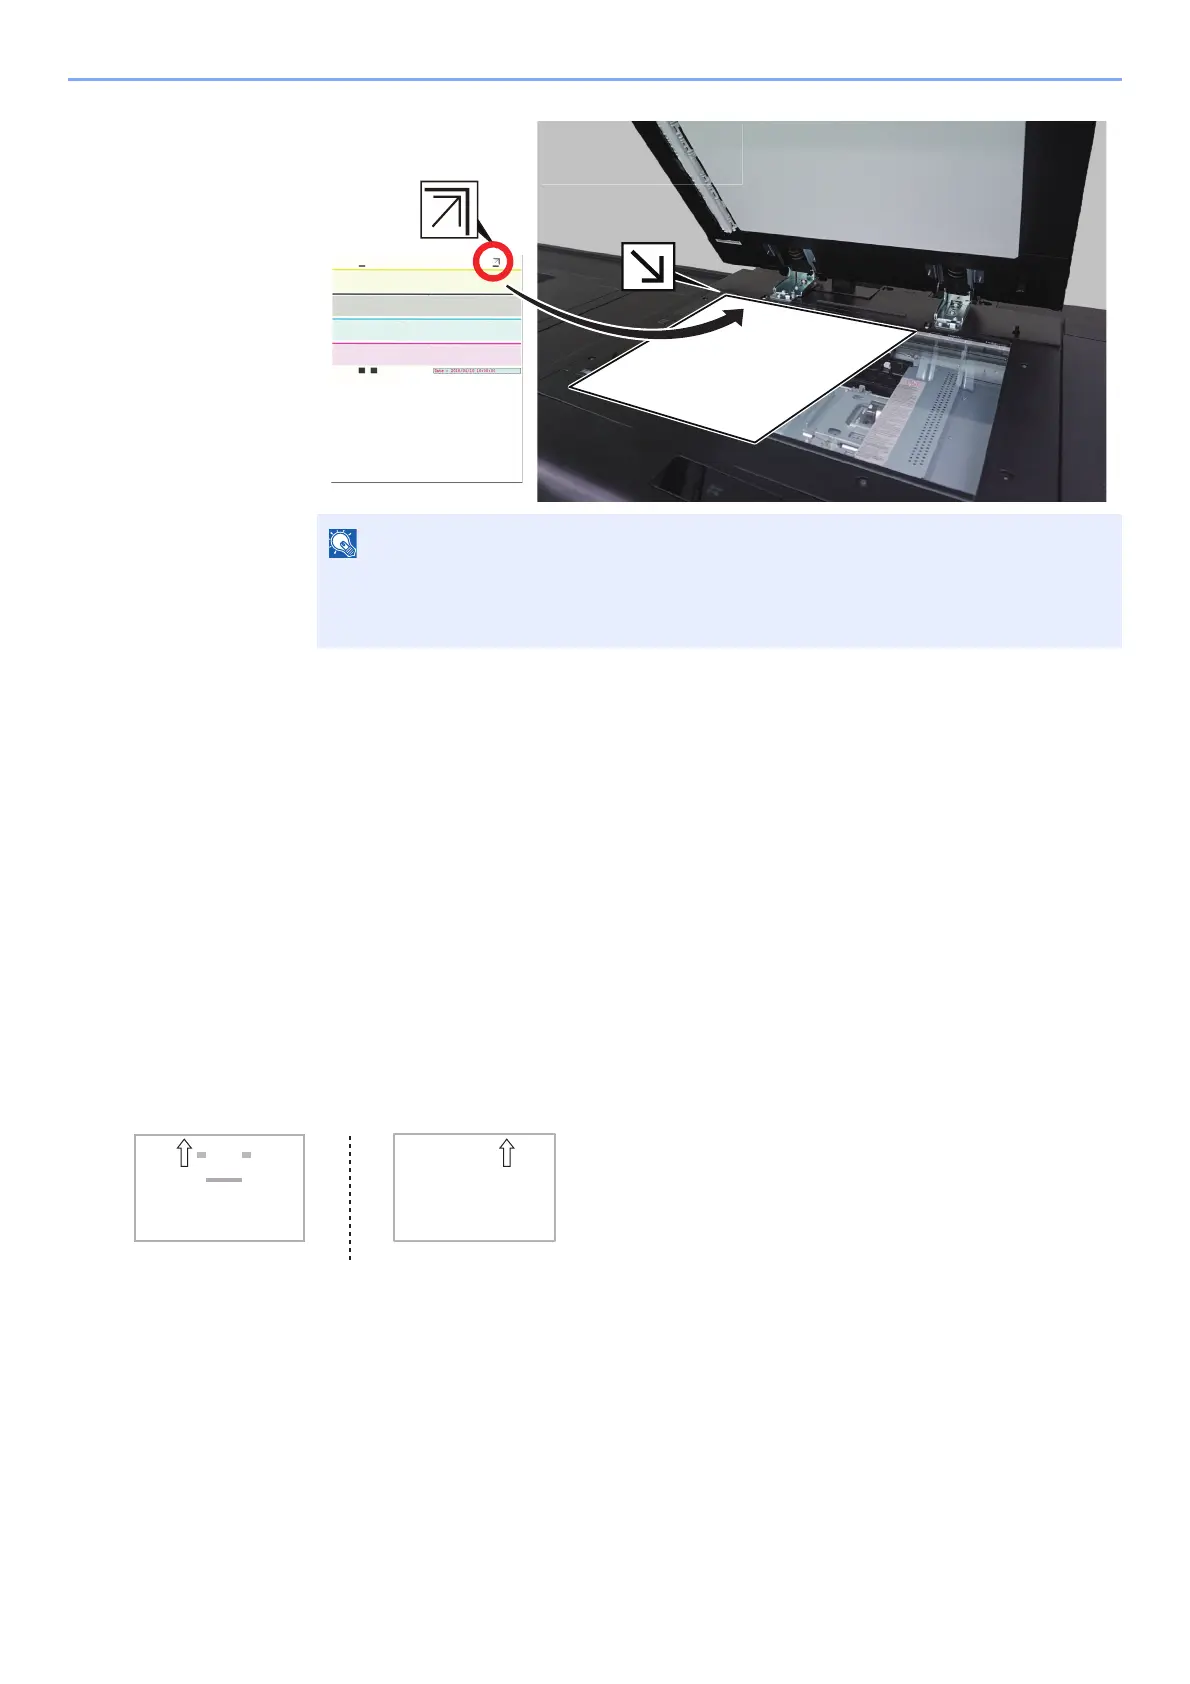
The printed position of the arrows in the nozzle check pattern may be in from the edge,
depending on the size of the pattern. Regardless of the position of the arrows, place the
pattern in the upper left corner of the glass platen.
 Loading...