PLMNL0232 REV. H Effective Date: 01/14/19 46 FiberCUT
®
2D Operation Manual
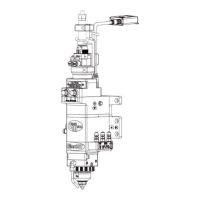
Figure 62
8. Use PLLIT0034 to thread the new lens
cartridge into the head. See Figure 62.
For steps 9 and 10, see Figure 61.
9. Orient the alignment holes on the
manifold block with the alignment pins
on the head.
10. Realign the manifold block and tighten
the (3) captive M5 SHCS that secure it
to the head.
Tighten each of the (3) M5
SHCS a couple turns at a
time, in sequence, until they
are all tight.
It is no longer possible to
tighten (1) SHCS all the way
before tightening the others.
11. Install the tip assembly according to
Section 5.5.
12. Verify beam centering according to
Section 2.4.
Adjust the beam as necessary
using the beam centering knobs.
See Figure 11.
It should not be necessary to make
any adjustments along the X-axis
or Y-axis. See Figure 15.
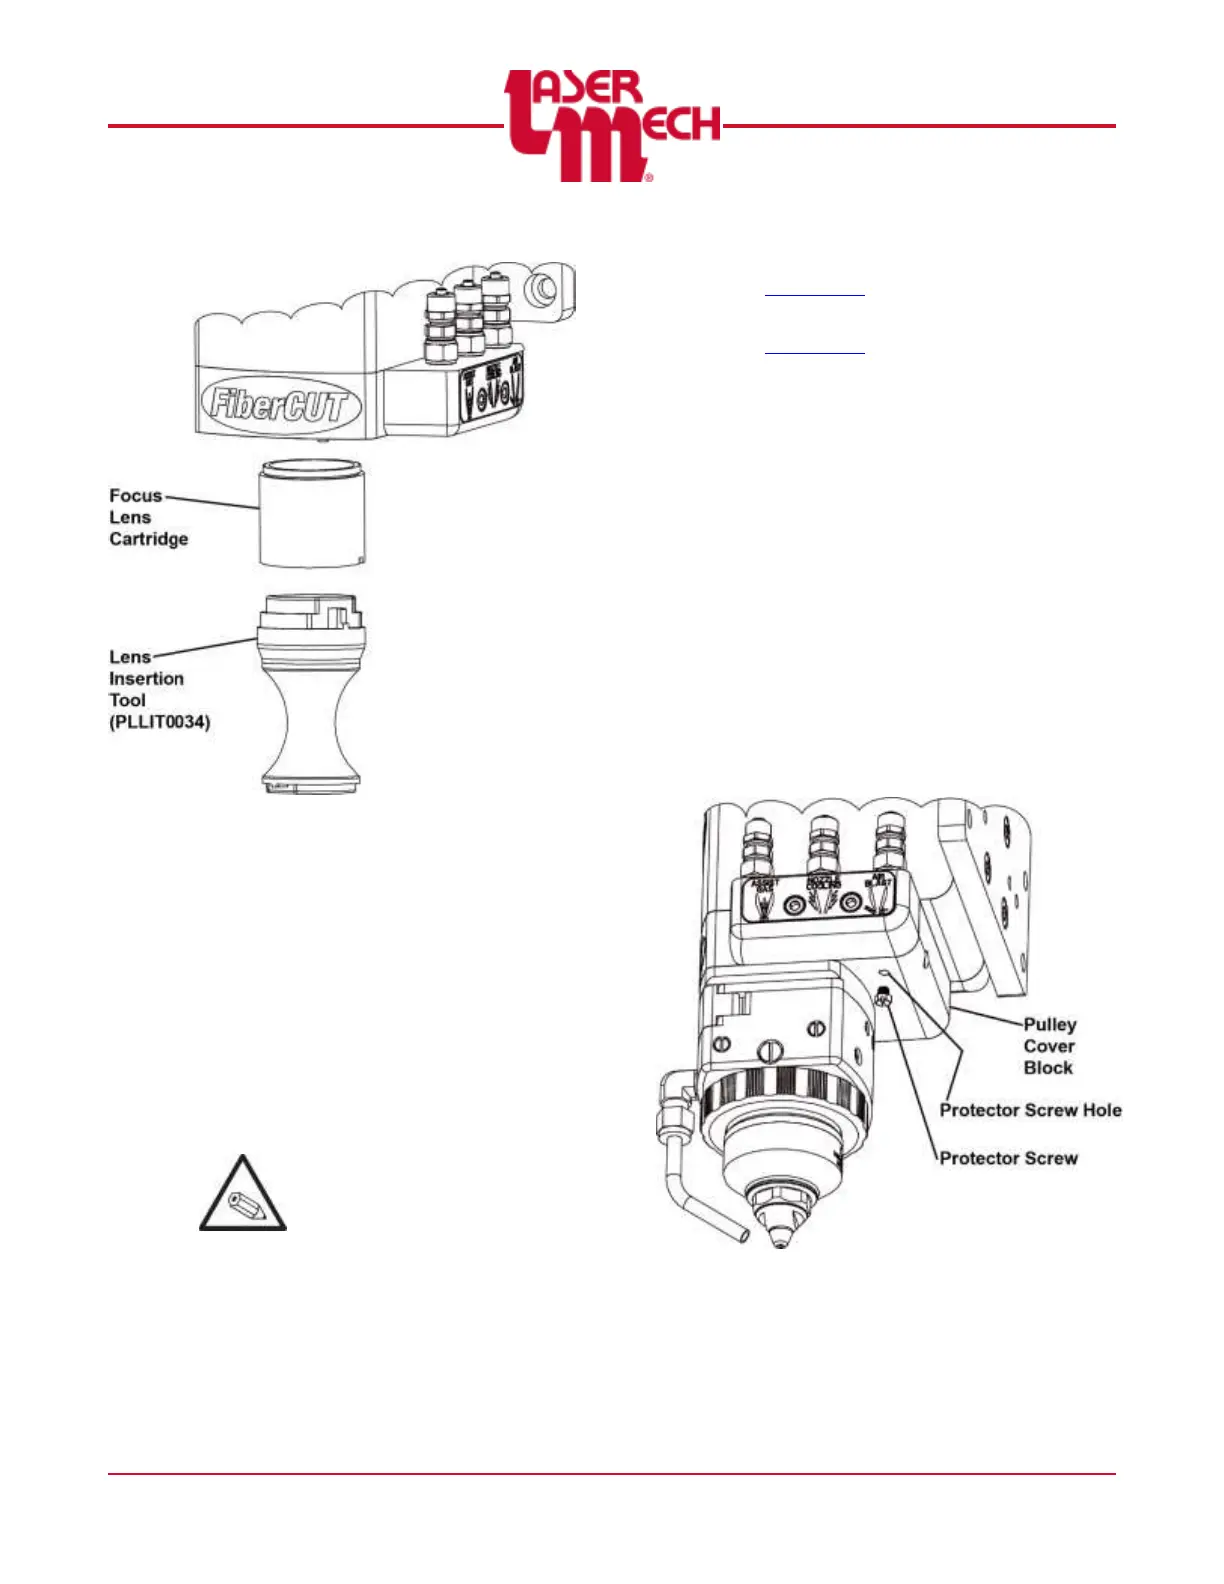
5.7 Adjusting the Focus Lens
Position Manually
1. Using a straight blade screwdriver,
remove the protector screw located on
the underside of the pulley cover block.
See Figure 63.
Now there is access to the focus
adjustment ball screw.
Figure 63