PLMNL0232 REV. H Effective Date: 01/14/19 47 FiberCUT
®
2D Operation Manual
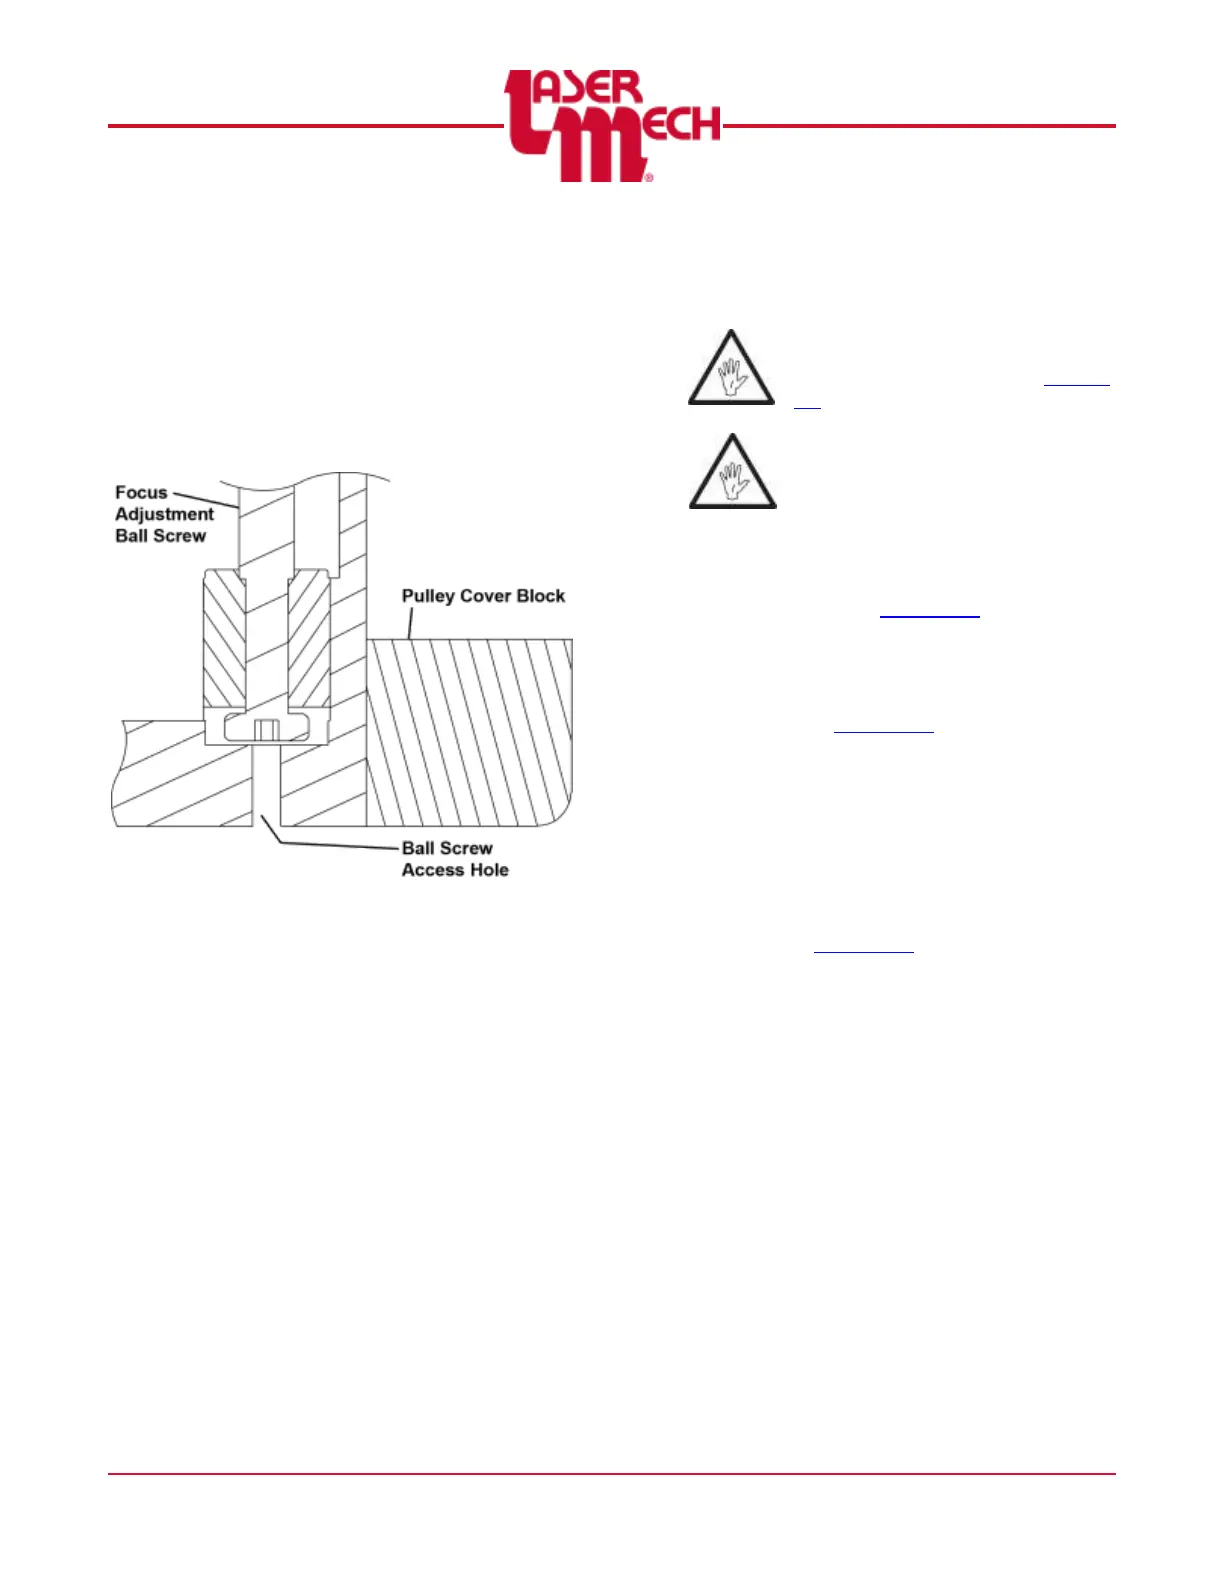
2. Insert the longer end of a 3 mm hex
wrench in the location shown in Figure
64 to engage and adjust the lens ball
screw.
One revolution of the focus
adjustment ball screw equals
1.0mm of vertical lens movement.
Figure 64
3. Insert the protector screw into the hole
located on the underside of the pulley
cover block and tighten it with a straight
blade screwdriver. See Figure 63.
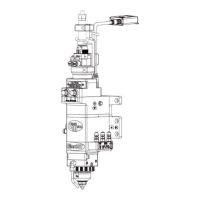
5.8 Removing the Cutting Head and
Fiber
Before opening any part of the
head, clean off the dust and/or
process debris according to Section
5.1.
DO NOT BLOW OFF THE HEAD
WITH COMPRESSED AIR!
To remove the head from a machine:
1. Clean the outside of the head
according to Section 5.1.
2. Remove power from the FiberCUT
®
2D.
For steps 3 and 4, see Figure 7 and
Figure 8 in Section 2.3.
3. Turn off the water supply and
disconnect the water fitting lines.
4. Turn off the purge air, assist gas, air
blast and nozzle cooling and remove
the lines.
5. Disconnect the communication cable.
See Figure 17, Figure 18 and Figure
19 in Section 3.1.