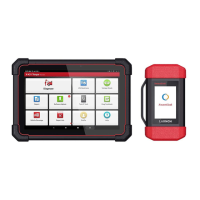
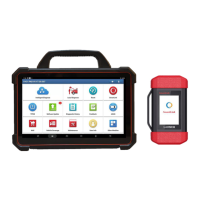
LAUNCH X-431 PAD III User Manual
136
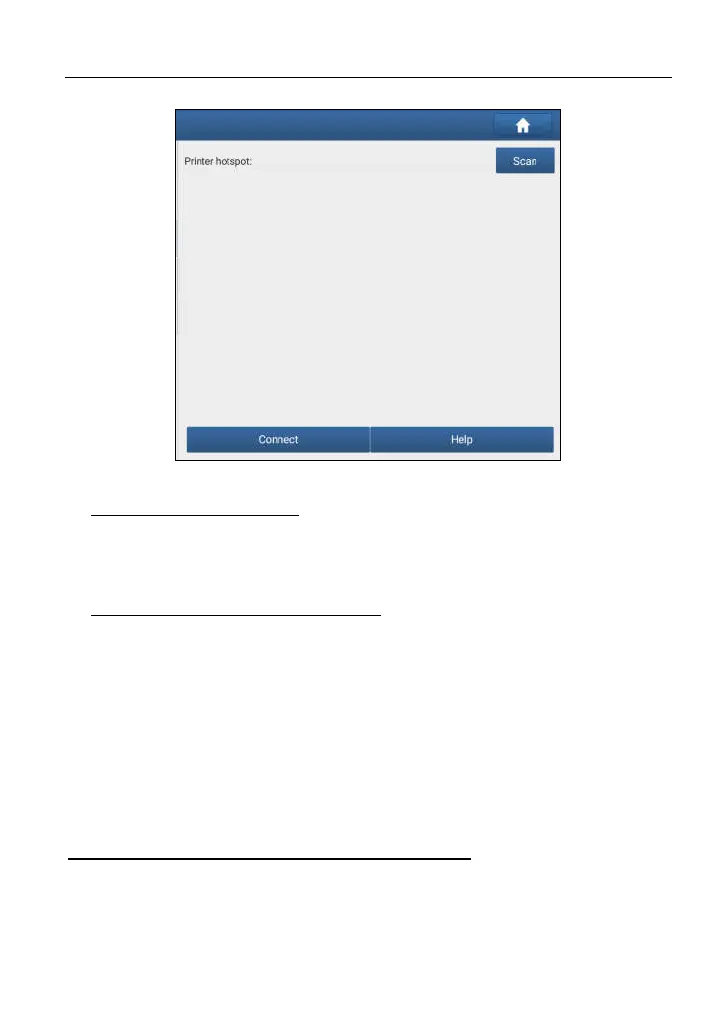
Fig. 15-3
Step 1: Connect the printer:
Tap “Scan” to start scanning and select the desired printer hotspot named
with X-431PRINTER-XXXX (XXXX stands for 4 characters), and then tap
“Connect” to enter Step 2.
Step 2: Join the Wi-Fi printer into LAN:
Tap “Scan” to select the desired local Wi-Fi network from the list, and type in
the security password (If it is an open network, password is not required), and
then tap “Confirm”.
4. Once the Wi-Fi network of the printer is connected and the printer is found,
tap “Printing test” to test the printing.
Now you can use the Wi-Fi printer to print!
If the printer is not found, please reset the printer to default factory settings (refer
to Step 2 for details) and check whether the current device and the printer are on
the same LAN.
B. If you have configured the Wi-Fi printer to the LAN:
2. Tap “Connect to Printer”:
a). If the local network remains as it is, tap “Test Print” directly to test the
printing.
b). If the local network changes, you have to reset the Wi-Fi printer.
 Loading...