10.AlignthetopedgeoftheEMI-protectivepanelwiththetopsideoftheharddiskdrivecageandthen
pivottheEMI-protectivepaneldownuntilitsnapsintoposition.
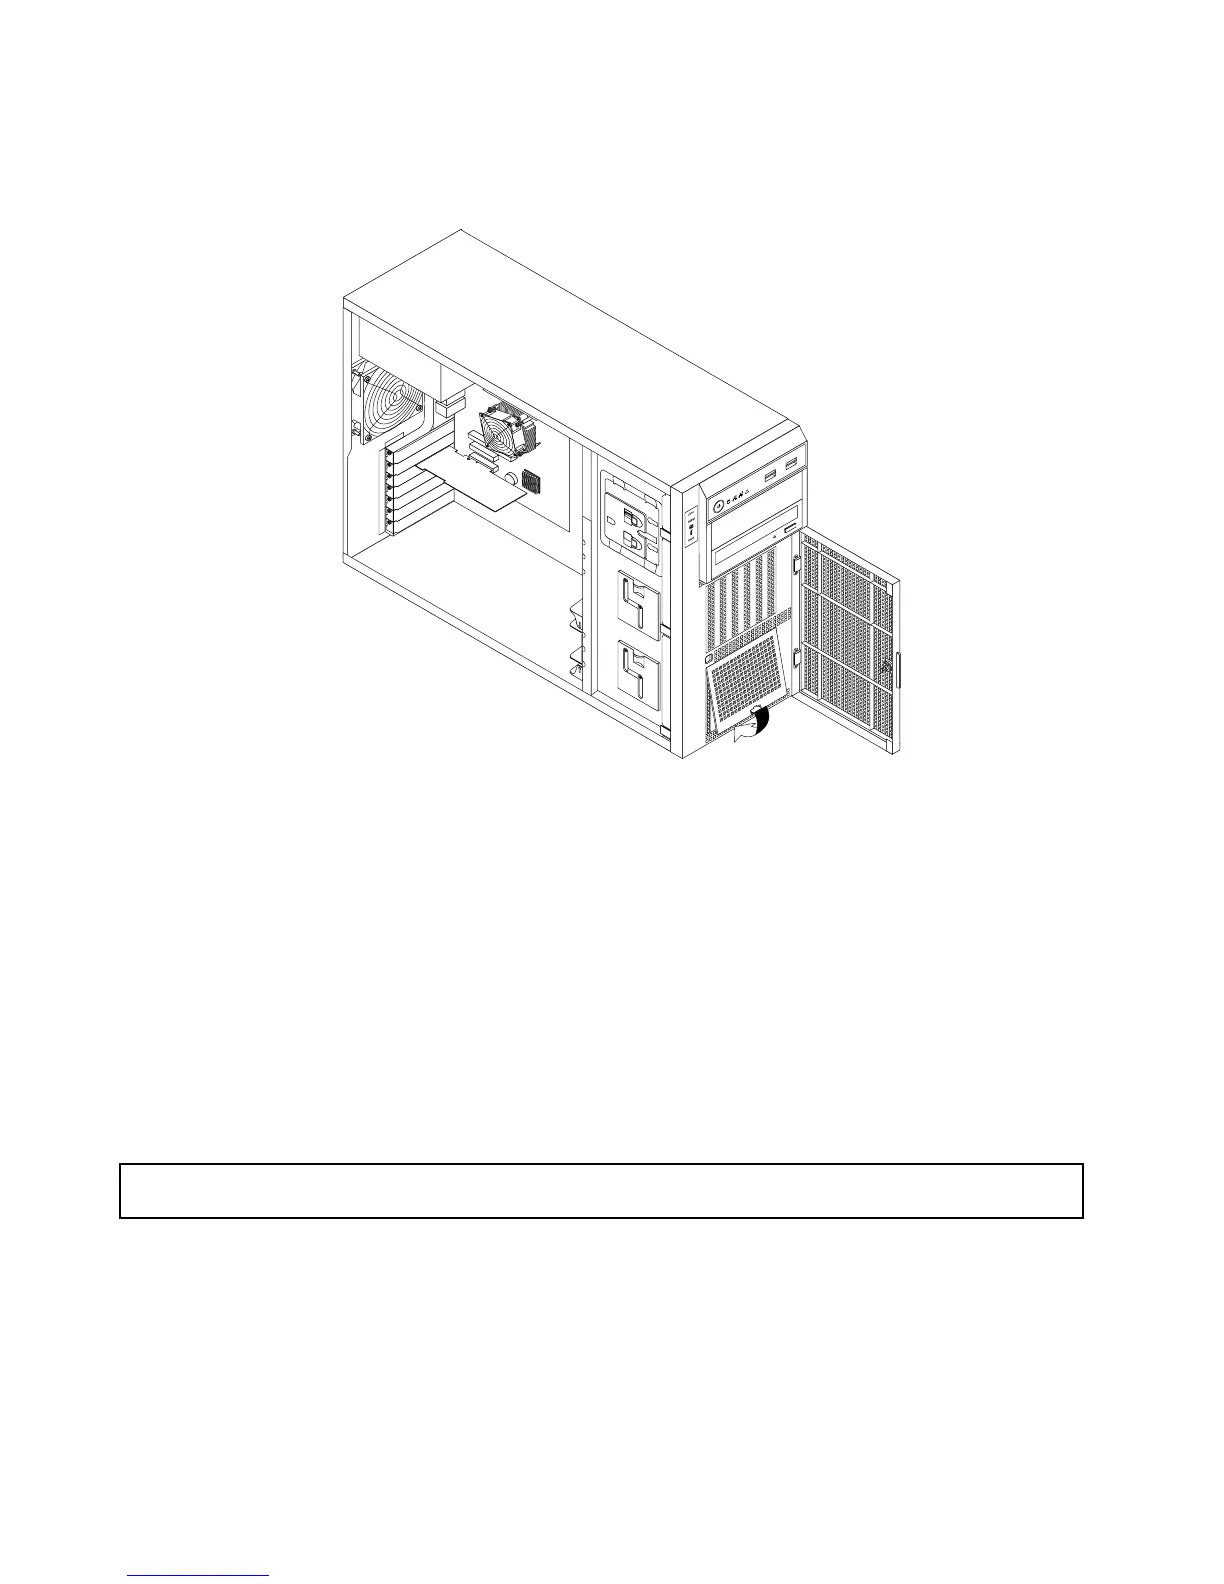
Figure65.InstallingtheEMI-protectivepanel
11.DisconnecttheSATAcablefortheremovednon-hot-swapharddiskdrivefromthesystemboardand
savethecableforfutureuse.
12.Closeandlockthefrontdoor.
13.Ifyouareinstructedtoreturntheoldnon-hot-swapharddiskdrive,followallpackaginginstructionsand
useanypackagingmaterialsthataresuppliedtoyouforshipping.
Whattodonext:
•Toworkwithanotherpieceofhardware,gototheappropriatesection.
•Tocompletetheremovalprocedure,goto“Completingthepartsreplacement”onpage162
.Then,you
mightneedtorecongureRAIDforyourserver.See“ConguringRAID”onpage71.
Installinganon-hot-swapharddiskdrive
Attention:Donotopenyourserverorattemptanyrepairbeforereadingandunderstandingthe“Safetyinformation”
onpageiiiand“Guidelines”onpage83.
Thistopicprovidesinstructionsonhowtoinstallanon-hot-swapharddiskdrive.
Beforeyoubegin,considerthefollowingharddiskdriveinstallationrules:
•Followtheorderoftheharddiskdrivebayswheninstallingaharddiskdrive.See“Servercomponents”
onpage25
tolocatetheharddiskdrivebaysinyourserver.
•ForRAIDconguration,theharddiskdrivesmustbethesametypewiththesamecapacityiftheyare
withinasingleRAIDarray.Formoreinformation,see“ConguringRAID”onpage71.
128ThinkServerUserGuide