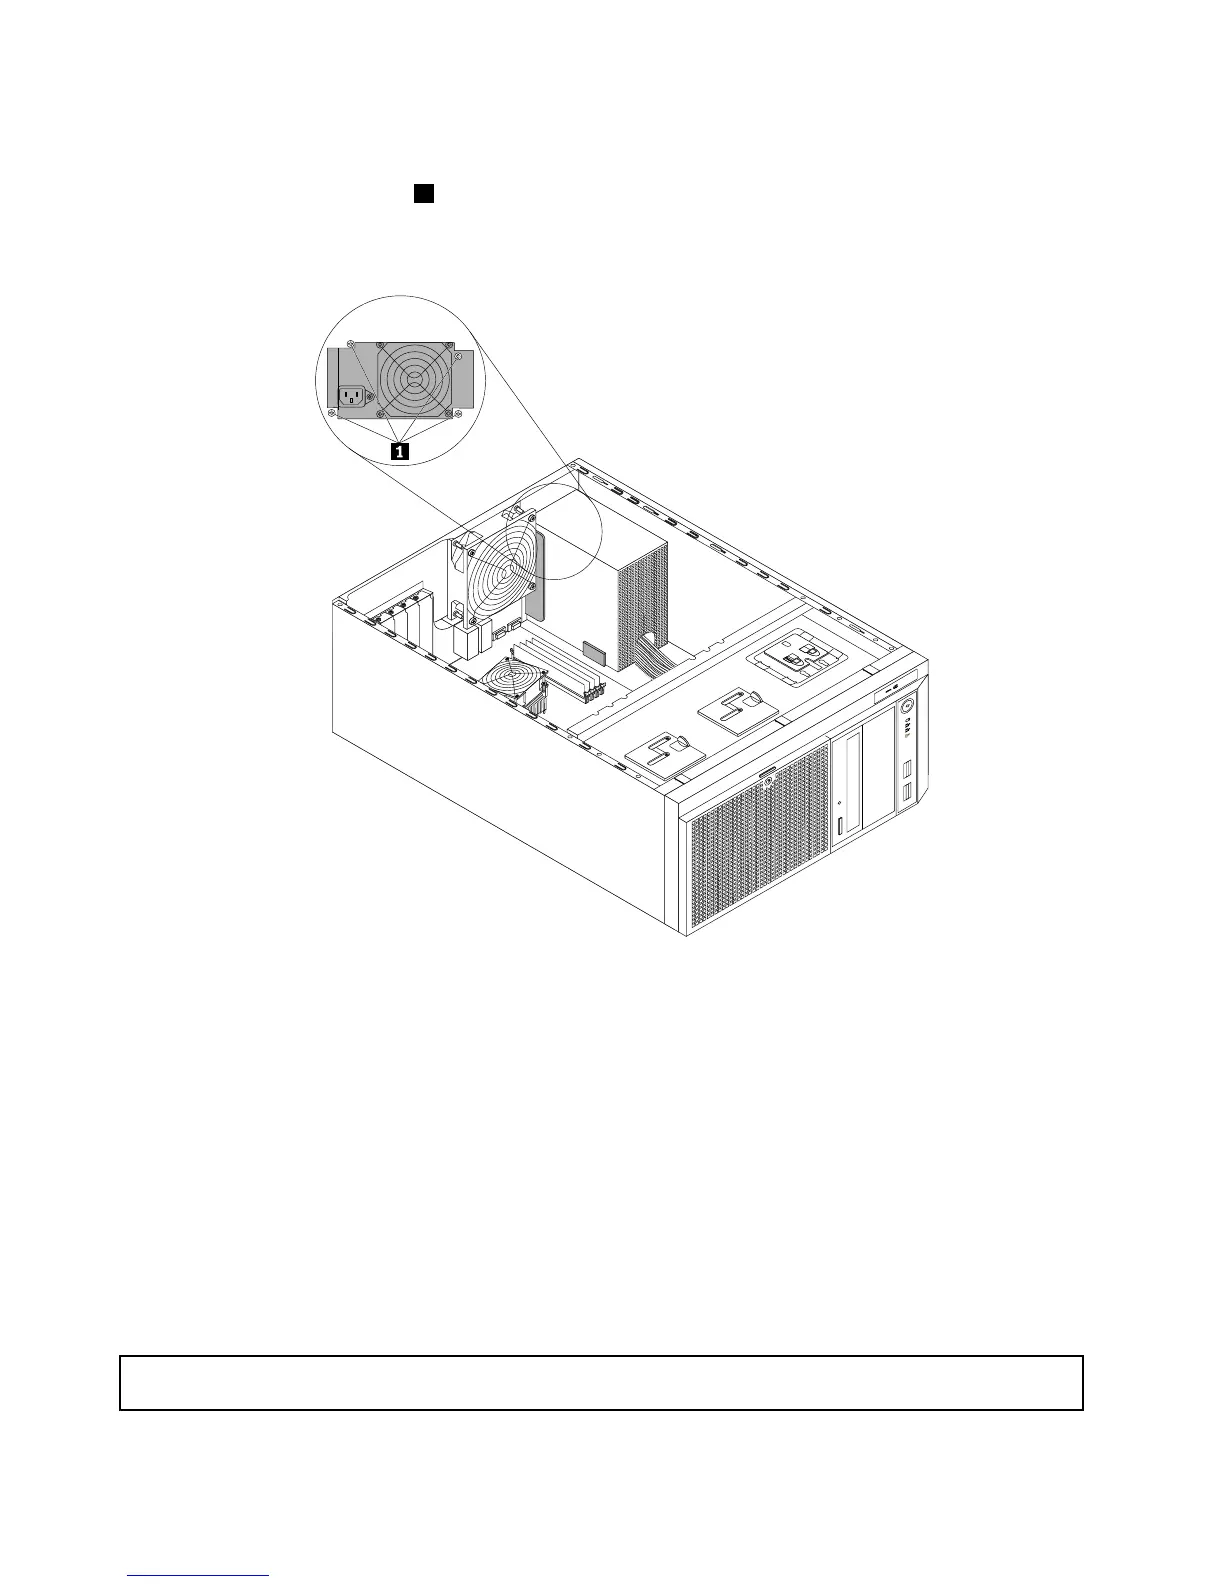
10.Installthenewpowersupplyassemblyintothechassissothatthefourscrewholesinthenewpower
supplyassemblyarealignedwiththecorrespondingholesmarkedwithAintherearofthechassis.
Then,installthefourscrews1tosecurethenewpowersupplyassemblyinplace.
Note:UseonlyscrewsprovidedbyLenovo.
Figure79.Installingthenon-hot-swappowersupplyassembly
11.Refertoyournoteandconnectthenewpowersupplyassemblycablestothesystemboard,alldrives,
andorhot-swapharddiskdrivebackplane(s),dependingonthemodel.Then,properlyroutethecables
andsecurethecableswiththecableclipsandtiesinthechassis.
12.Reinstallthefrontsystemfan(s).See“Replacingthefrontsystemfan”onpage149.
13.Ifyouareinstructedtoreturntheoldnon-hot-swappowersupplyassembly,followallpackaging
instructionsanduseanypackagingmaterialsthataresuppliedtoyouforshipping.
Whattodonext:
•Toworkwithanotherpieceofhardware,gototheappropriatesection.
•Tocompletethereplacement,goto“Completingthepartsreplacement”onpage162
.
Replacingahot-swapredundantpowersupplymodule
Attention:Donotopenyourserverorattemptanyrepairbeforereadingandunderstandingthe“Safetyinformation”
onpageiiiand“Guidelines”onpage83.
140ThinkServerUserGuide