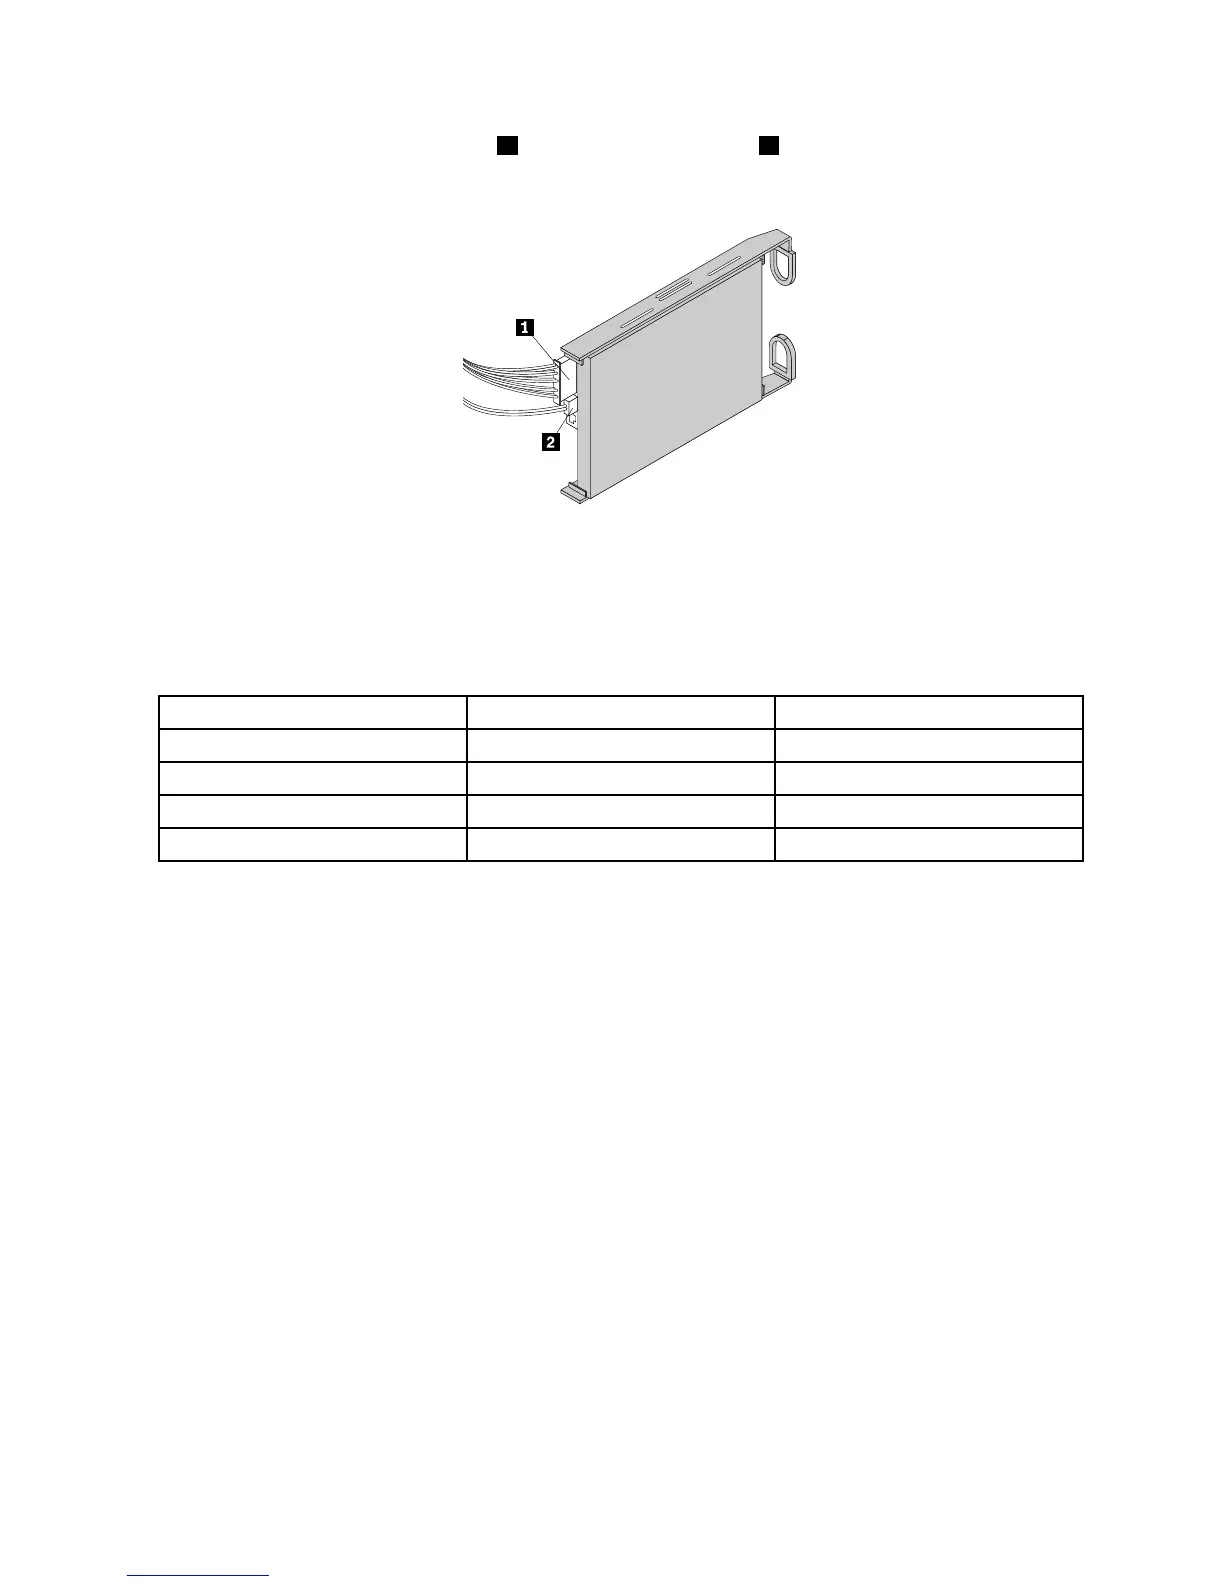
10.Connecttheappropriatepowercable1andtheSATAsignalcable2totherearofthenon-hot-swap
harddiskdrive.
Figure69.Connectingcablestotherearofthenon-hot-swapharddiskdrive
Thefollowingtableprovidesinformationabouttherecommendedpowerconnectorandsystem
boardSATAconnectorforthenon-hot-swapharddiskdriveinstalledineachdrivebay.See“Server
components”onpage25and“Systemboardcomponents”onpage42forthelocationinformation
abouttheharddiskdrivebaysandSATAconnectorsonthesystemboard.
Non-hot-swapharddiskdrivePowerconnector
SystemboardSATAconnector
Installedinbay0P9powerconnector
SATAconnector0
Installedinbay1P10powerconnector
SATAconnector1
Installedinbay2P7powerconnector
SATAconnector2
Installedinbay3P8powerconnector
SATAconnector3
11.ConnecttheotherendoftheSATAsignalcabletotheappropriateSATAconnectoronthesystemboard.
See“Systemboardcomponents”onpage42
.
12.Reinstallthefrontsystemfan1.See“Replacingthefrontsystemfan”onpage149.
132ThinkServerUserGuide