Quick Start Tutorial
2
C-DiGit User Manual 2-11
The image acquisition will start, and the target image will be displayed as a
series of six images of various brightness/contrasts (Step 14).
Click here to watch a video that demonstrates how to acquire an
image.
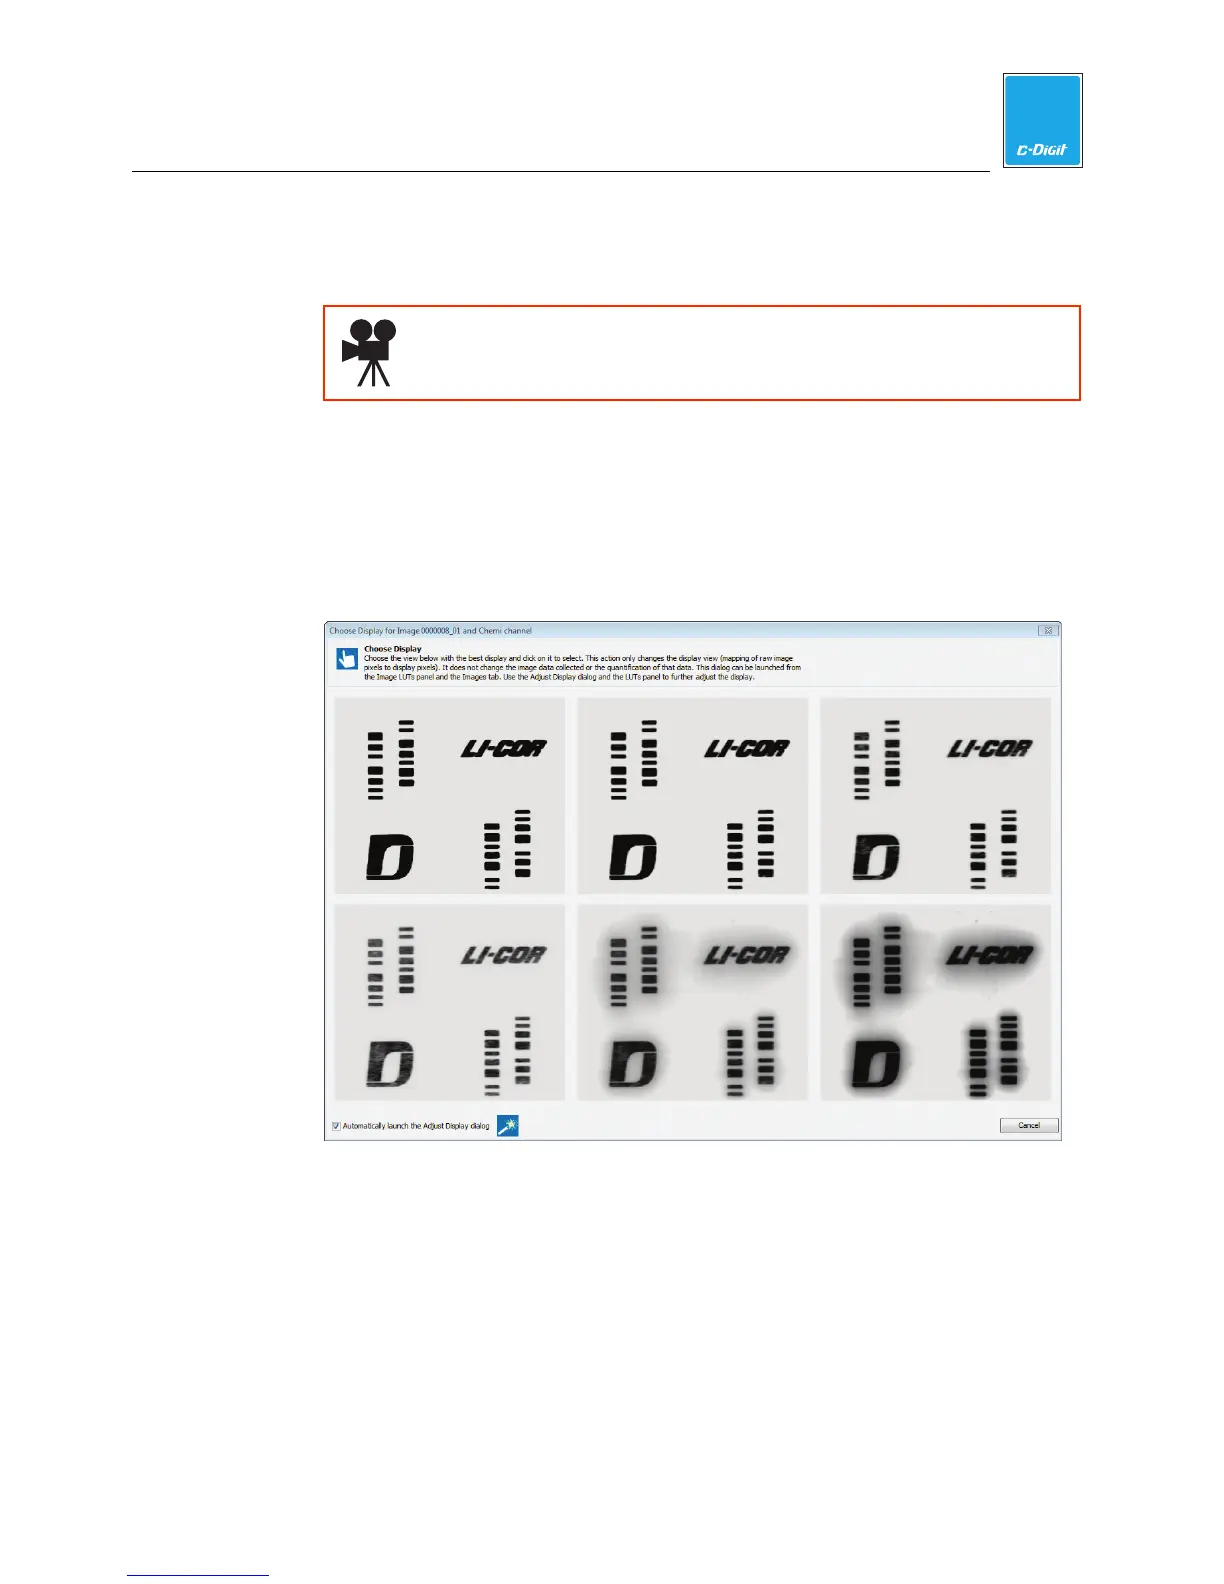
14. Adjust Target Image
Verify that your target image acquisition is similar to that shown below. If it
matches, your C-DiGit is functioning correctly. NOTE: Store the Target in its
envelope when not in use. You will generally not need to use the Target after
this initial verification step; it may be used later, however, for diagnostic
purposes if there is a problem with the instrument.
Click on the best image; that image will open in a new window (below),
allowing for further adjustment, if desired. Click on Signal, Background, or
Midtones to adjust the brightness for these channels, if needed. Click Done.