L19WD Series
9
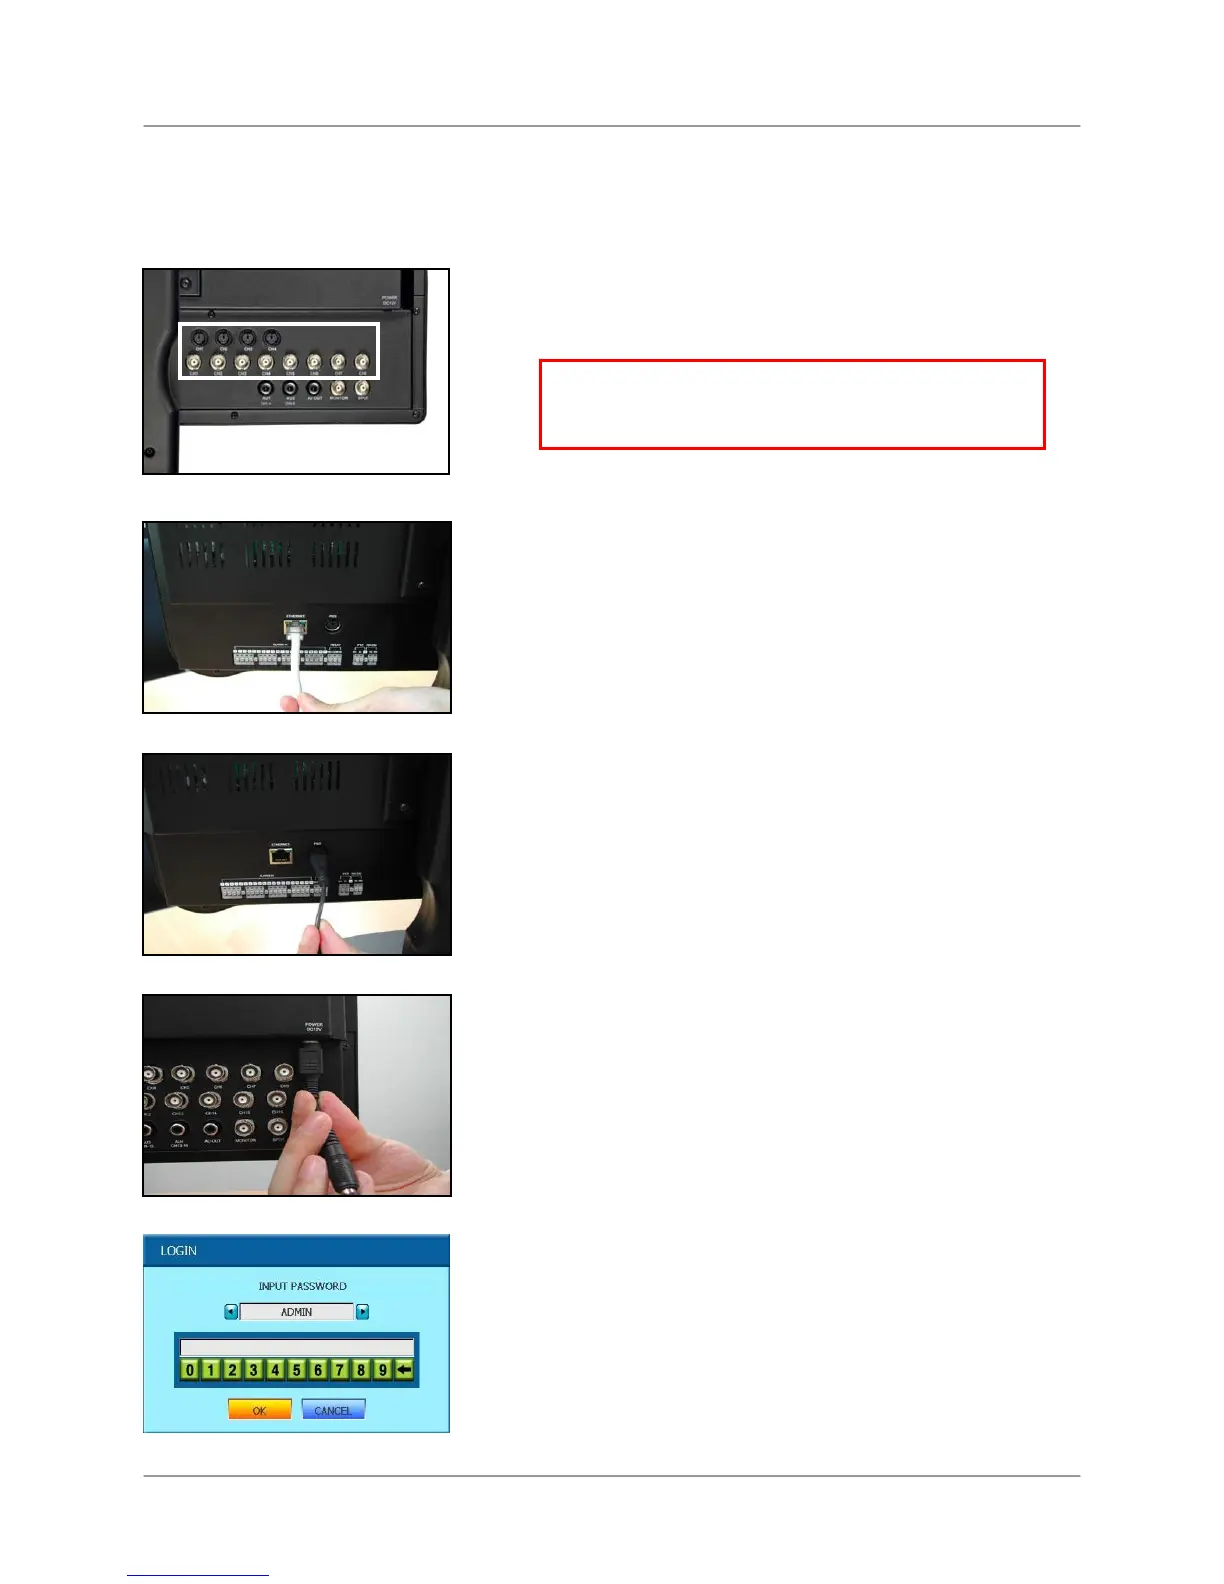
Basic Setup
Make the following connections prior to starting the system for the first time.
Front Panel
1. Connect the cameras to the monitor
Please see the Camera Installation section of this
manual for details.
2. Connect the Ethernet cable
Connect one end of the Ethernet cable (for remote
monitoring) to the LAN port on a router (not included),
and the other end to the Ethernet port on the back of
the system.
3. Connect the mouse
Connect a PS/2 mouse to the port on the back of the
system.
4. Connect the power cable
Connect one end of the power adaptor to the monitor
and the other end to an electrical outlet.
Note: The system automatically powers on once
connected to a power source. By default, all connected
cameras are set to record in Continuous Mode when the
system is first powered on.
ATTENTION: Test the cameras prior to permanently
mounting them by temporarily connecting the
cameras and cables to your system.
5. Login to the system
After the initial startup sequence, you will need to
login to the system. To login, leave the default user
as ADMIN. Leave the password field blank and
click OK. See the section, Starting up the System
for more details.
 Loading...