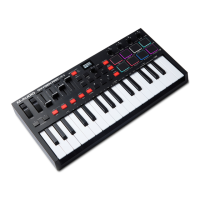
13
22. Knobs: Turn these knobs left/right to perform their assigned controls. When operating with a DAW, the
assigned controls will be predetermined. When operating with a preset or the User DAW selected, the
controls can be edited.
Hold SHIFT while turning Knobs 1–4 to edit arpeggiator settings.
Hold SHIFT and Pads 9 – 12 to change the knob functionality in a DAW. Please note, this is not
available in all DAWs.
Important: Both the Fader and Knobs are enabled with “soft takeover.” This means that if you switch
banks, a Fader or knob will not work until it is positioned at the current value of the newly selected
software control. For example, if you move Fader 1 in Bank 1 and then switch to Bank 2, physical
Fader 1 will not affect software Fader 2 until the physical Fader is positioned at the current value of
software Fader 2. This feature allows you to make changes in one bank and then switch banks without
making unwanted changes to the new bank’s controls. The Display will show a checkered value meter
if a Fader or Knob needs to be moved before it can “take over” its assigned.
Important: In Avid Pro Tools and other Mackie/HUI controlled DAWs, stereo tracks have two panning
controls: left and right. Press the SHIFT button to switch the knobs between the left channel and right
channel. If the pan controls aren't moving on a mono track, press the SHIFT button to change pan
knob back to controlling the pan control normally.
23. Arp/Latch Button: Press this button to activate the arpeggiator. Press this button again to toggle the
arpeggiator from momentary to latch Mode. Hold SHIFT and press this button to edit the arpeggiator’s
settings.
24. Chord/Scale Button: Press this button to activate Chord Mode. Double tap this button to activate
Scale mode. Hold SHIFT and press this button to edit the Chord/Scale Mode settings.
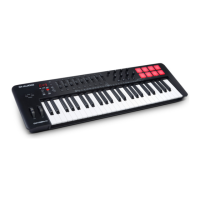
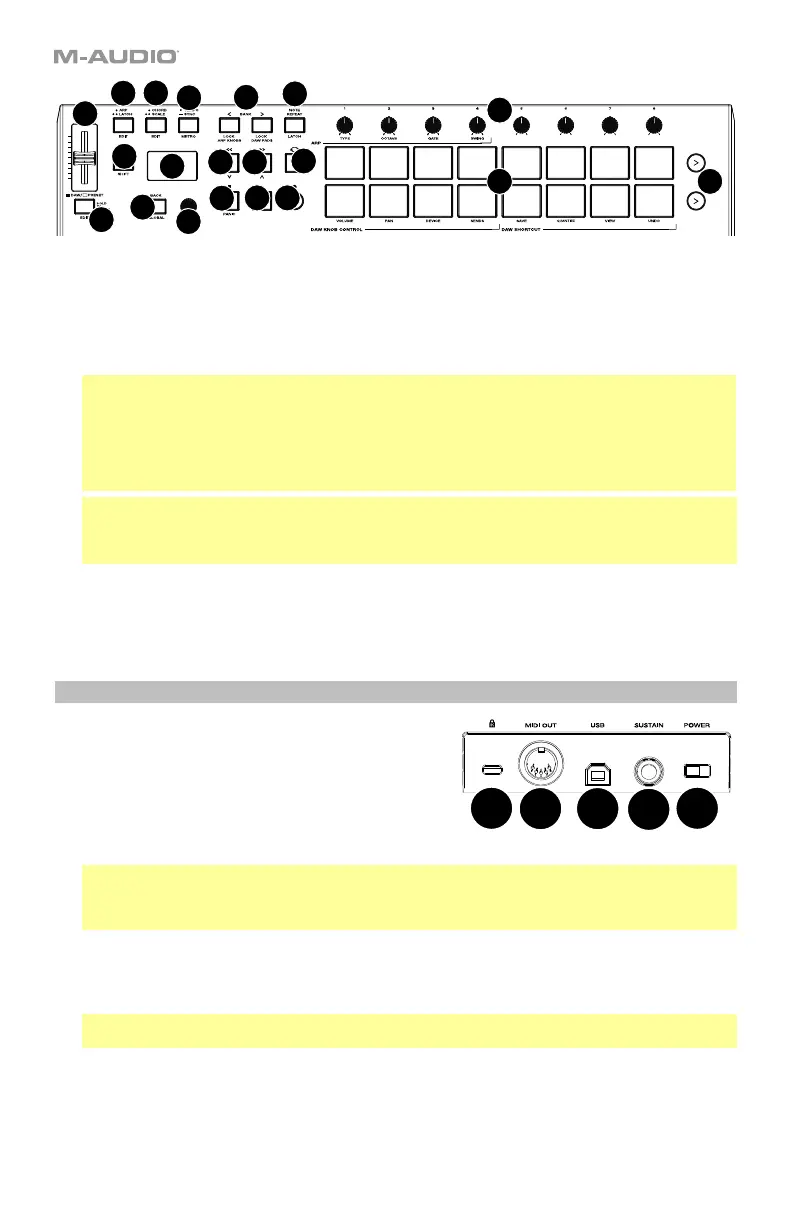
Rear Panel
1. Power Switch: Use this switch to power Oxygen Pro 25
on or off.
2. Sustain Pedal Input: This input accepts a momentary-
contact foot pedal (not included). When pressed, the
pedal by default will sustain the sound you are playing
without you having to keep your fingers pressed down on
the keys. The sustain pedal input can be remapped to
perform a custom MIDI assignment.
Note: The polarity of the sustain pedal is determined by the keyboard upon startup. When an Oxygen
Pro 25 keyboard is powering up, the sustain pedal is assumed to be in the "up" (Off) position. It is
important that the sustain pedal is not in the down position before starting up the keyboard, as the
pedal will then operate in reverse, and notes will sustain when the pedal is not pressed.
3. USB Port: When connected to a computer, the USB port delivers power to the keyboard and transmits
MIDI data.
4. MIDI Out: Use a standard 5-pin MIDI cable to connect this port to a hardware synth or other MIDI
device.
Note: The MIDI output port can send MIDI from the Oxygen Pro 25, your connected computer, or both.
Go into the Global Settings to set what is sent to the MIDI Out.
5. Kensington
®
Lock Connector: This connector is compatible with standard laptop-style Kensington
security cables for theft protection.
1
2
345
5
6
7
8
10
9
11
12
13
14 15
16
17
18
19 20
21
22
23
24
 Loading...