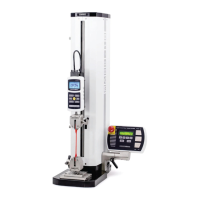
3. Install the L-bracket with the same two flat head screws, as shown below:
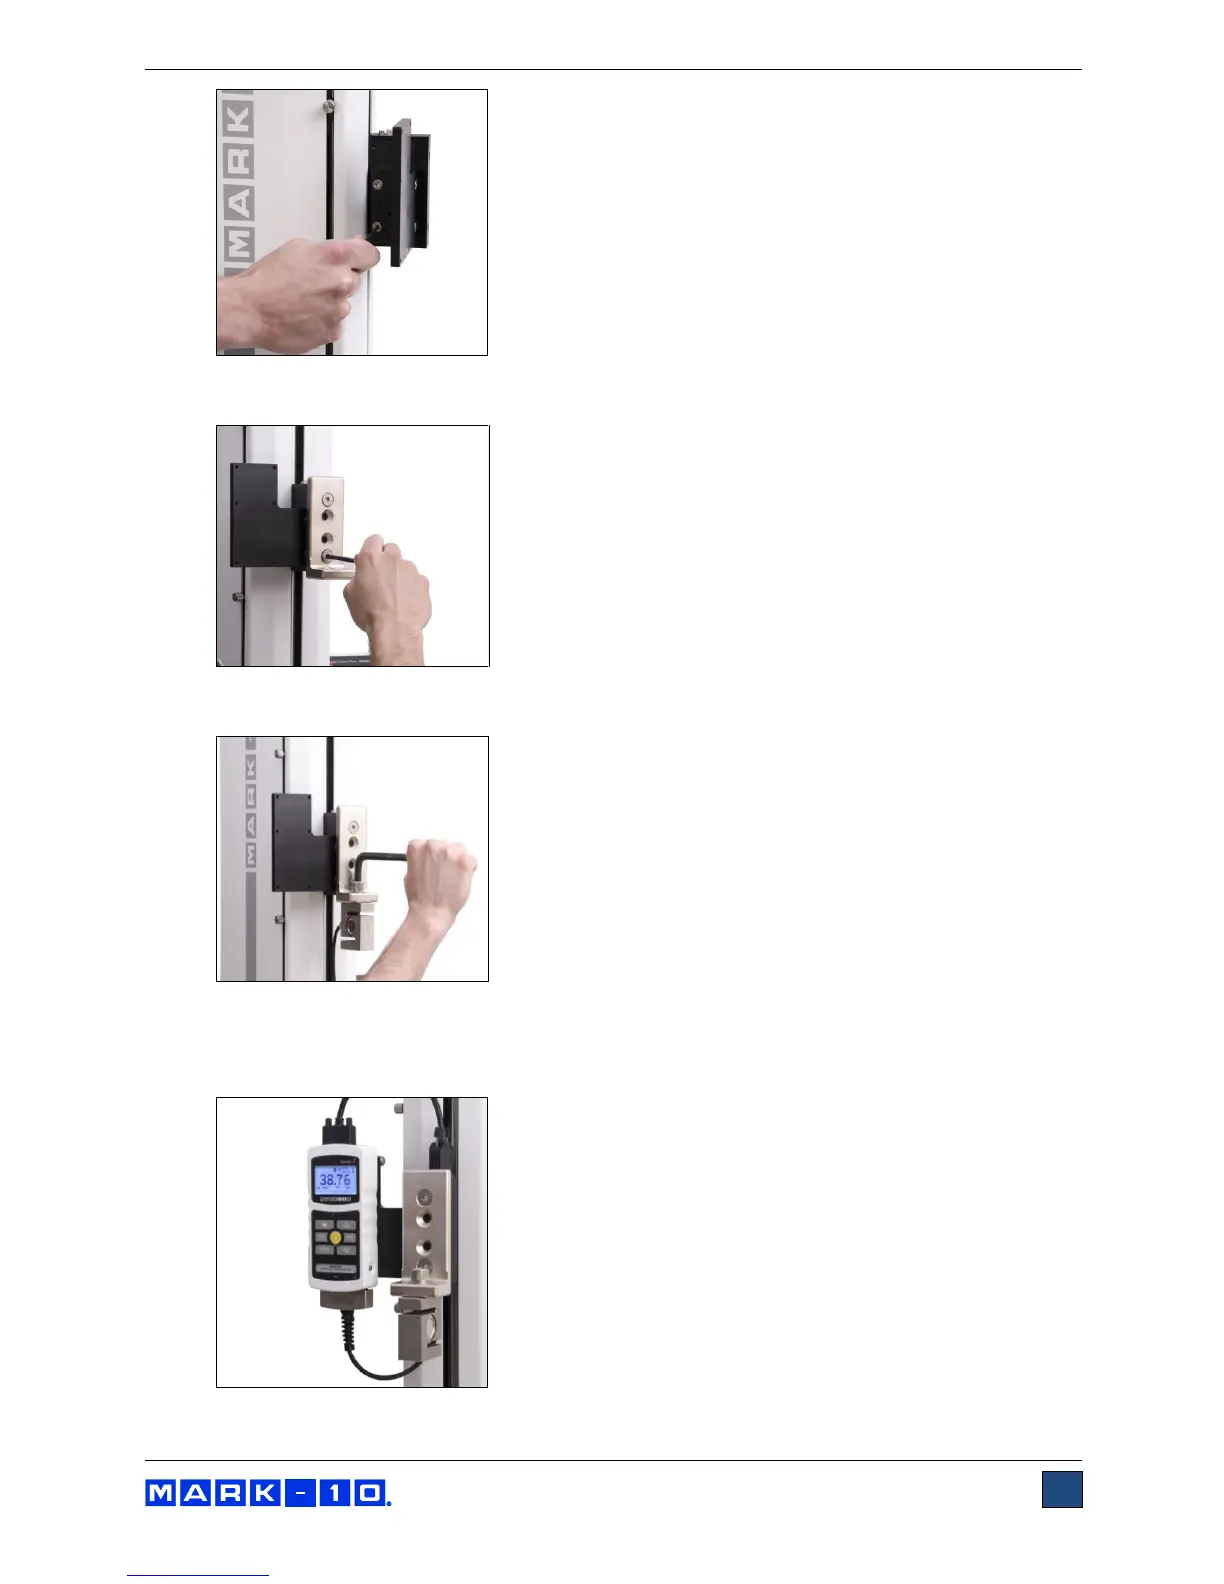
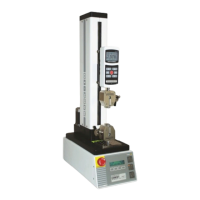
4. Mount the load cell to the L-bracket utilizing the included hardware, as shown below.
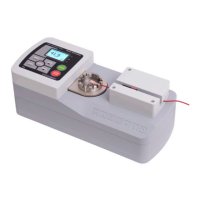
5. Mount the indicator utilizing the four provided thumb screws, and insert the Plug & Test
TM
connector into the indicator. Orient the housing of the indicator such that the connector is pointed
downwards. Refer to the indicator’s user’s guide for details.