OUTBOARD MOTOR INSTALLATION
90-828631R3 MARCH 1999 Page 1D-5
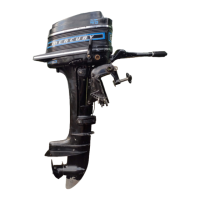
Installing Outboard – Thumb Screw Models
WARNING
Outboard must be fastened to boat transom one of two ways: 1. permanently fas-
tened to transom with thumb screws, and mounting bolts (provided), or 2. secured
to the transom using the optional outboard mounting kit (shown below). Should the
outboard strike an underwater object or be steered into a sharp turn, failure to fas-
ten outboard correctly to the boat transom with mounting bolts or optional mount-
ing kit could result in outboard ejecting suddenly off boat transom causing serious
injury, death, boat damage, or loss of outboard.
IMPORTANT: Optional outboard mounting kits shown, must be used if outboard will
not be permanently fastened to the transom with mounting bolts.
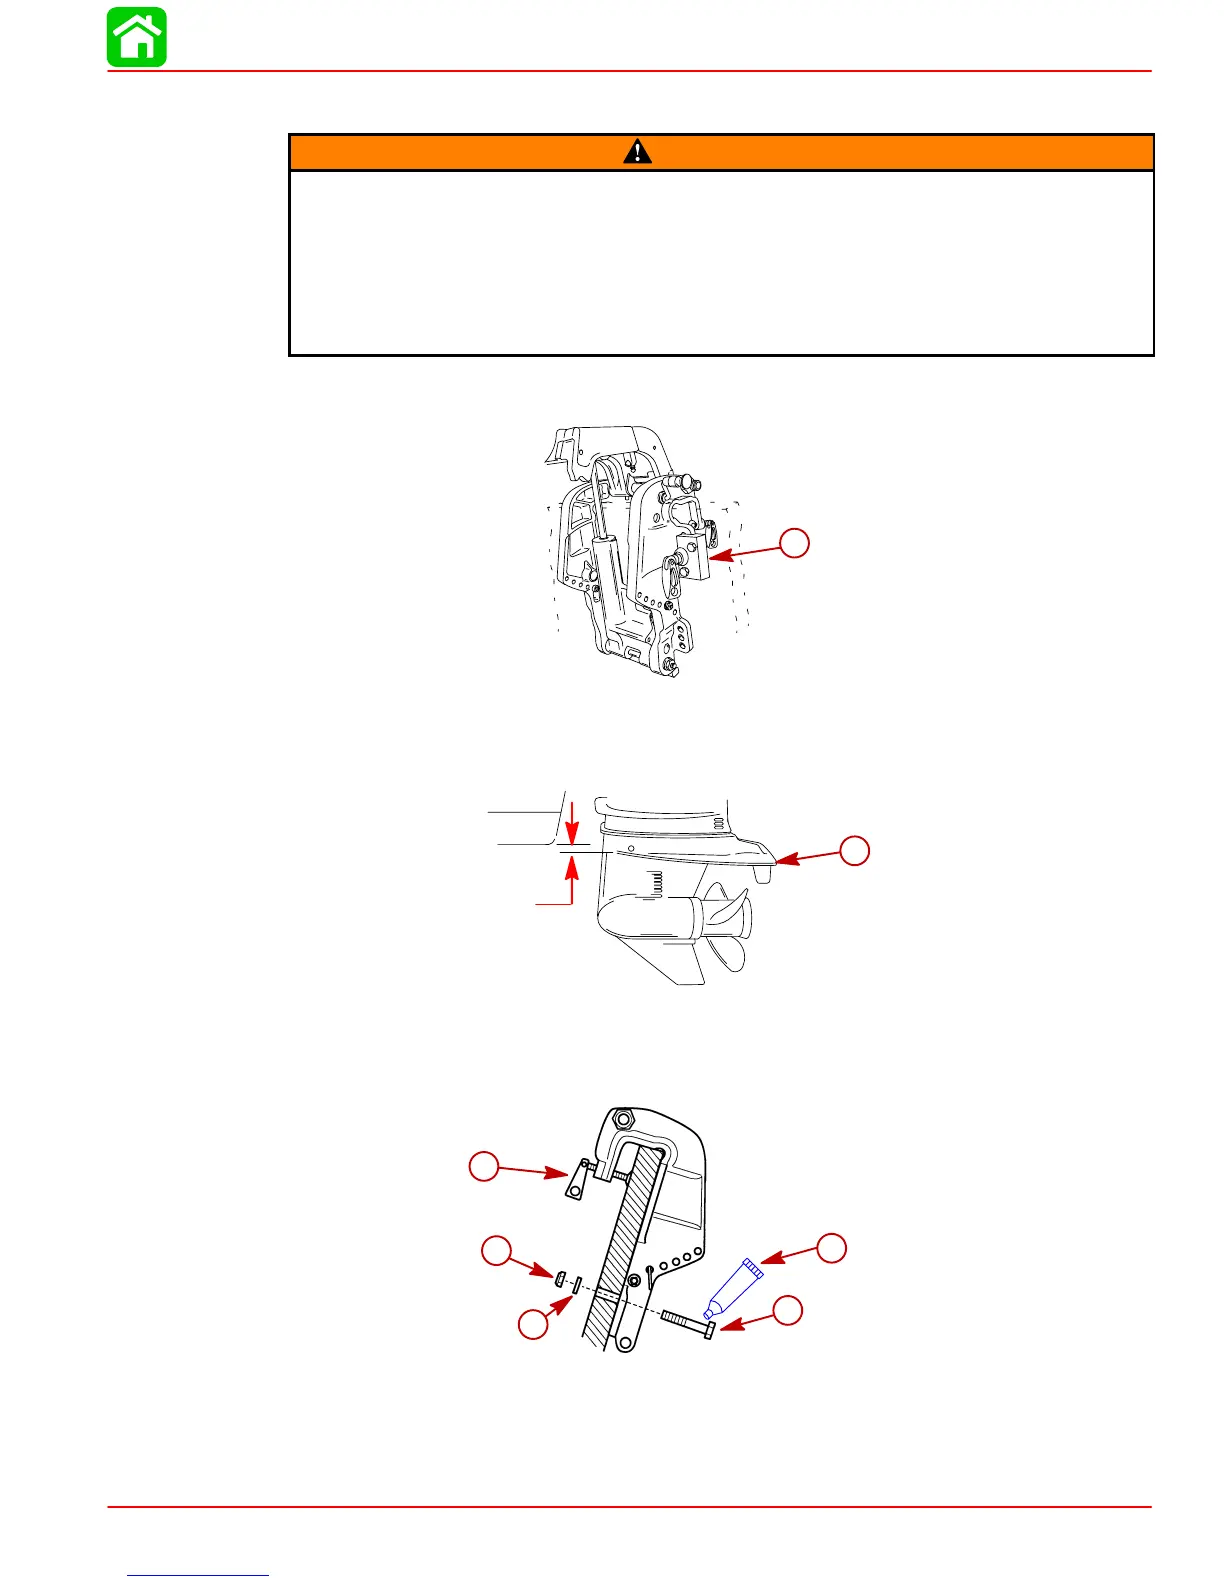
a
a-Outboard Mounting Kit Part No. 812432A4
1. Center outboard on the transom. Install the outboard so that the anti-ventilation plate
is in line or within 1 in. (25 mm) below the bottom of the boat.
0 - 1 in.
(0 - 25 mm)
a
a-Anti-Ventilation Plate
2. Fasten outboard with provided mounting hardware shown.
3. Mark and drill two 17/32 in. (13.5 mm) lower mounting holes.
a
b
c
d
e
a-1/2 in. Diameter Bolts (2)
b-Flat Washers
c-Locknuts
d-Marine Sealer - Apply to Shanks of Bolts, Not Threads
e-Thumb Screws - Tighten Securely

 Loading...