Section 5 - Maintenance
Page 126 90-866938081 MAY 2009
Tube Ref No. Description Where Used Part No.
7
Loctite 271 Threadlocker Trim tab anode screw 92-809819
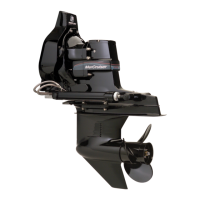
7. Install the anodes on the trim tab. Tighten the screws to specification.
a - Port anode
b - Starboard anode
c - Screws (5)
Description Nm lb‑in. lb‑ft
Trim tab anode screw (M8 x 20 mm long) 27 – 20
Continuity Circuits
NOTE: Refer to the operation and maintenance manual provided by the boat manufacturer
for maintenance information about vessel mounted anodes and related continuity circuits.
The drive system is equipped with ground circuit wires to ensure good electrical continuity
between the drive components. Good continuity to a ground (–) is essential for the anode
and MerCathode system to function most effectively.
1. Remove the drive cover. Refer to Removing the Drive Cover in this section.
2. Inspect the MerCathode controller and wires for loose connections, broken
connectors, or frayed wiring.
a - Anode wire
b - Battery positive (+) terminal wire
c - MerCathode controller
d - Reference electrode wire
e - Black/green continuity wire (–) to
bonding stud
f - Battery negative (–) terminal wire
 Loading...