Functional Tests Periodic Maintenance
3 - 18 046-001141-00 A5/A3™ Service Manual
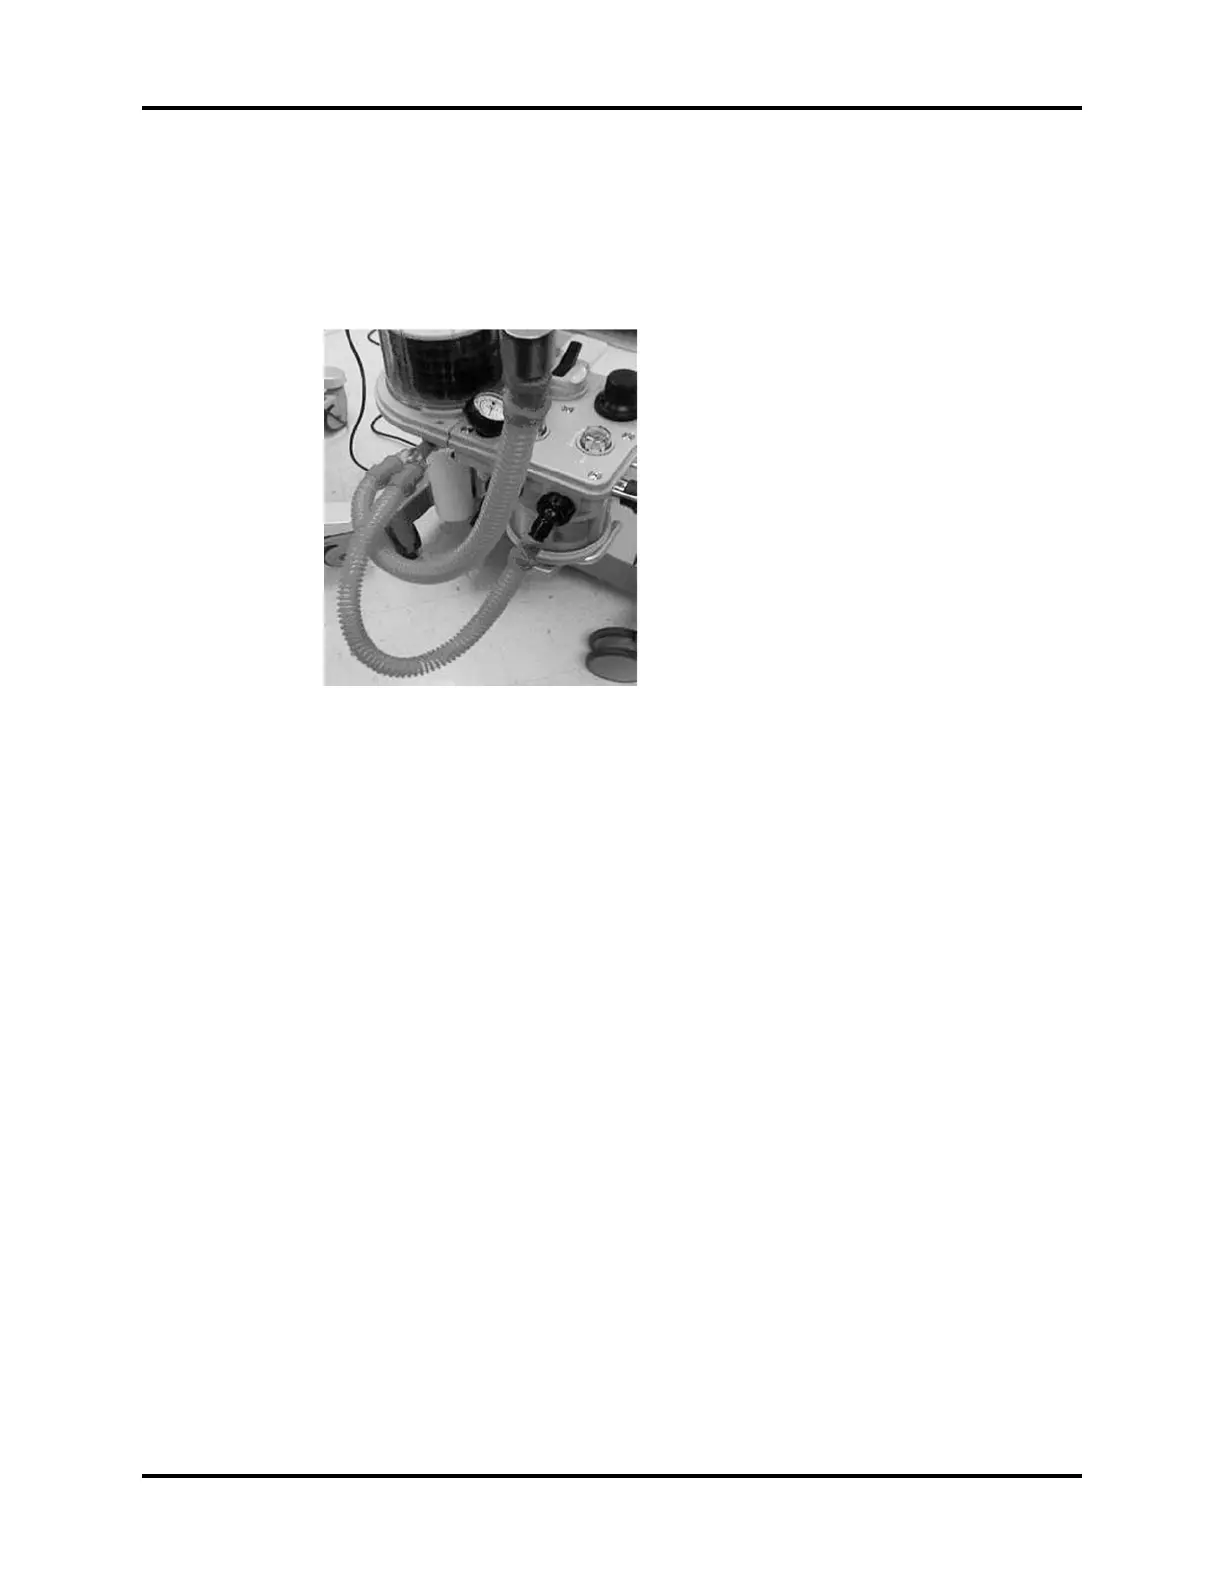
3.8.4.3 Vaporizer Leak Test
1. Set the ventilation Auto/Manual ventilation switch to Manual.
2. Set the APL valve to the SP position.
3. Connect one end of the breathing circuit to the bag arm, one end to the inspiratory port and
the Y-piece to the test port:
FIGURE 3-17 Vaporizer Leak Test Setup
4. Mount and lock the vaporizer onto the vaporizer mount. (Certain vaporizers need to be set to at
least 1% for correct testing. See the vaporizer manufacturer’s manual for details.)
5. Set the fresh gas flow to 200 mL/min.
6. Set the APL valve to 75 and verify that the pressure on the airway pressure gauge increases
above 30 cmH2O within 2 minutes.
7. Turn off the vaporizer.
8. Repeat Steps 4, 5, 6, and 7 for the other vaporizer.
3.8.4.4 Check Valve Test
1. Set the ventilation Auto/Manual ventilation switch to Manual.
2. Set the APL valve to 75.
3. Connect the breathing bag to the Inspiratory port.
4. Plug the bag arm.
5. Press the FLUSH button until the pressure on the airway pressure gauge reaches 35 cmH2O.
6. Set the APL valve to SP.
7. Verify that the pressure does not drop below 30 cmH2O after 10 seconds
3.8.5 Check the Sensor Zero Point
To check the sensor zero point:
1. Turn off all fresh gases and expose the breathing system to ambient pressure.
2. Make sure that the system is in Standby mode.
3. Select Setup-> Service-> Data Monitors-> Component-> Zero Sensor to access the following
menu.