
B
Brent ArellanoAug 25, 2025
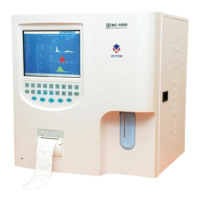
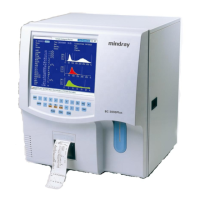
What to do if Mindray Measuring Instruments printer is out of paper?
- CCalvin FrazierAug 25, 2025
If the Mindray Measuring Instruments printer is out of paper, it might be because the printer paper is running out or is not properly installed. Check if there is printer paper and ensure it is well installed.