Image Optimization 5-41
1. Select the appropriate probe (non-4D probe) and exam mode. Make sure there is
sufficient gel on the probe for scanning.
2. Obtain a 2D image. Optimize the image as described in the Static imaging procedure.
3. Press <3D/4D> to enter the Smart 3D imaging preparation status, and define the ROI as
well as the curved VOI.
4. Select a render mode.
5. Select an acquisition method, and set the corresponding parameters on the screen.
Rocked mode: set [Angle] parameter.
Linear mode: set [Distance] parameter.
6. Press <Update> on the control panel to start the 3D image acquisition.
The system enters the 3D image viewing status when the acquisition is complete. Or, end
the acquisition by pressing <Freeze> or <Update> on the control panel.
In image viewing status, operations such as VOI setting and image editing can be performed.
7. Exit Smart 3D.
Press <Update> or <Freeze> to return to Smart 3D image acquisition preparation. Or,
press <B> or <3D/4D> to enter B mode.
5.13.4.2 Smart 3D Acquisition Preparation
In Smart 3D mode, you need to set the scan method in addition to the other items in Static 3D
mode. The other parameters are the same as those for Static 3D.
Method
Capture images using Linear scan or Rocked scan.
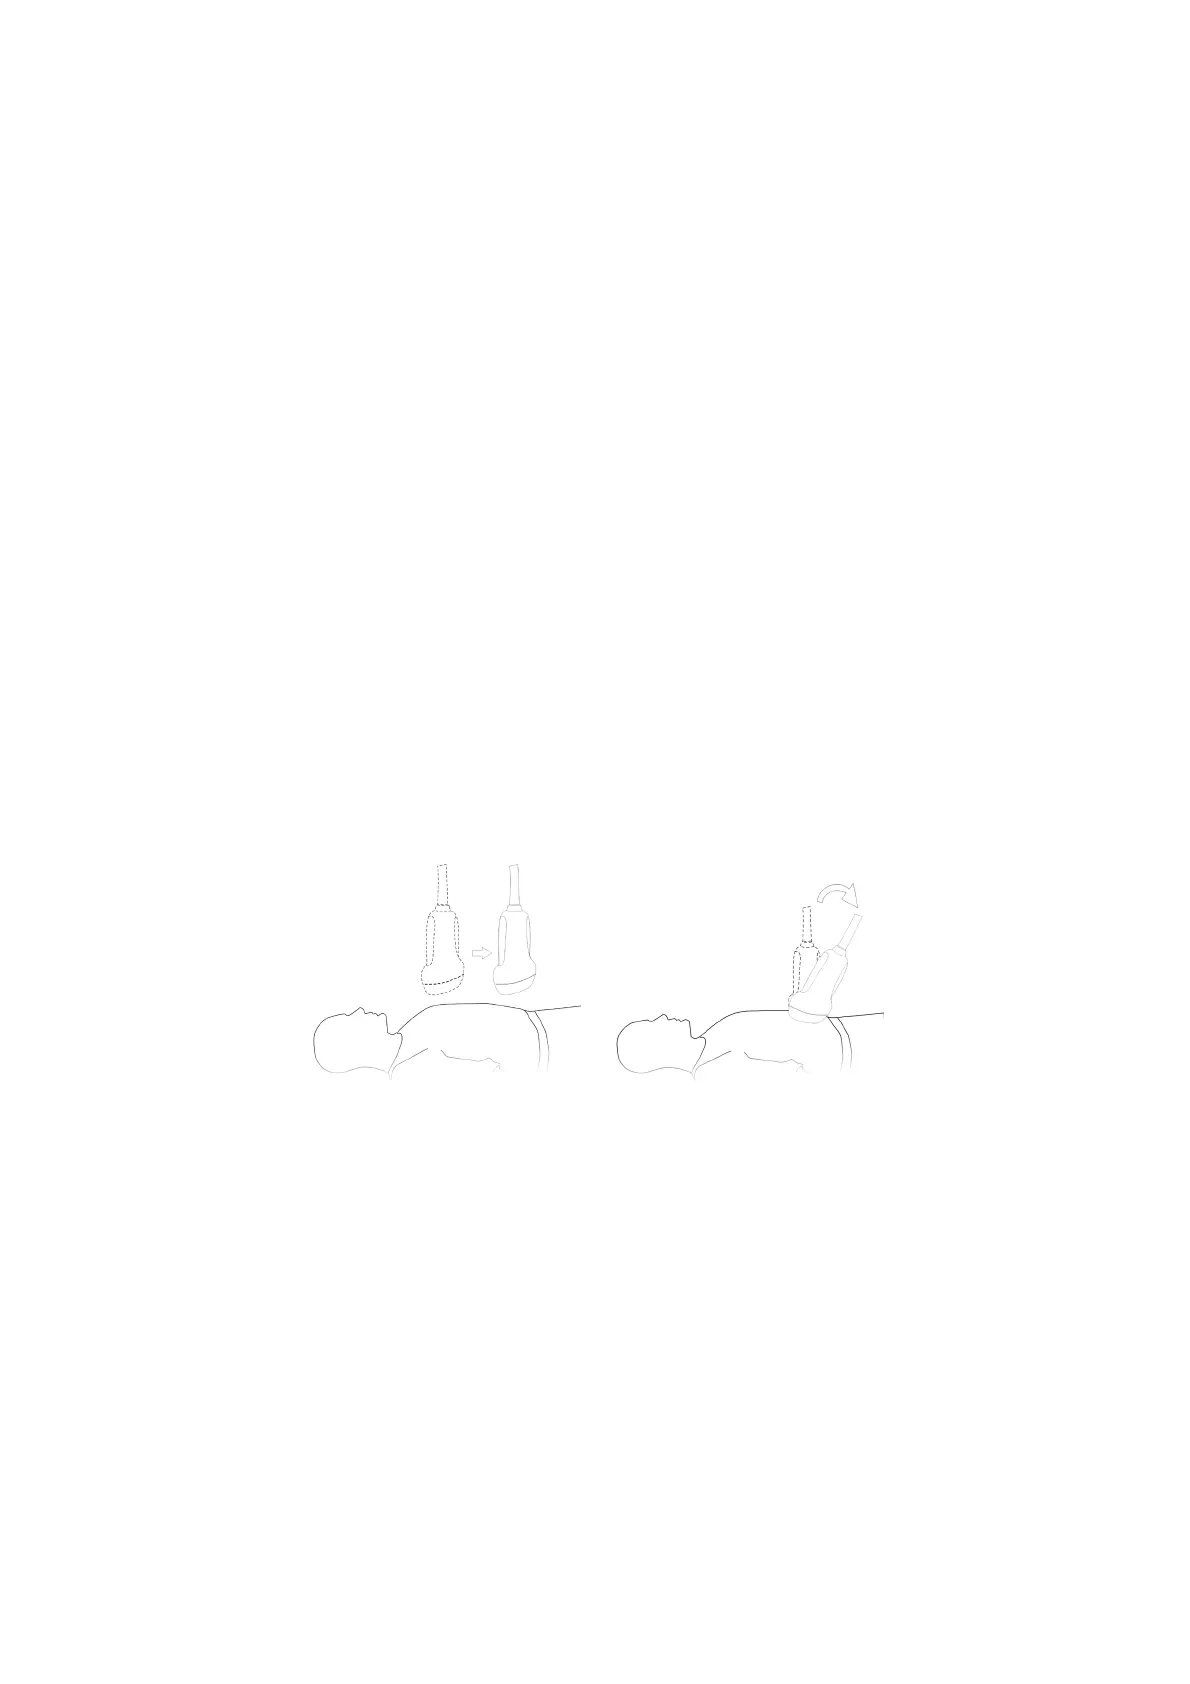
Linear scanning
Move the probe across the surface. See the following figure.
Rocked scanning
Rotate the probe once from the left to the right side (or from the right to the left) to
include the entire desired region. See the figure.