14 TX3 Nano Configuration Manual
Copyright 2019
TX3 Nano Configurator
The TX3 Nano’s MAC address, IP address, application version, panel ID,
location, and date and time appear on the display.
3. Make a note of the IP address.
Note: By default, the TX3 Nano is assigned an IP address from a DHCP
server. See section 8.5 on page 63 for configuring the TX3 Nano’s
network settings.
Connect to the TX3 Nano in a Web browser
1. On a computer on the same LAN as the TX3 Nano, open a Web browser.
Note: The TX3 Nano does not work with Internet Explorer.
2. Type the IP address of the TX3 Nano that you noted earlier, and then press
enter.
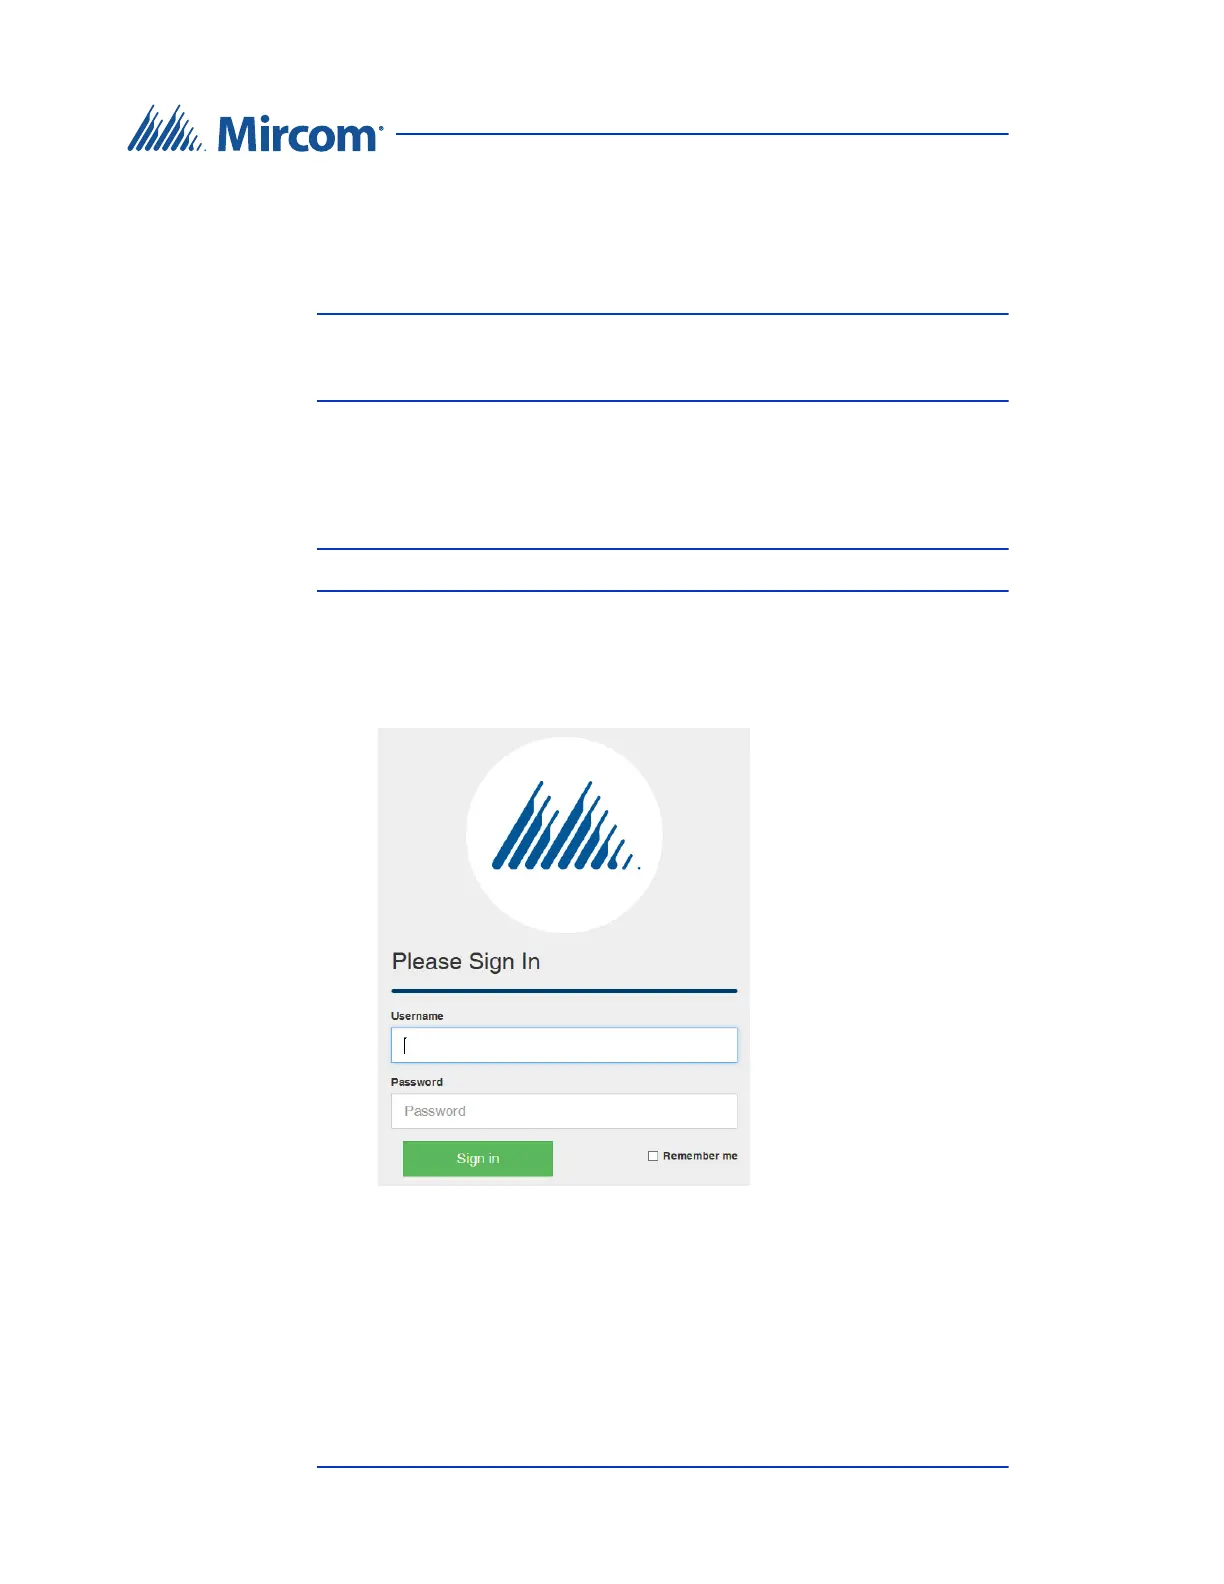
The sign in page appears.
Figure 6. Sign in page
3. Enter the username and password of the TX3 Nano. By default, the
username is admin and the password is admin.